Skip to content
Sign up for free daily recipes! →
My Favorites
Recipes
Entrees
Side Dishes
Salads
Smoothies
Vegetarian
Breakfast and Brunch
Desserts
Meal Plans
Kid Friendly Recipes
Muffins
Finger Foods
Sandwiches
Snacks
School Lunch
Cookbooks
Meal Prep Magic
Smoothie Project
Weelicious Lunches
Weelicious: One Family, One Meal
About
Weelicious Store
Home
Freeze Well Recipes
Page 9
Freeze Well Recipes
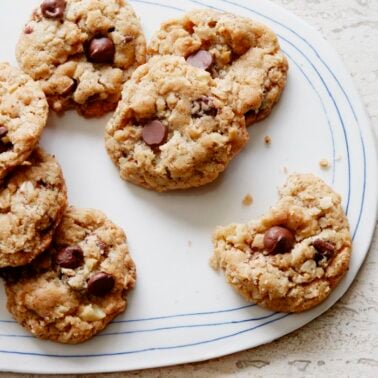
Vegan Cowgirl Cookies
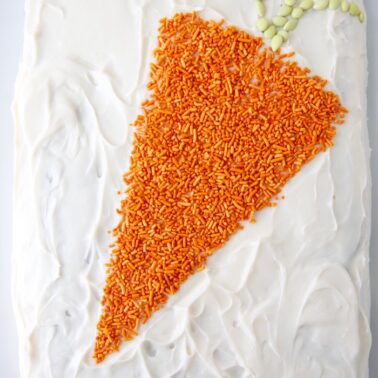
Pineapple Carrot Cake with Cream Cheese Frosting
Banana Yogurt Cake
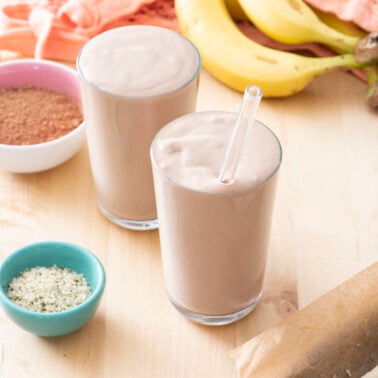
Chocolate Almond Butter Smoothie
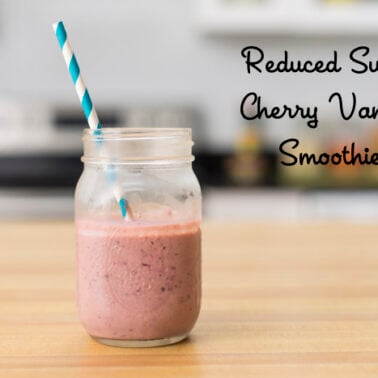
Reduced Sugar Cherry Vanilla Smoothie
Lactation Cookies
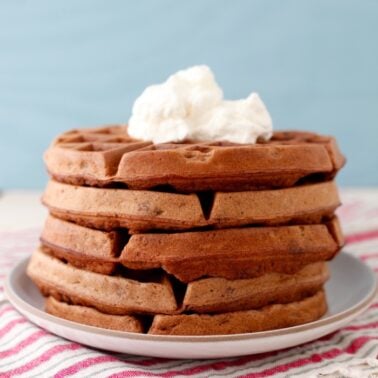
Dark Chocolate Spelt Waffles
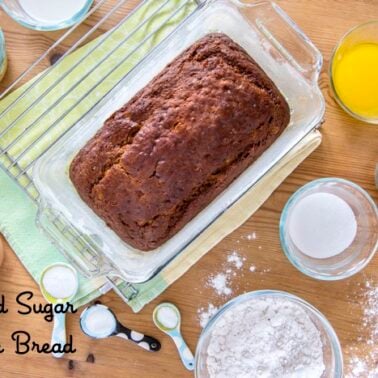
Reduced Sugar Banana Bread
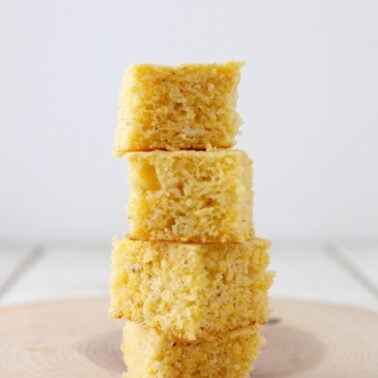
Basic Cornbread
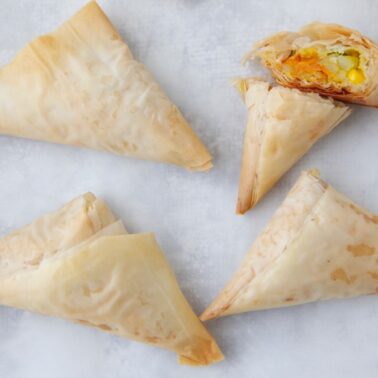
Vegetarian Baked Samosas
Friday Night Pizza Party Lollipops
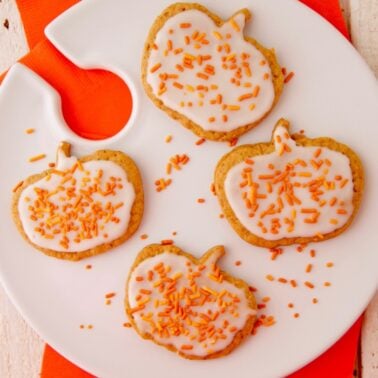
Pumpkin Spice Roll Out Cookies
Cooking Basics for New Parents
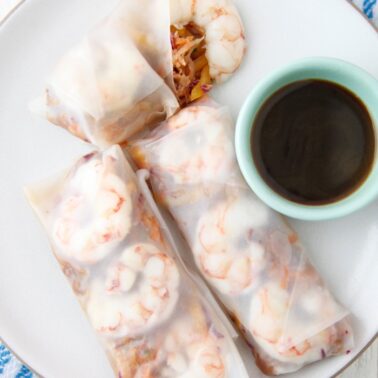
Asian Slaw Spring Rolls
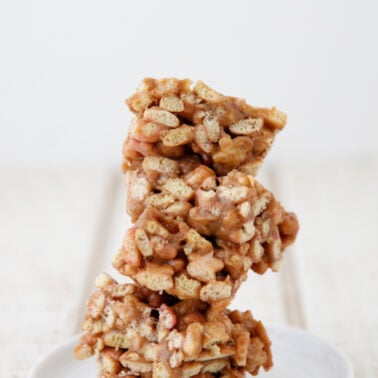
Green Berry Blast Treats
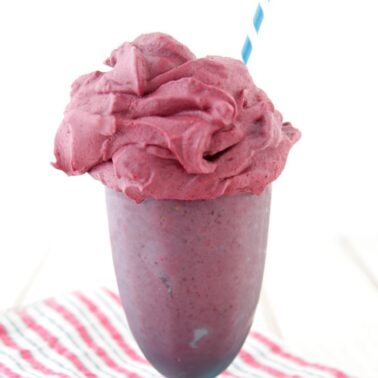
Pregnancy Smoothie
Go to Previous Page
Go to page
1
Interim pages omitted
…
Go to page
7
Go to page
8
Go to page
9
Go to page
10
Go to page
11
Interim pages omitted
…
Go to page
22
Go to Next Page