Skip to content
Sign up for free daily recipes! →
My Favorites
Recipes
Entrees
Side Dishes
Salads
Smoothies
Vegetarian
Breakfast and Brunch
Desserts
Meal Plans
Kid Friendly Recipes
Muffins
Finger Foods
Sandwiches
Snacks
School Lunch
Cookbooks
Meal Prep Magic
Smoothie Project
Weelicious Lunches
Weelicious: One Family, One Meal
About
Weelicious Store
Home
Diet
Gluten Free
Page 10
Gluten Free
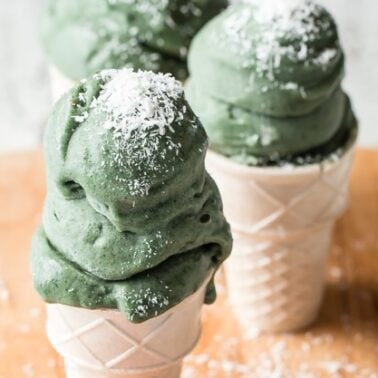
Green Nice Cream
10 Dye-Free Treats Kids Love
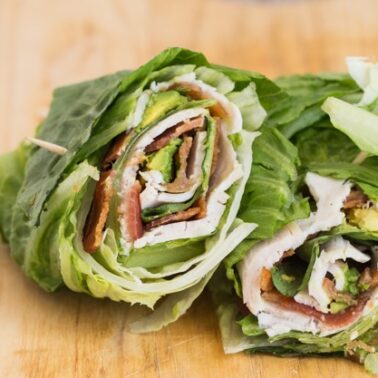
Turkey Club Lettuce Wraps
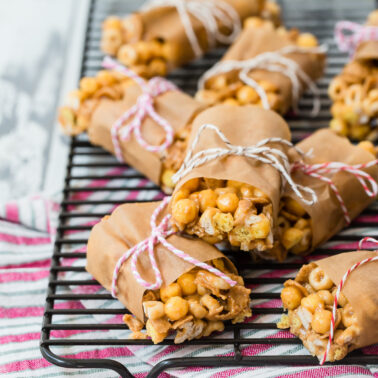
5 Ingredient Cereal Bars
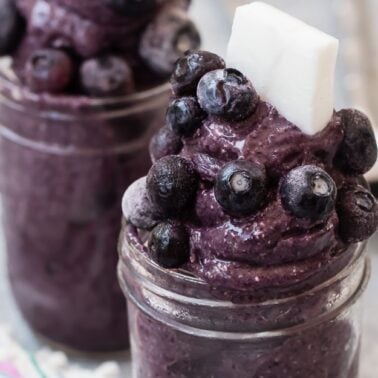
Coco-Blue Nice Cream
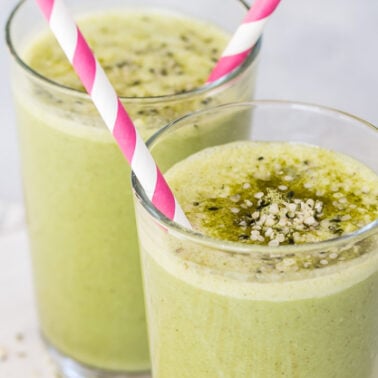
Matcha Vanilla Date Smoothie
Vanilla Cinnamon Date Shake
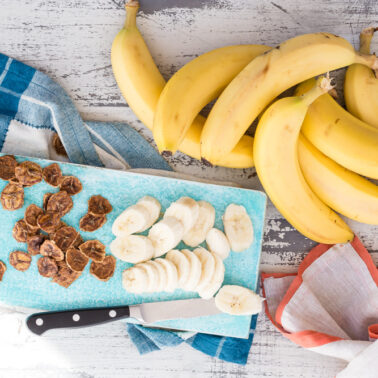
Baked Banana Chips
Summer Chicken Sheet Pan Dinner
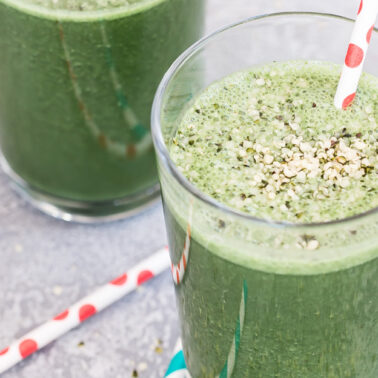
Vanilla Kale Spirulina Smoothie
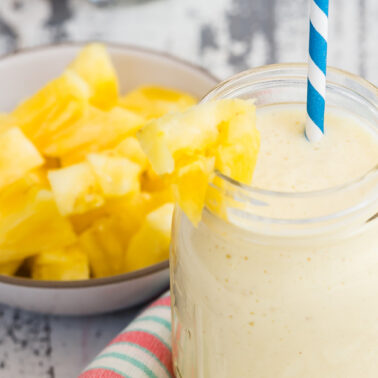
Sunshine Smoothie
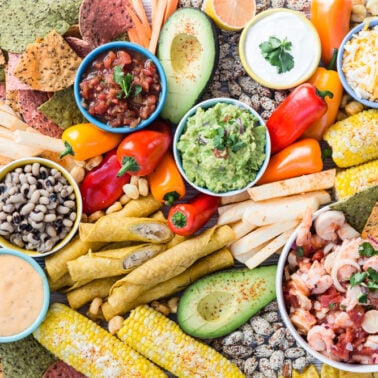
Cinco de Mayo Snack Platter
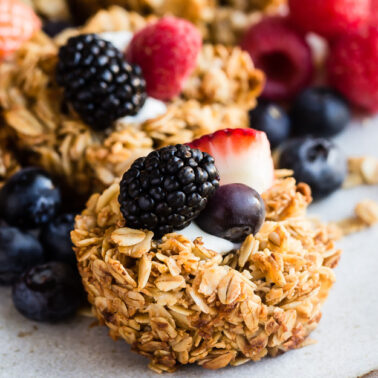
Crunchy Granola Bites
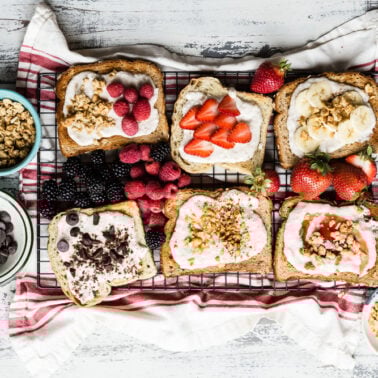
Banana Cottage Cheese Honey Spread
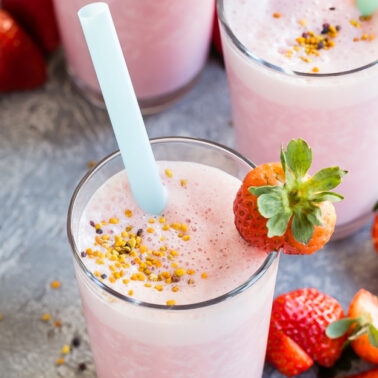
Cotton Candy Smoothie
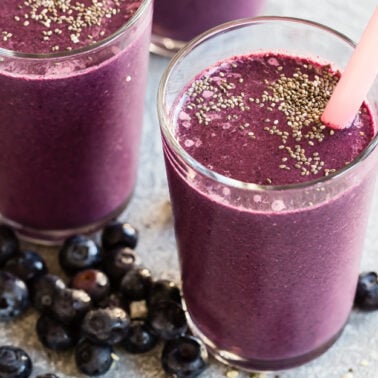
Blueberry Chia Smoothie
Go to Previous Page
Go to page
1
Interim pages omitted
…
Go to page
8
Go to page
9
Go to page
10
Go to page
11
Go to page
12
Interim pages omitted
…
Go to page
40
Go to Next Page