Skip to content
Sign up for free daily recipes! →
My Favorites
Recipes
Entrees
Side Dishes
Salads
Smoothies
Vegetarian
Breakfast and Brunch
Desserts
Meal Plans
Kid Friendly Recipes
Muffins
Finger Foods
Sandwiches
Snacks
School Lunch
Cookbooks
Meal Prep Magic
Smoothie Project
Weelicious Lunches
Weelicious: One Family, One Meal
About
Weelicious Store
Home
Grains
Grains
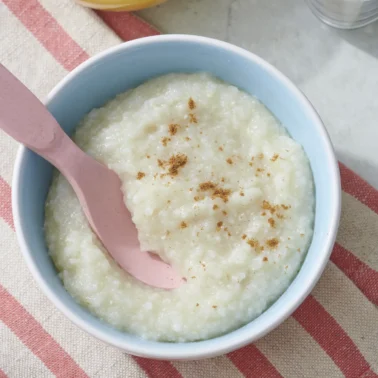
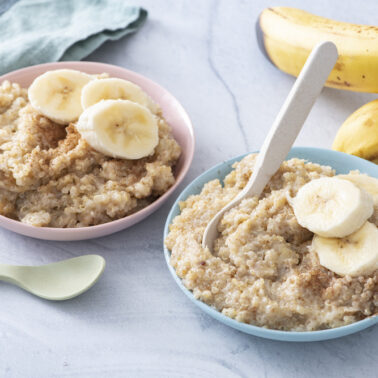
Homemade Brown Rice Cereal Recipe for Babies
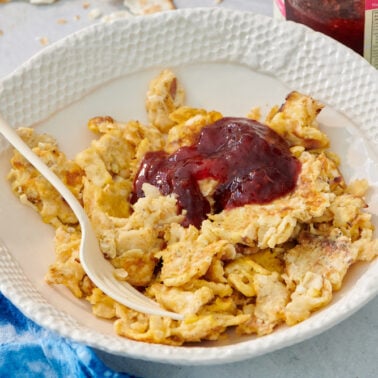
Matzah Brei
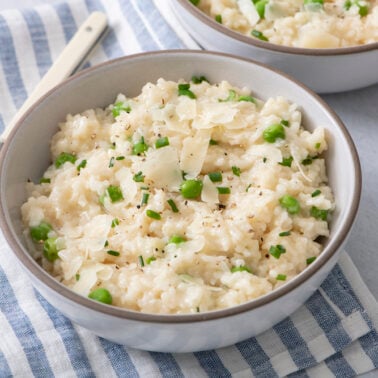
Multi Cooker 15 Minute Spring Risotto
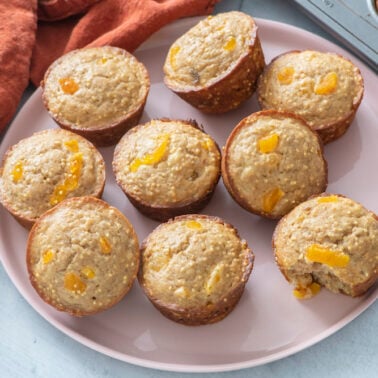
Apricot Millet Muffins
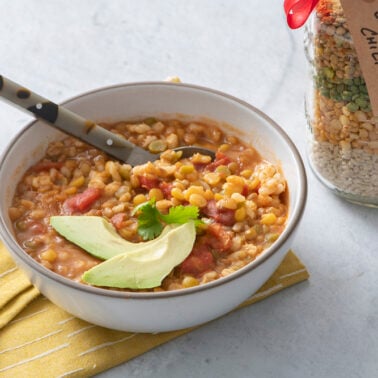
Easy Winter Chili In A Jar
Leftover Rice Pudding
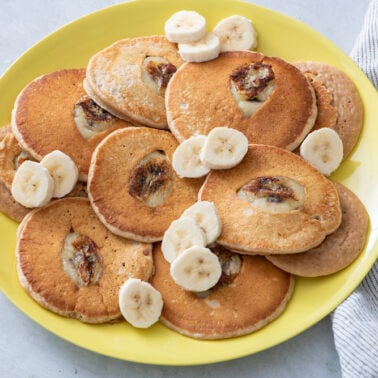
Whole Wheat Cinnamon Banana Pancakes
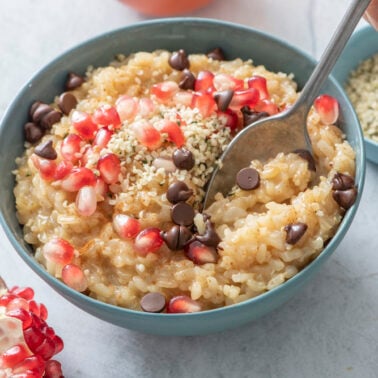
Banana Quinoa Rice Pudding
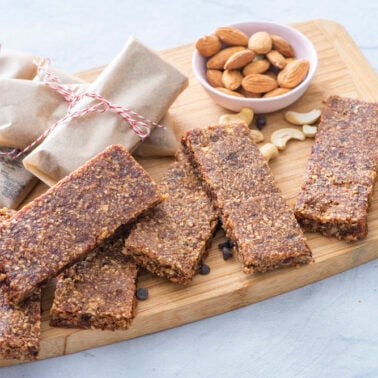
Protein Bars
Yellow Rice Cakes
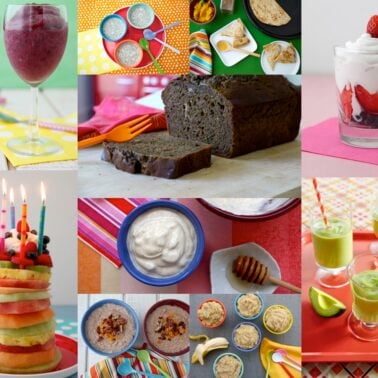
10 Dessert Recipes That Are Actually Good For You
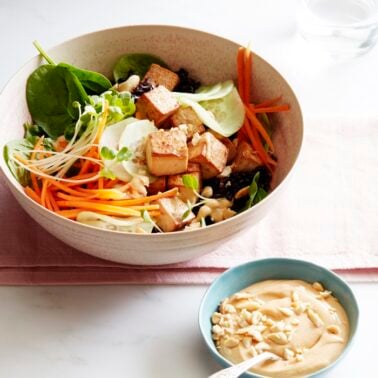
Forbidden Black Rice Bowls
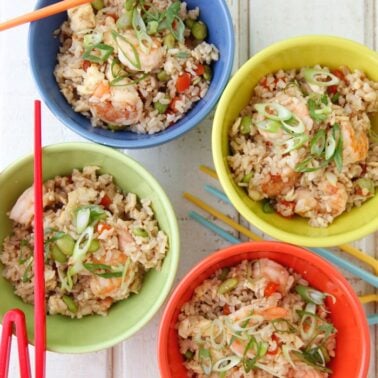
Shrimp Un-Fried Rice
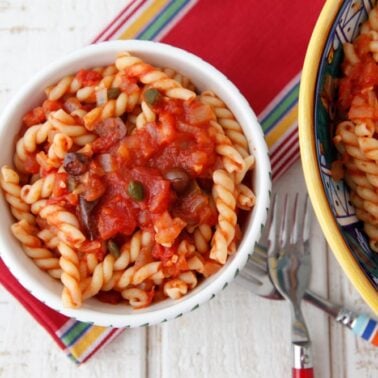
Kid Friendly Puttanesca
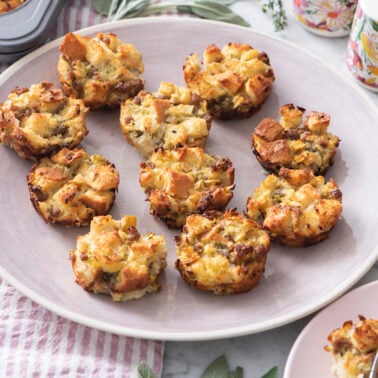
Apple Sausage Stuffing Bites
Wheat Germ Parmesan Crackers
Go to page
1
Go to page
2
Go to page
3
Go to page
4
Go to Next Page