Skip to content
Sign up for free daily recipes! →
My Favorites
Recipes
Entrees
Side Dishes
Salads
Smoothies
Vegetarian
Breakfast and Brunch
Desserts
Meal Plans
Kid Friendly Recipes
Muffins
Finger Foods
Sandwiches
Snacks
School Lunch
Cookbooks
Meal Prep Magic
Smoothie Project
Weelicious Lunches
Weelicious: One Family, One Meal
About
Weelicious Store
Home
Recipes 10-12 Months
Recipes 10-12 Months
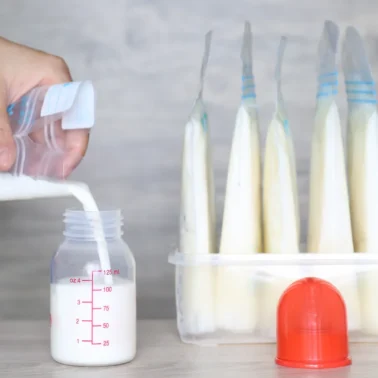
Breast Milk Recipes for Babies
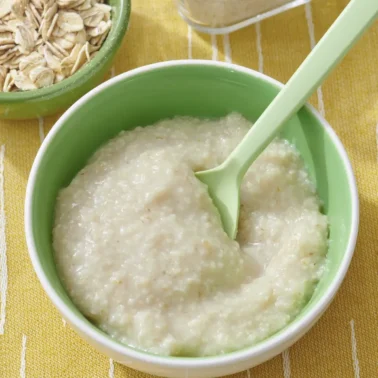
Homemade Oatmeal Cereal for Babies
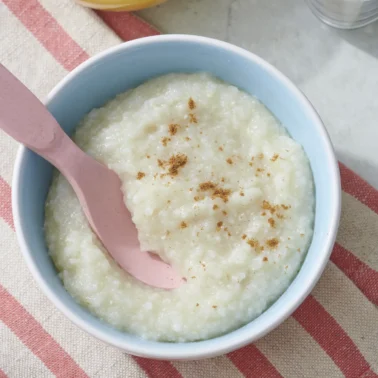
Homemade Brown Rice Cereal Recipe for Babies
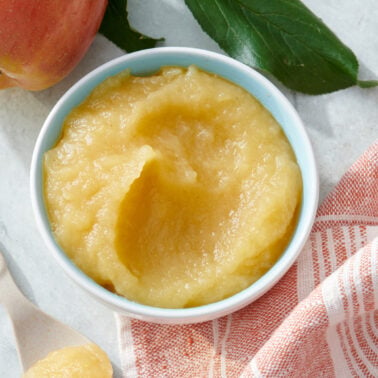
Homemade Applesauce
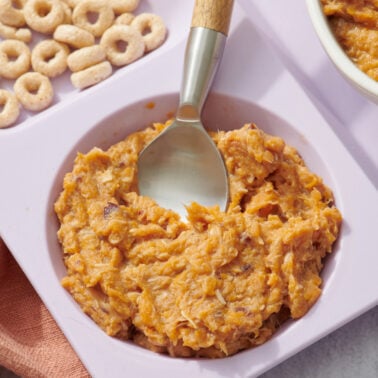
Thanksgiving Dinner Baby Food
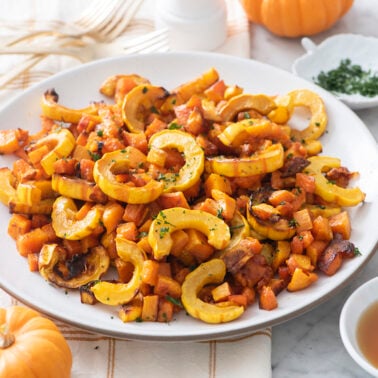
Cinnamon Roast Butternut Squash
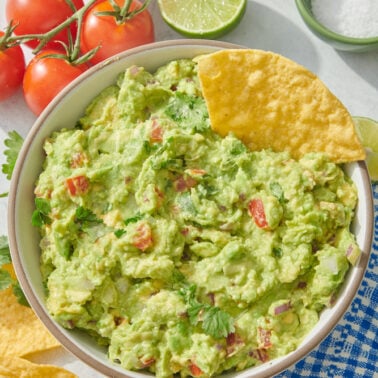
Guacamole
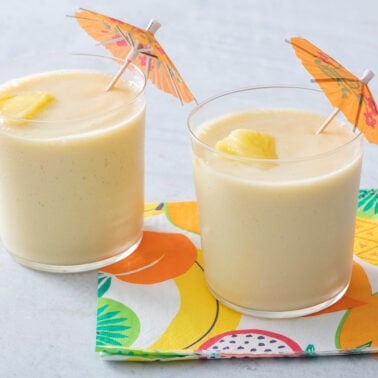
Tropical Smoothie
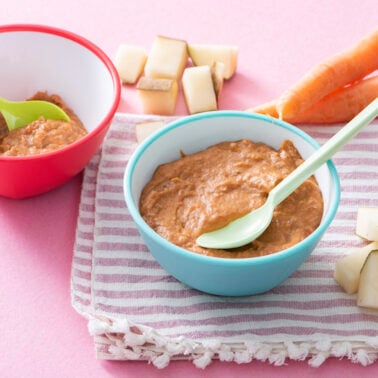
Baby Beef Stew
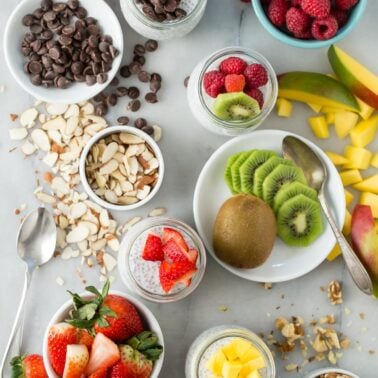
Coconut Chia Breakfast Pudding
Pancake Tacos
Apricot Banana Puree
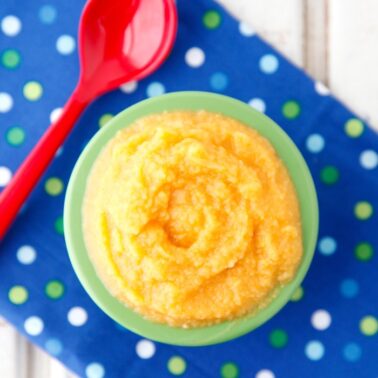
Corn Apple Sweet Potato Puree
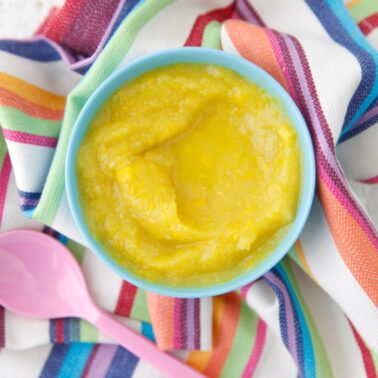
Summer Squash Baby Food
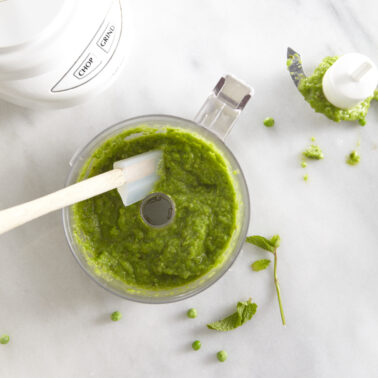
Minty Peas Baby Food
5 First Year Feeding Tips
Go to page
1
Go to page
2
Go to page
3
Interim pages omitted
…
Go to page
6
Go to Next Page