Skip to content
Sign up for free daily recipes! →
My Favorites
Recipes
All Recipes
Entrees
Side Dishes
30-Minute Meals
Breakfast and Brunch
Pastas
Soups and Stews
Slow Cooker Recipes
Air Fryer
Salads
Smoothies
Vegetarian
Desserts
Kid Friendly Recipes
Muffins
Finger Foods
Toddler Recipes
Purees
School Lunch
Sandwiches
Snacks
Meal Plans
Cookbooks
Meal Prep Magic
Smoothie Project
Weelicious Lunches
Weelicious: One Family, One Meal
About
Home
Recipe Index
Sandwiches
Page 2
Sandwich Recipes for Every Meal of the Day
Christmas Bagel Wreaths
Turkey Cranberry Bagel Sandwich
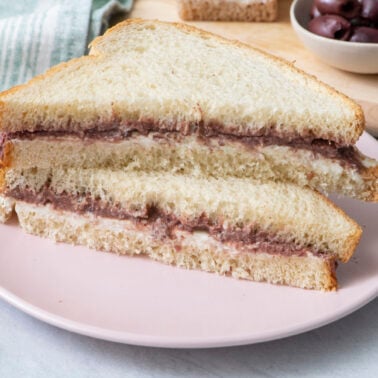
Olive Tapenade and Cream Cheese Sandwich
Smash Toast Breakfast Boats
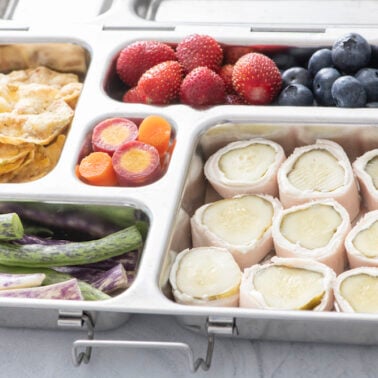
Turkey Pickle Roll Ups
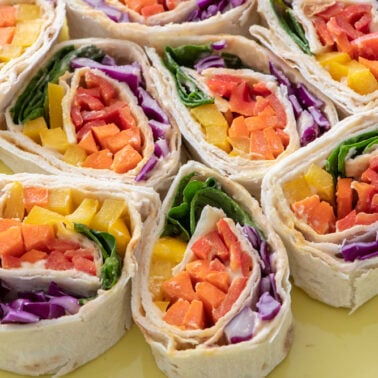
Rainbow Roll-Up Sandwiches
Waffle Heart Sandwiches
Reindeer Sandwiches
Cucumber Stackers
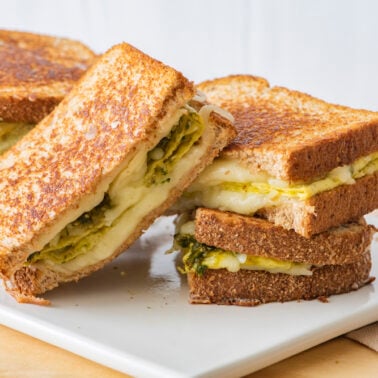
Egg Pesto Melt
Monogram Sandwich
Sandwich Kabobs 6 Ways
Rice Cracker “Face” Sandwiches
Sunny Side Up Veggie Burger
Caprese Wrap
Strawberry SunButter Bites
Go to Previous Page
Go to page
1
Go to page
2
Go to page
3
Go to page
4
Go to Next Page