Skip to content
Sign up for free daily recipes! →
My Favorites
Recipes
Entrees
Side Dishes
Salads
Smoothies
Vegetarian
Breakfast and Brunch
Desserts
Meal Plans
Kid Friendly Recipes
Muffins
Finger Foods
Sandwiches
Snacks
School Lunch
Cookbooks
Meal Prep Magic
Smoothie Project
Weelicious Lunches
Weelicious: One Family, One Meal
About
Weelicious Store
Home
Snacks
Snacks
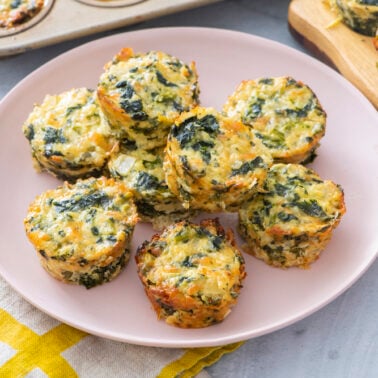
Spinach Ricotta Bites
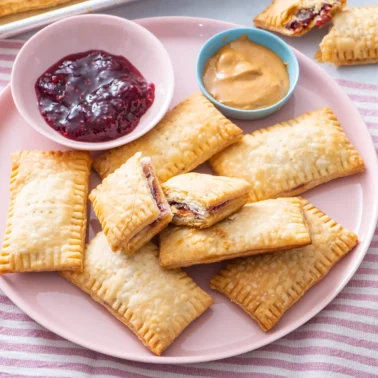
Peanut Butter and Jelly Pop Tarts
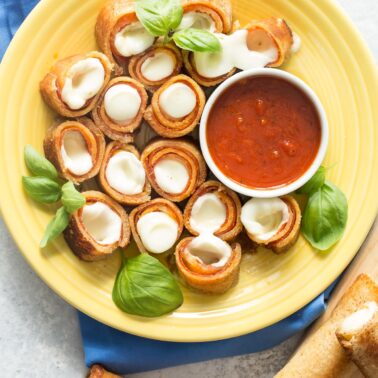
Pizza Roll Ups
Chocolate Muffins
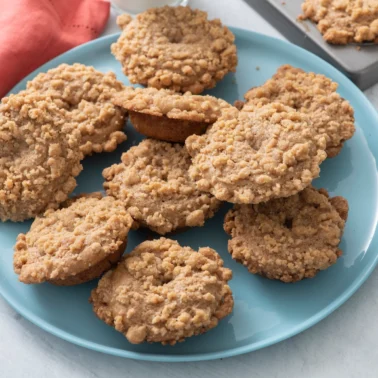
Crumb Cake Donuts
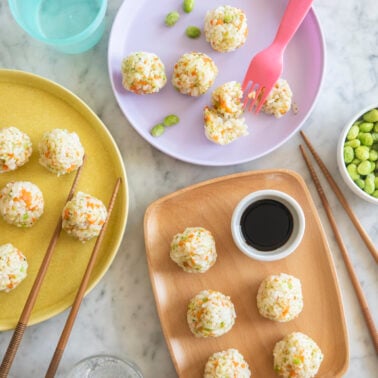
Japanese Rice Balls (Onigiri)
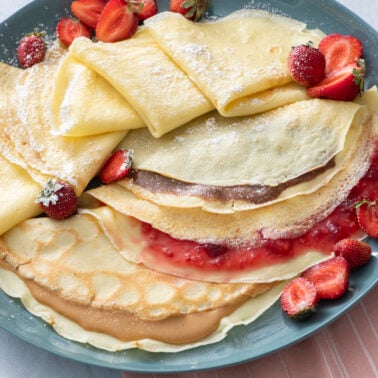
Crepes
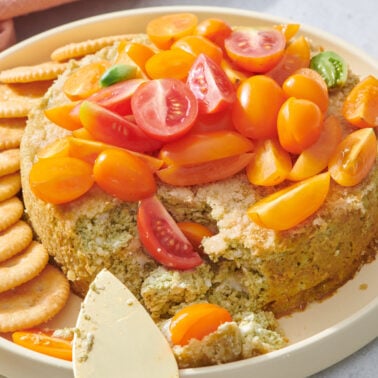
Savory Basil Pesto Cheesecake Dip
20 Festive Christmas Cookie Recipes
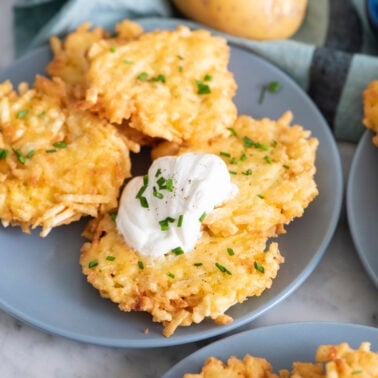
Potato Latkes
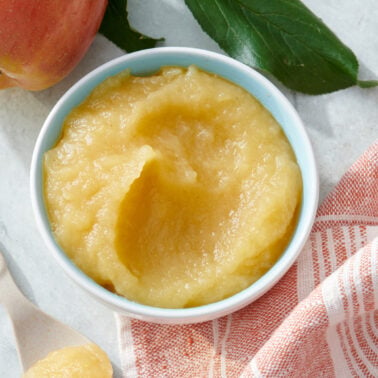
Homemade Applesauce
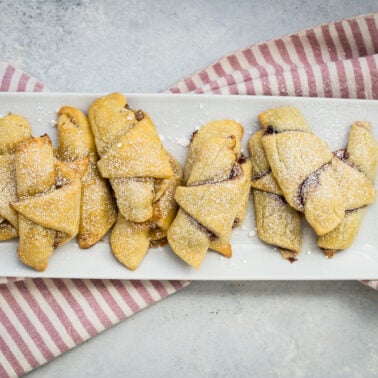
Rugelach
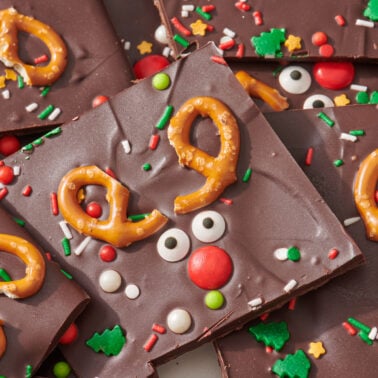
Chocolate Reindeer Bark
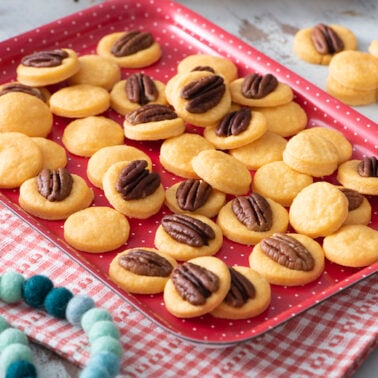
Cheese Wafers
No-Bake Reindeer Bites
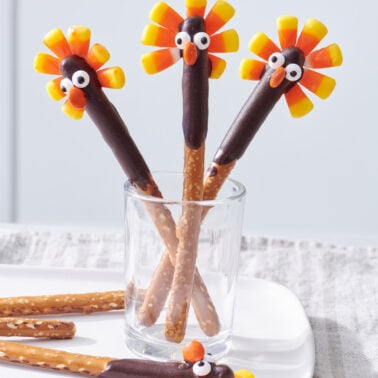
Thanksgiving Turkey Pretzels
Go to page
1
Go to page
2
Go to page
3
Interim pages omitted
…
Go to page
29
Go to Next Page