Skip to content
Sign up for free daily recipes! →
My Favorites
Recipes
Entrees
Side Dishes
Salads
Smoothies
Vegetarian
Breakfast and Brunch
Desserts
Meal Plans
Kid Friendly Recipes
Muffins
Finger Foods
Sandwiches
Snacks
School Lunch
Cookbooks
Meal Prep Magic
Smoothie Project
Weelicious Lunches
Weelicious: One Family, One Meal
About
Weelicious Store
Home
Toddler Bites
Toddler Bites
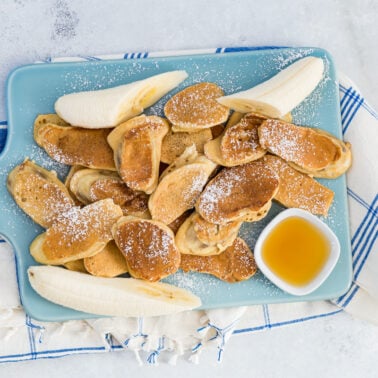
Banana Pancake Bites
Banana Waffles
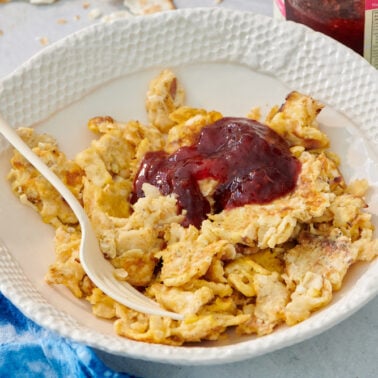
Matzah Brei
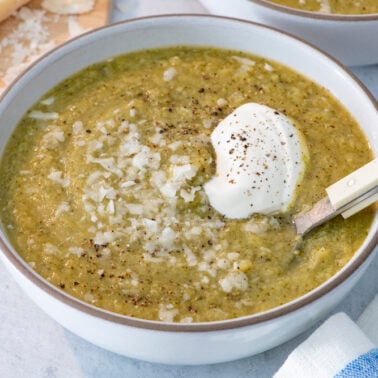
Broccoli Soup
Leftover Thanksgiving Turkey Shepherd’s Pot Pie
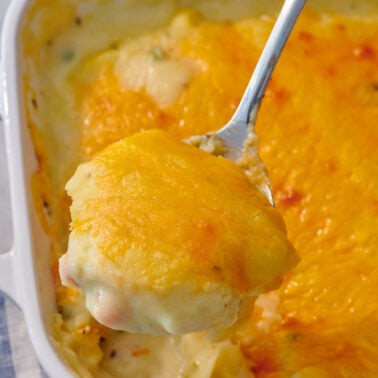
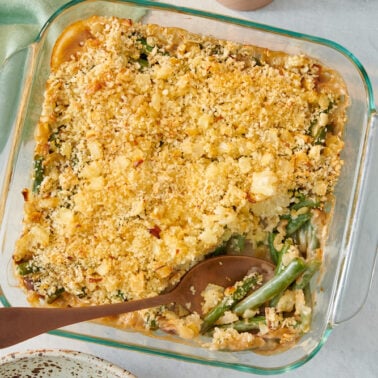
Green Bean Casserole
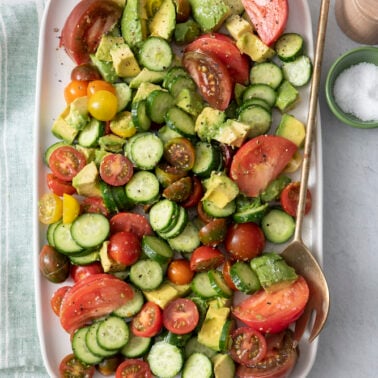
Avocado Cucumber Tomato Salad
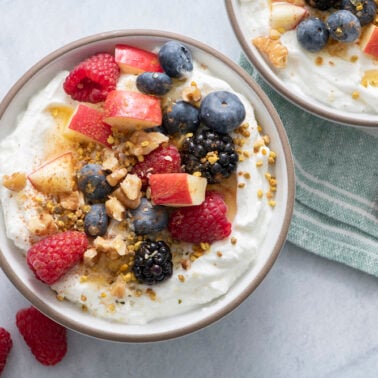
Brainy Breakfast
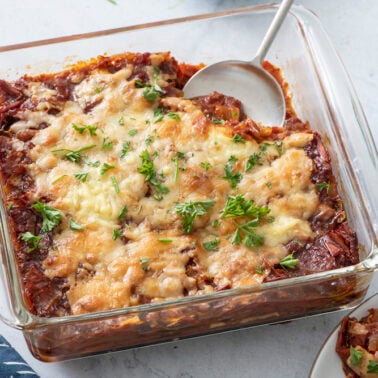
Gluten Free Eggplant Lasagna
Beef and Broccoli Stir Fry
The Cutest Pink Cupcakes for Valentine’s Day
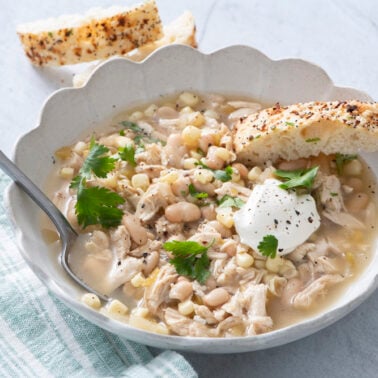
White Chicken Chili
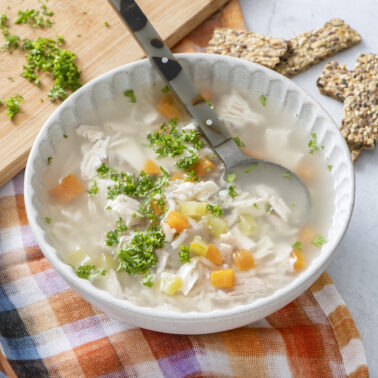
Chicken Soup & Rice
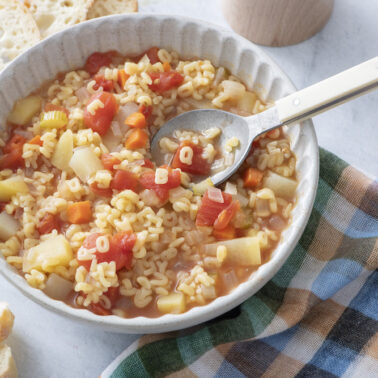
Alphabet Soup
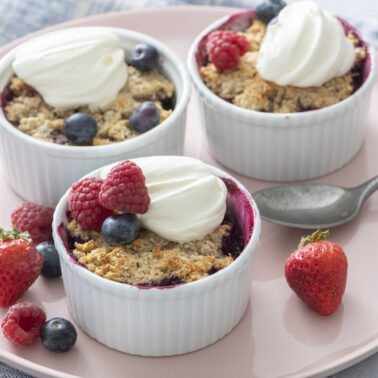
Berry Coconut Crisps
Slow-Cooked Green Chili Pork Tacos
Go to page
1
Go to page
2
Go to page
3
Interim pages omitted
…
Go to page
47
Go to Next Page