Skip to content
Sign up for free daily recipes! →
My Favorites
Recipes
All Recipes
Entrees
Side Dishes
30-Minute Meals
Breakfast and Brunch
Pastas
Soups and Stews
Slow Cooker Recipes
Air Fryer
Salads
Smoothies
Vegetarian
Desserts
Kid Friendly Recipes
Muffins
Finger Foods
Toddler Recipes
Purees
School Lunch
Sandwiches
Snacks
Meal Plans
Cookbooks
Meal Prep Magic
Smoothie Project
Weelicious Lunches
Weelicious: One Family, One Meal
About
Home
eggs
eggs
Cake Mix Sprinkle Cookies
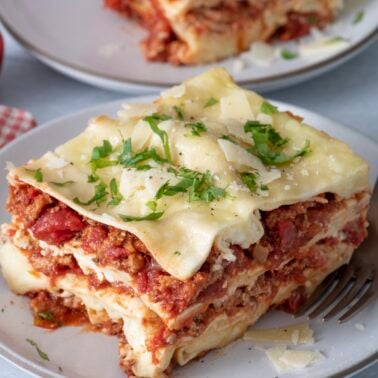
Slow Cooker 12 Layer Lasagna
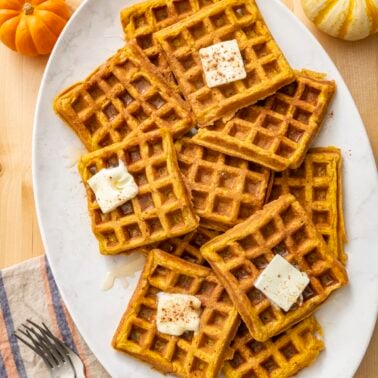
Pumpkin Waffles
Tres Leches Cake
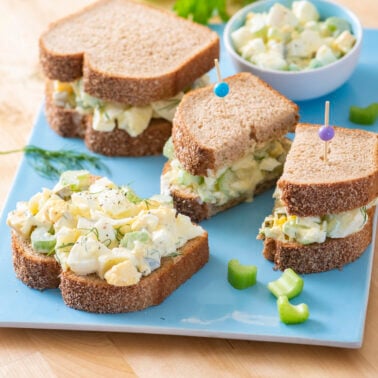
Egg Salad Sandwich
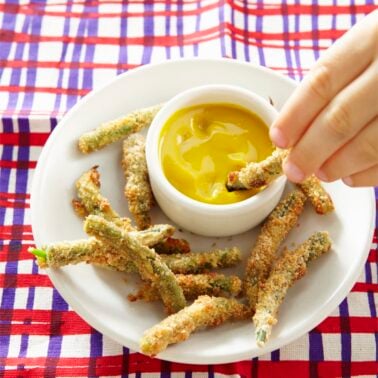
Crispy Green Bean Fries (Oven or Air Fryer)
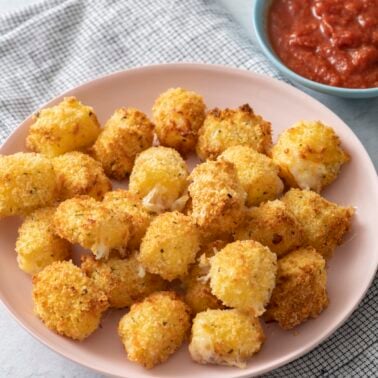
Air Fryer Crispy Cheese Bites
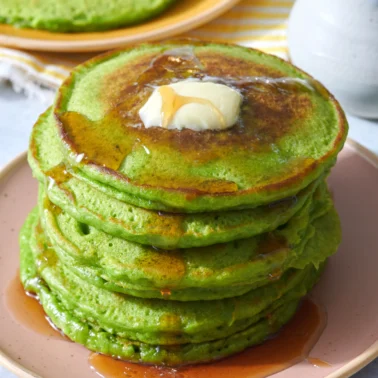
Spinach Pancakes
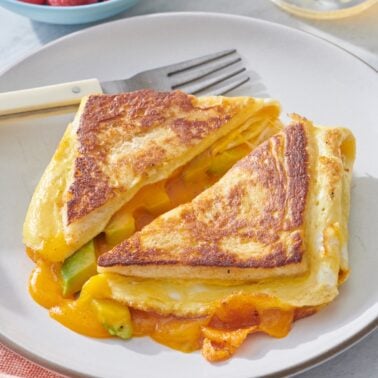
One Pan Breakfast Sandwich
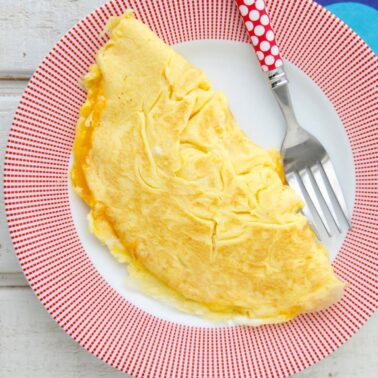
Cheese Omelette
Dye-Free Pink Cupcakes for Valentine’s Day
Mu Shu Chicken
Cheese Grits
Challah Bread Pudding
Peppermint Brookies (Brownie Cookies)
Holiday Chocolate Chip Sprinkle Bars
Go to page
1
Go to page
2
Go to page
3
Go to Next Page