Skip to content
Sign up for free daily recipes! →
My Favorites
Recipes
All Recipes
Entrees
Side Dishes
30-Minute Meals
Breakfast and Brunch
Pastas
Soups and Stews
Slow Cooker Recipes
Air Fryer
Salads
Smoothies
Vegetarian
Desserts
Kid Friendly Recipes
Muffins
Finger Foods
Toddler Recipes
Purees
School Lunch
Sandwiches
Snacks
Meal Plans
Cookbooks
Meal Prep Magic
Smoothie Project
Weelicious Lunches
Weelicious: One Family, One Meal
About
Home
parmesan cheese
parmesan cheese
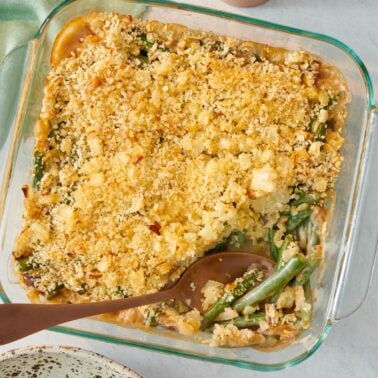
Green Bean Casserole
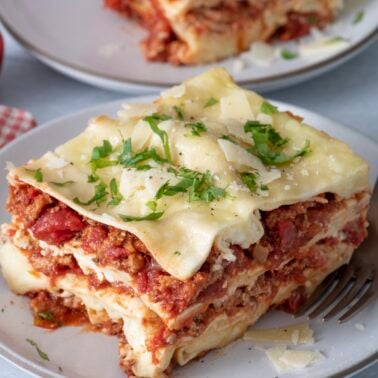
Slow Cooker 12 Layer Lasagna
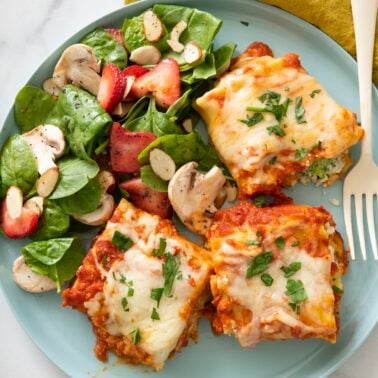
Lasagna Rolls
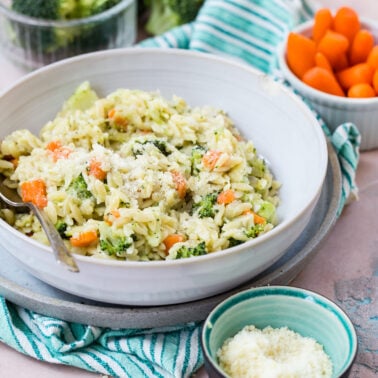
Carrot, Broccoli and Cheese Orzo
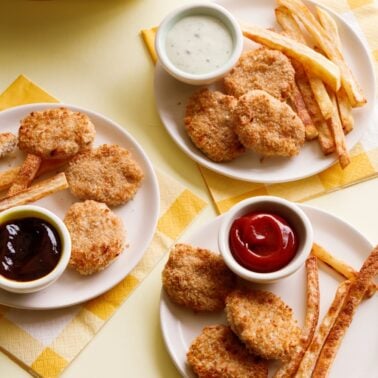
Easy Chicken Nuggets
Basil Pesto Recipe
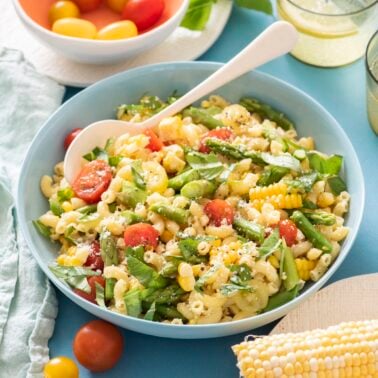
Summer Pasta Salad
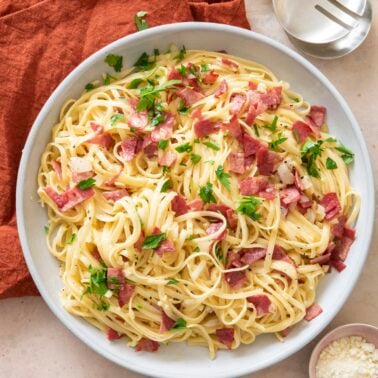
Lightened Up Spaghetti Carbonara
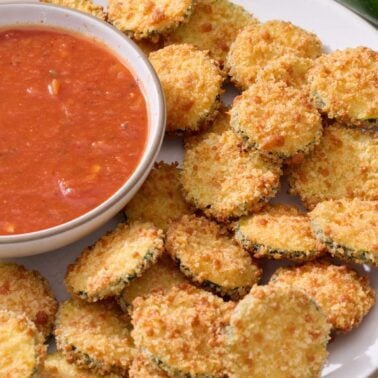
Baked Zucchini Slices
Spinach Ricotta Bites
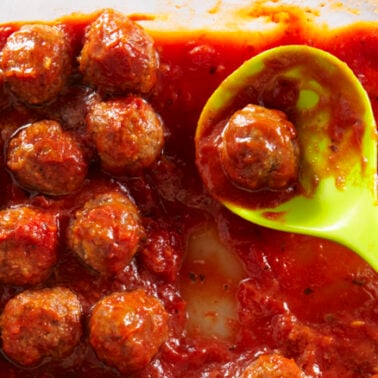
Turkey Pesto Meatballs
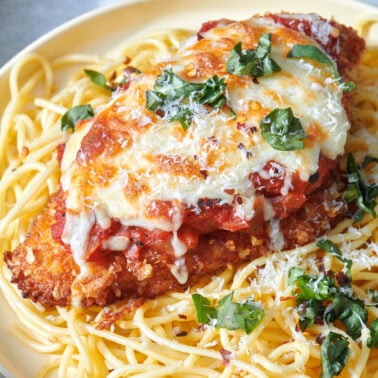
Crispy Chicken Parmesan
Baby Frittatas (aka Egg Bites)
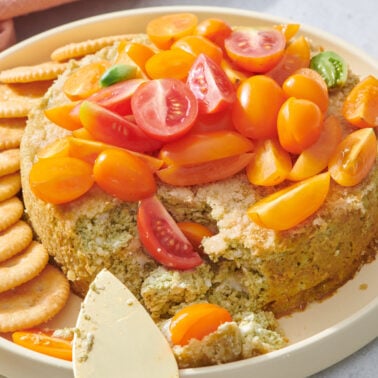
Savory Basil Pesto Cheesecake Dip
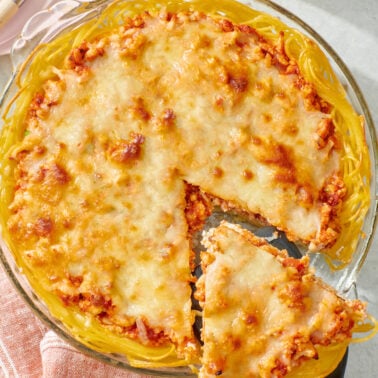
Spaghetti Pie
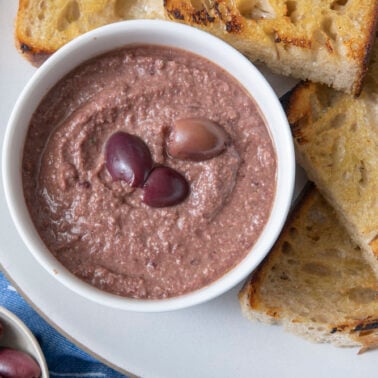
Olive Tapenade
Go to page
1
Go to page
2
Go to Next Page