Skip to content
Sign up for free daily recipes! →
My Favorites
Recipes
All Recipes
Entrees
Side Dishes
30-Minute Meals
Breakfast and Brunch
Pastas
Soups and Stews
Slow Cooker Recipes
Air Fryer
Salads
Smoothies
Vegetarian
Desserts
Kid Friendly Recipes
Muffins
Finger Foods
Toddler Recipes
Purees
School Lunch
Sandwiches
Snacks
Meal Plans
Cookbooks
Meal Prep Magic
Smoothie Project
Weelicious Lunches
Weelicious: One Family, One Meal
About
Home
carrots
carrots
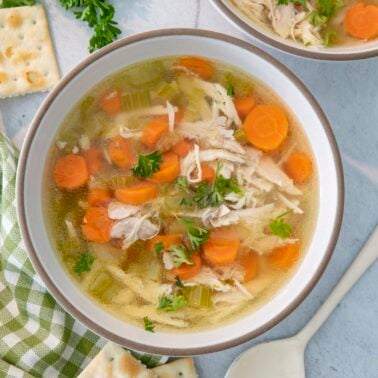
Pressure Cooker Chicken Soup with a Whole Chicken
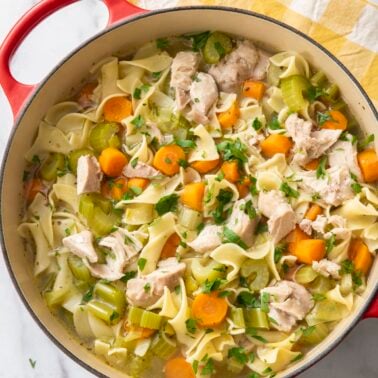
Easy Chicken Noodle Soup
Carrot Parsnip Latkes
Beef Stew in the Crock Pot
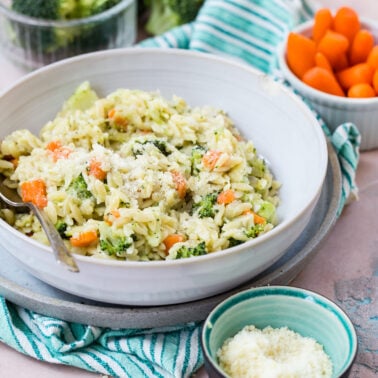
Carrot, Broccoli and Cheese Orzo
Turkey Sloppy Joes
Silky Smooth Carrot Puree for Baby
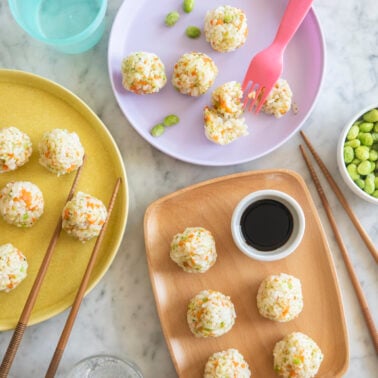
Japanese Rice Balls
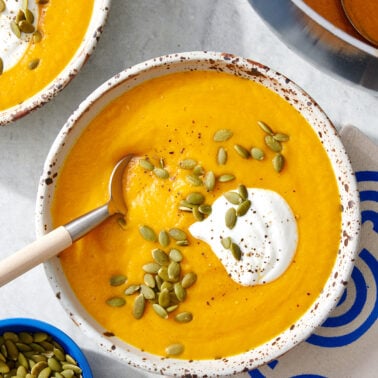
Carrot Ginger Soup
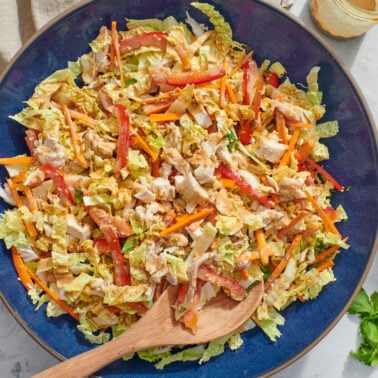
Chinese Chicken Salad
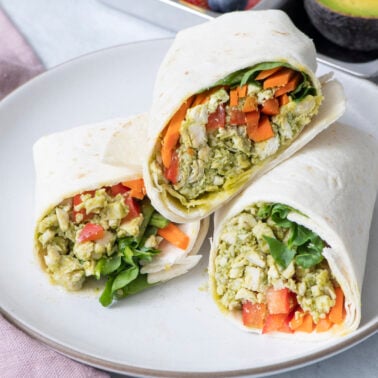
Chicken Pesto Wraps
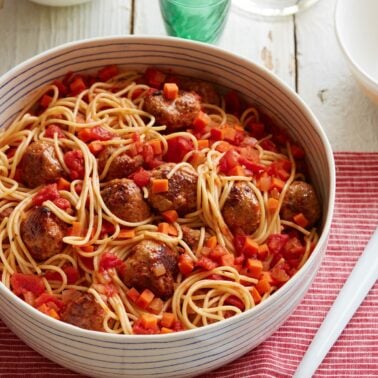
Spaghetti and Turkey Meatballs