This post may contain affiliate links. Please read our disclosure policy.
If there’s one treat that screams holidays, celebrations, or “just because,” it’s Sugar Cookies. These sweet, buttery classics are perfect for everything from cookie exchanges to rainy-day baking sessions with the kids. Decorating sugar cookies with kids is just about as much fun as you can have in the kitchen and this version is really easy to make and even yummier to eat.

Table of Contents
Why I Love This Recipe
- Make Ahead: You can prepare the dough ahead of time, while kids are in bed or in school, so it’s chilled and ready for baking fun. This is a major time-saver during busy holidays or special occasions!
- Family Time: Gather the entire family (and friends!) to bake and decorate! Rolling out the dough, using cookie cutters, and decorating these cookies is some of the most fun we have all year! These cookies are also perfect for kids parties!
- Year-Round Fun: While homemade sugar cookies are a holiday classic, they’re great for any time of the year. Just swap out the cookie cutters and decorations to match any celebration.
- Cookie Exchange Hero: We host a holiday cookie exchange party every year. If you’re planning your own, these sugar cookies are always a crowd-pleaser. Pair them with other festive treats Homemade Graham Crackers, Soft and Sweet Molasses, Chocolate Orange Snaps, Holiday Chocolate Chip Sprinkle Bars and Gingerbread cookies!
The Ingredients
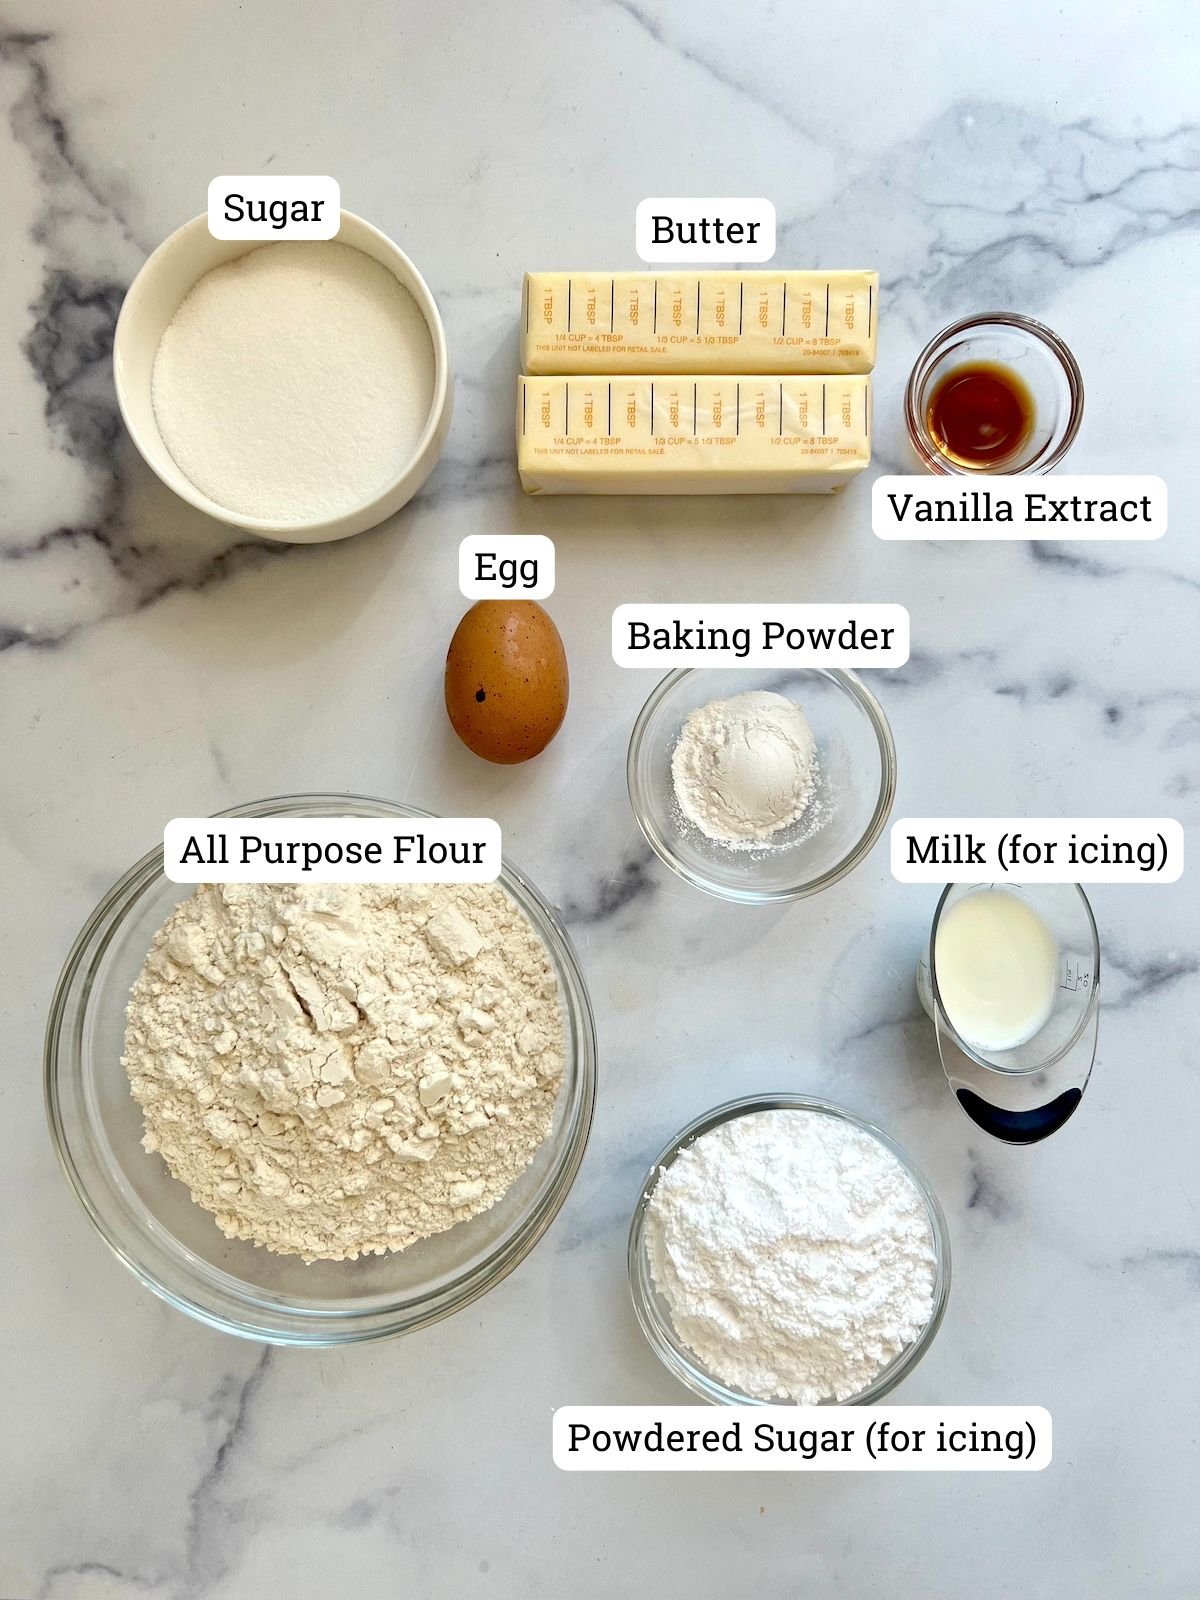
- Flour: I like to use an unbleached all-purpose flour here. It makes for cookies with the perfect bite. If you’re looking for a gluten-free option, try my Gluten-Free Sugar Cookies recipe!
- Sugar: Yes, these may have a “lot” of sugar, but treats are treats! You can’t have a sugar cookie without sugar. You’ll also need powdered sugar for the icing.
- Butter: I don’t find there’s much a difference between using salted or unsalted, so feel free to use whatever you have on hand. Room temperature butter is key!
- Milk: This brings the icing together, allowing you to achieve the perfect consistency.
*For a full list of ingredients and measurements, see the recipe card below.*
How to Make Sugar Cookies
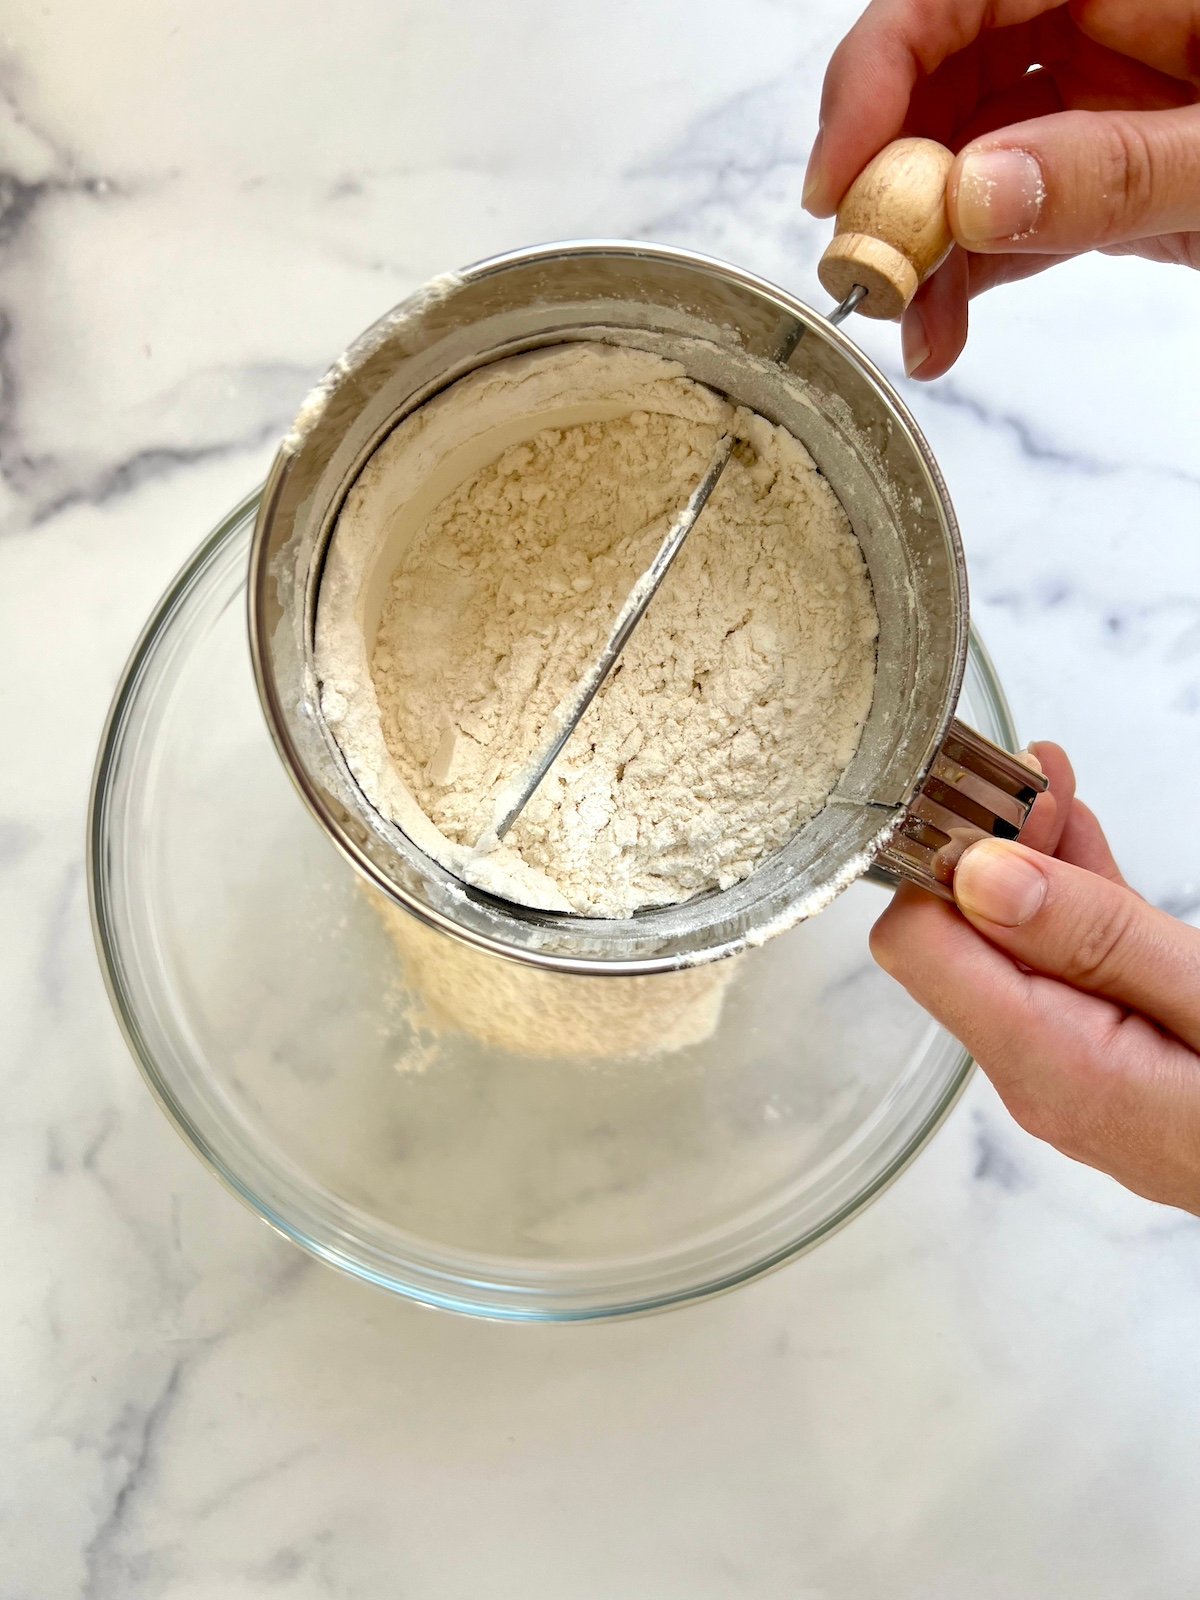
Step 1: Sift dry ingredients into a medium mixing bowl.
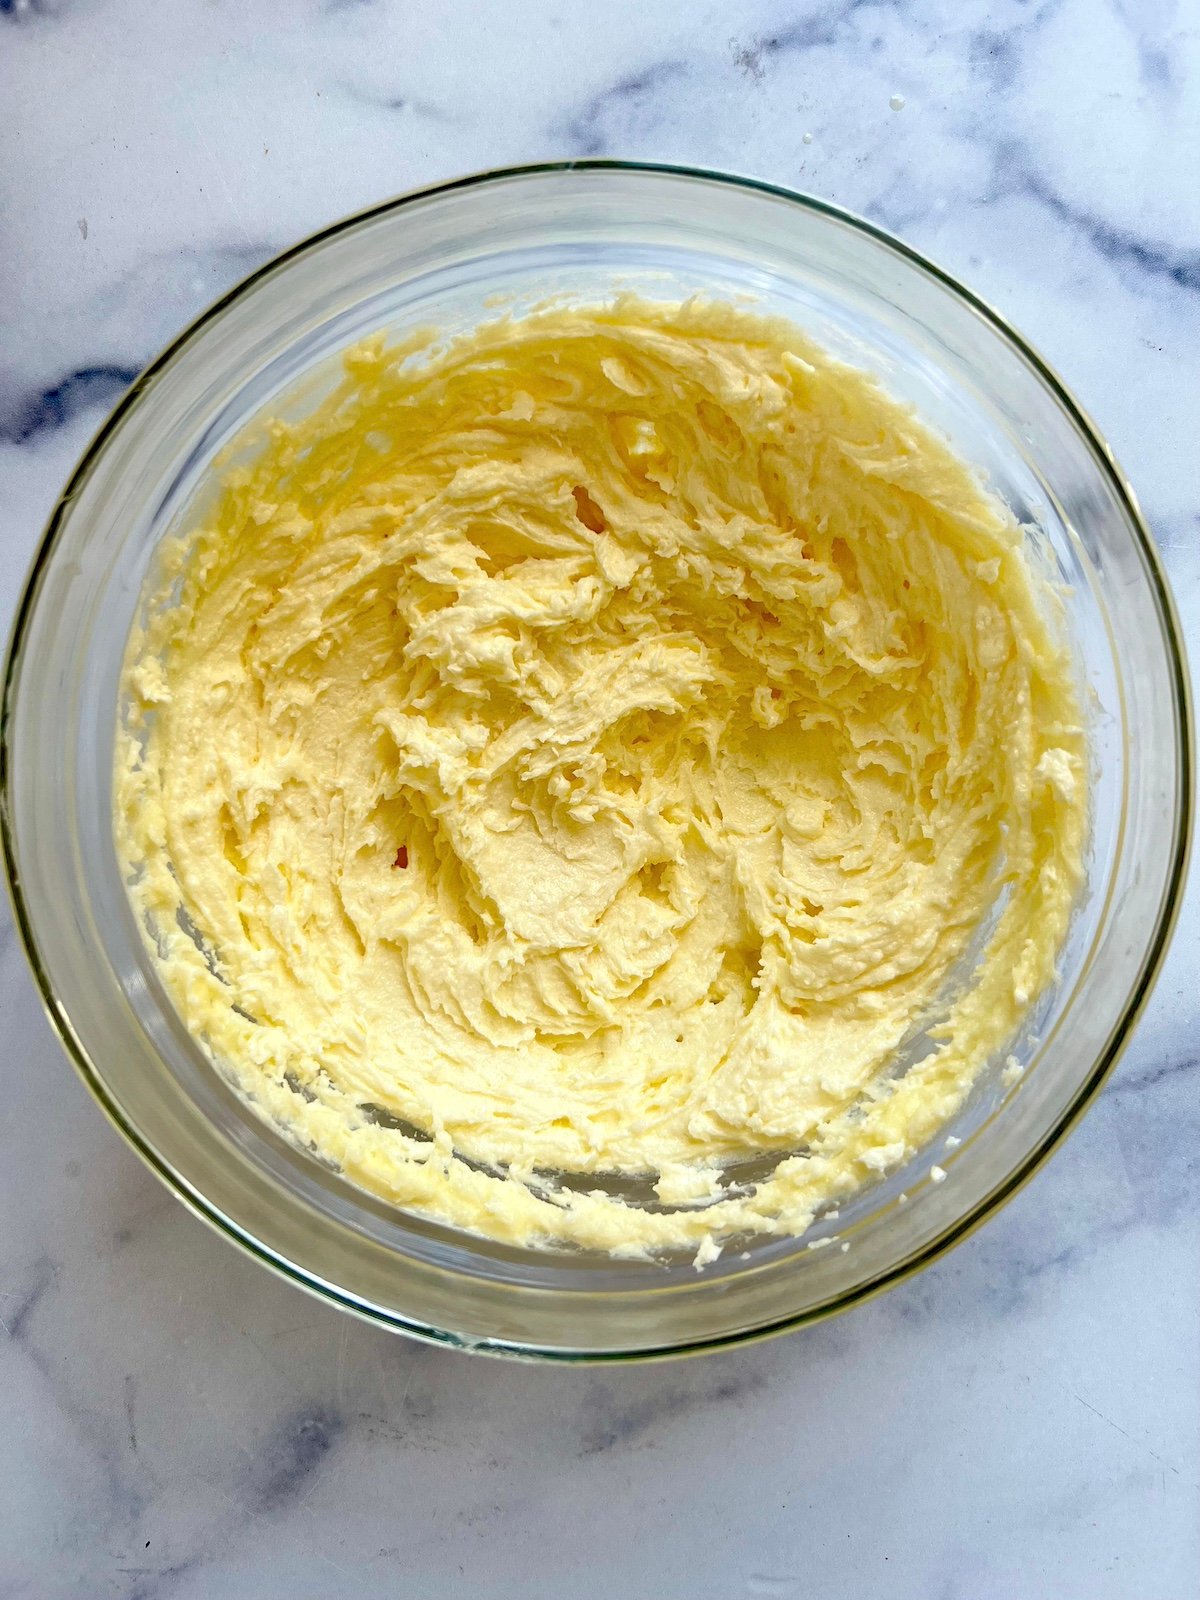
Step 2: In a separate bowl using electric beaters or in a standing mixer, cream the butter and sugar for 3 minutes on medium to high speed until light and fluffy. Add the egg and vanilla to the butter mixture and beat until incorporated.
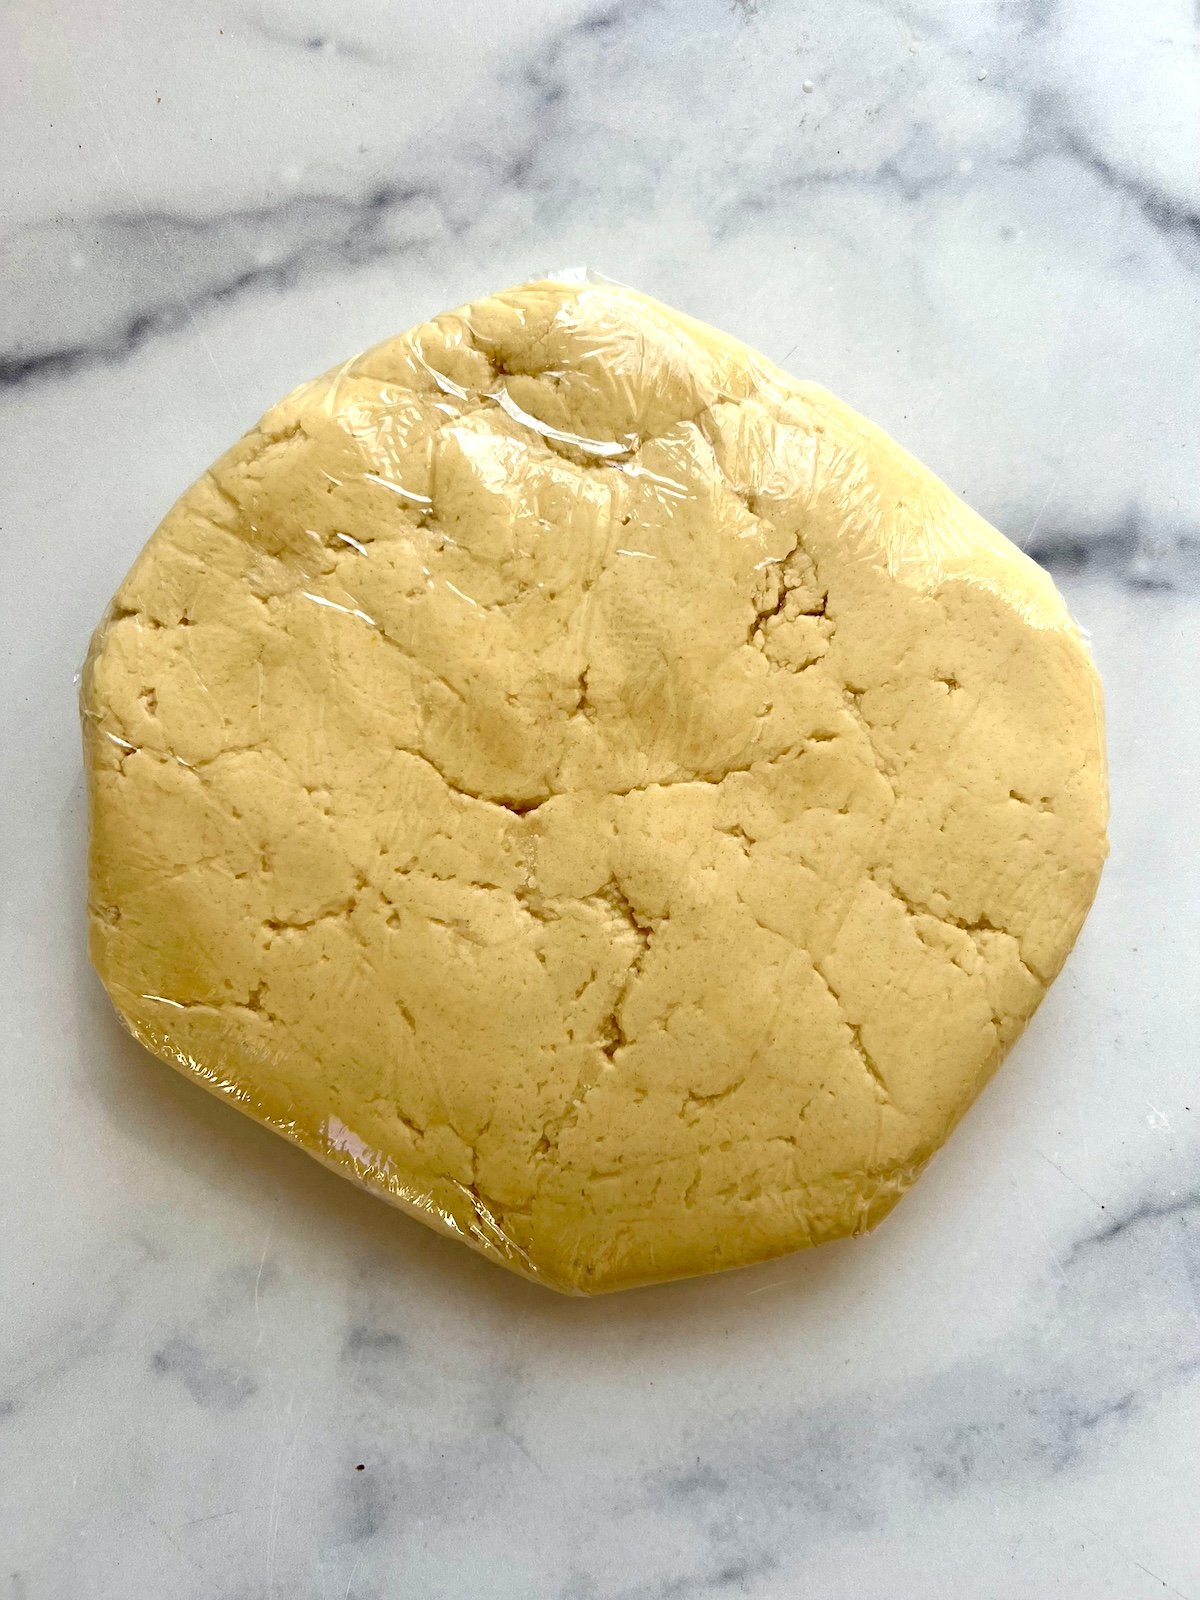
Step 3: Slowly add the flour mixture until the dough comes together. Divide dough in half and shape into two discs and wrap. Place in the fridge at least 30 minutes to overnight.
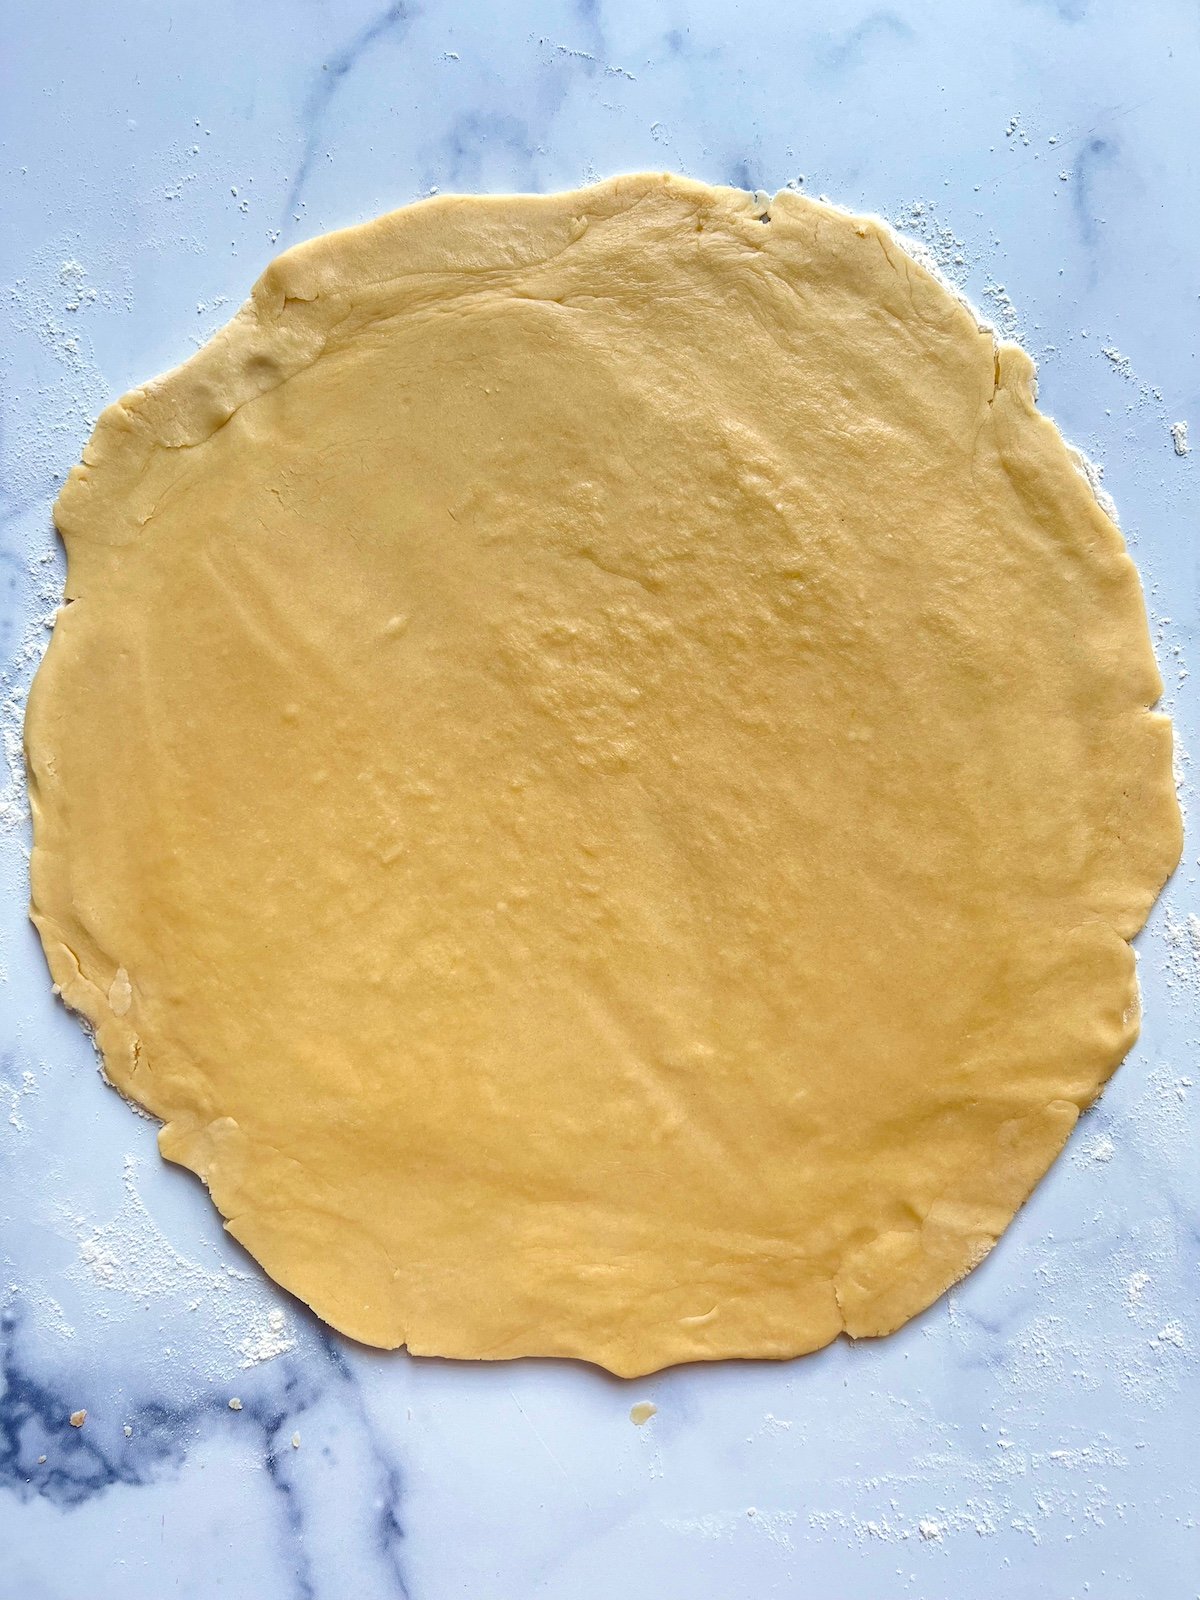
Step 4: Roll dough out to 1/4-inch thickness.
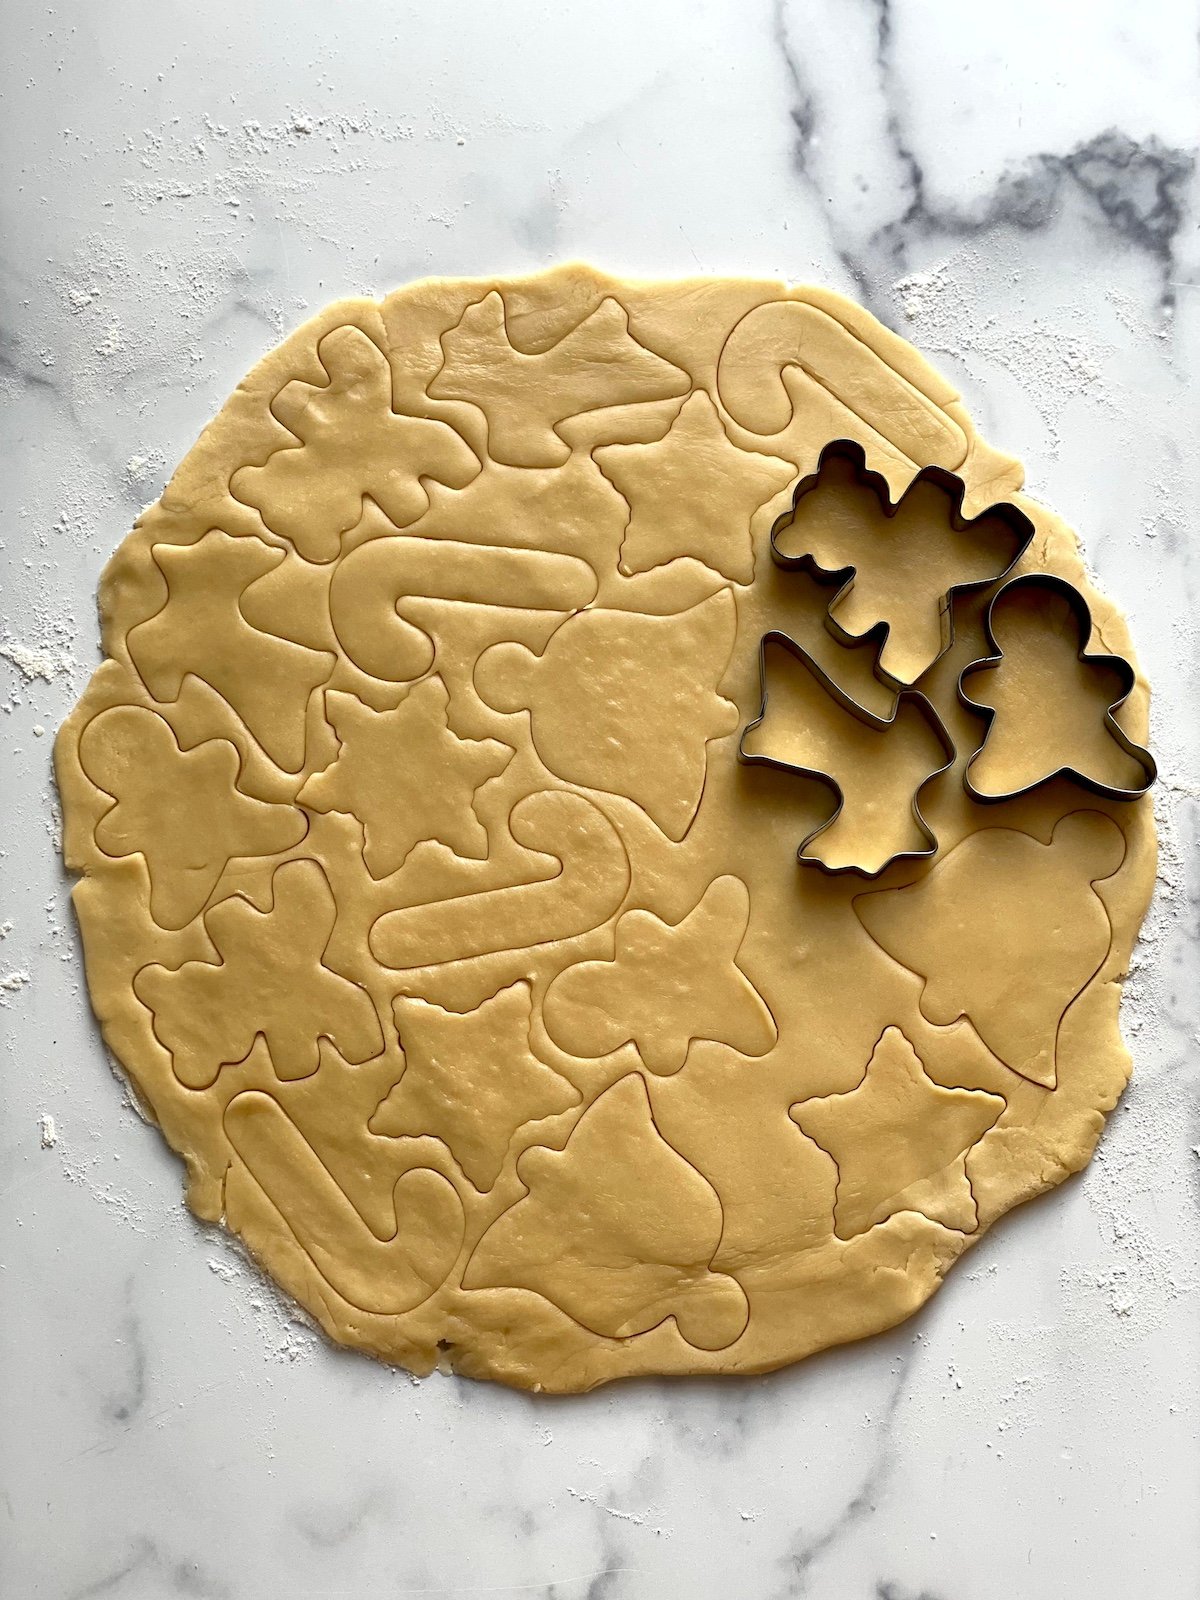
Step 5: Use cookie cutters to make the best use of the dough.
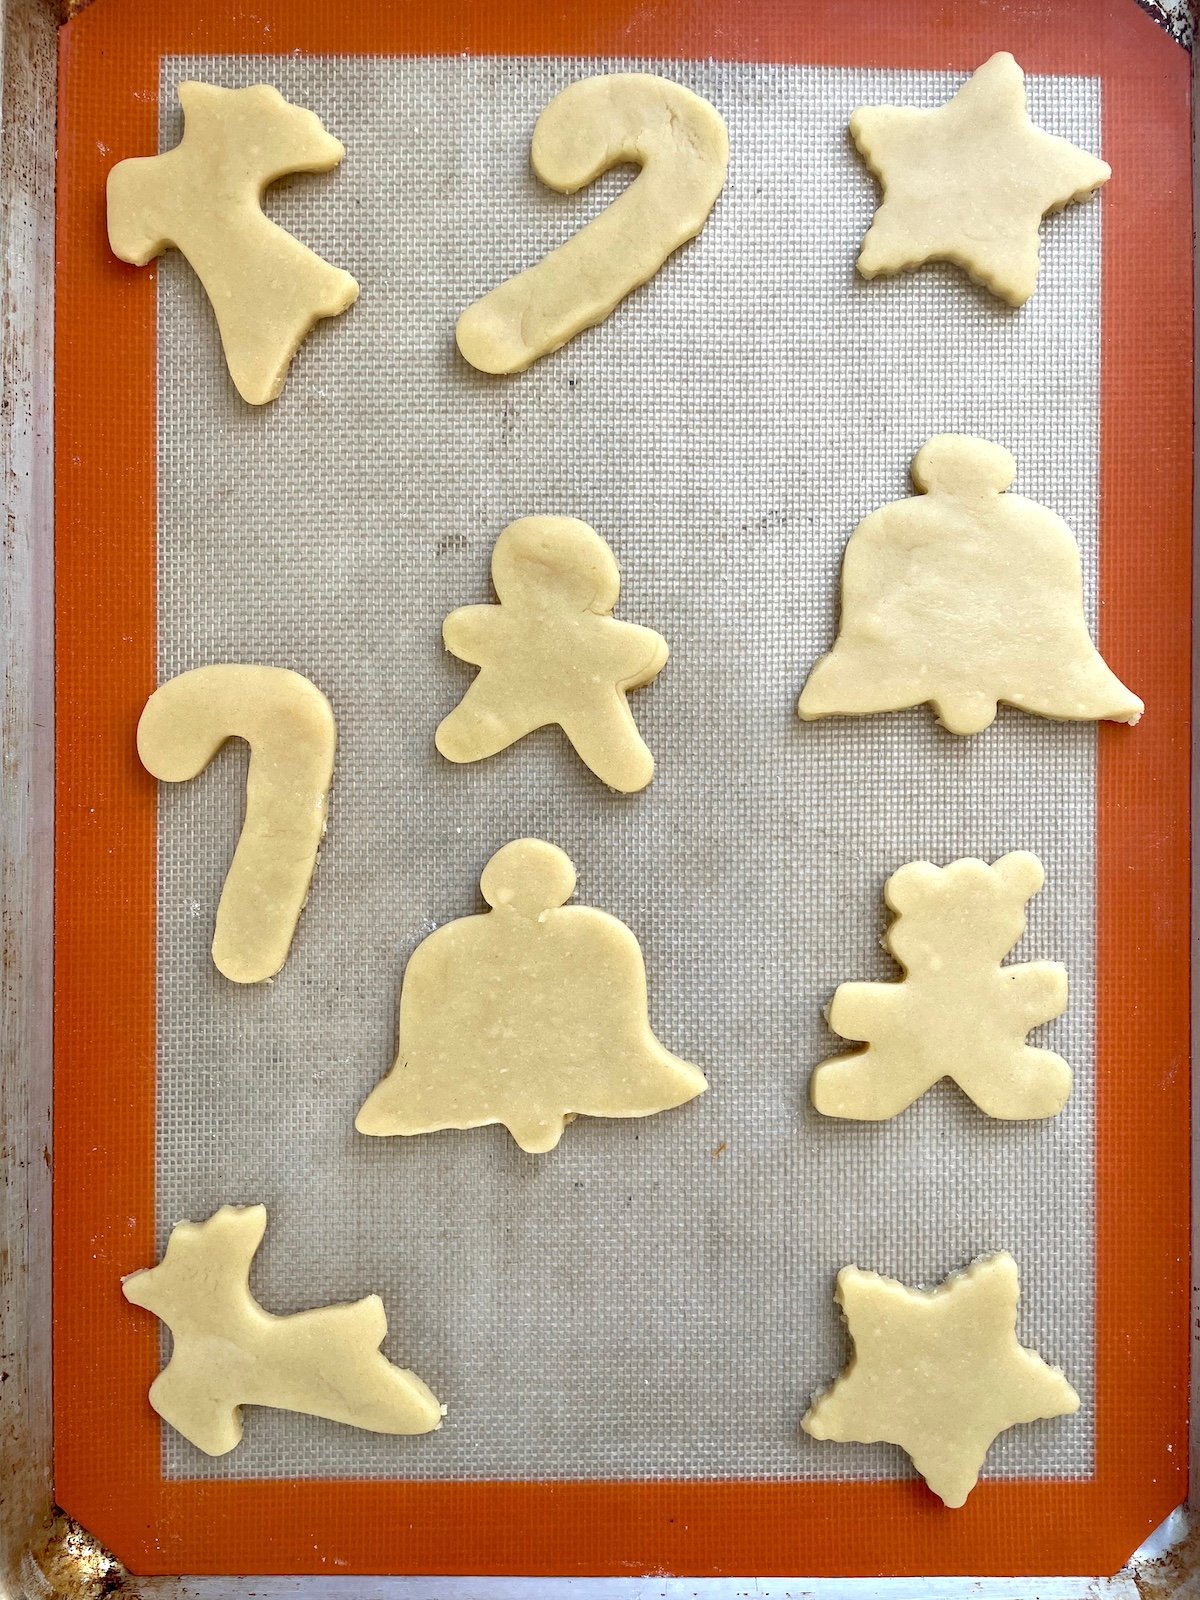
Step 6: Use a spatula to carefully transfer cookies to a lined baking sheet.
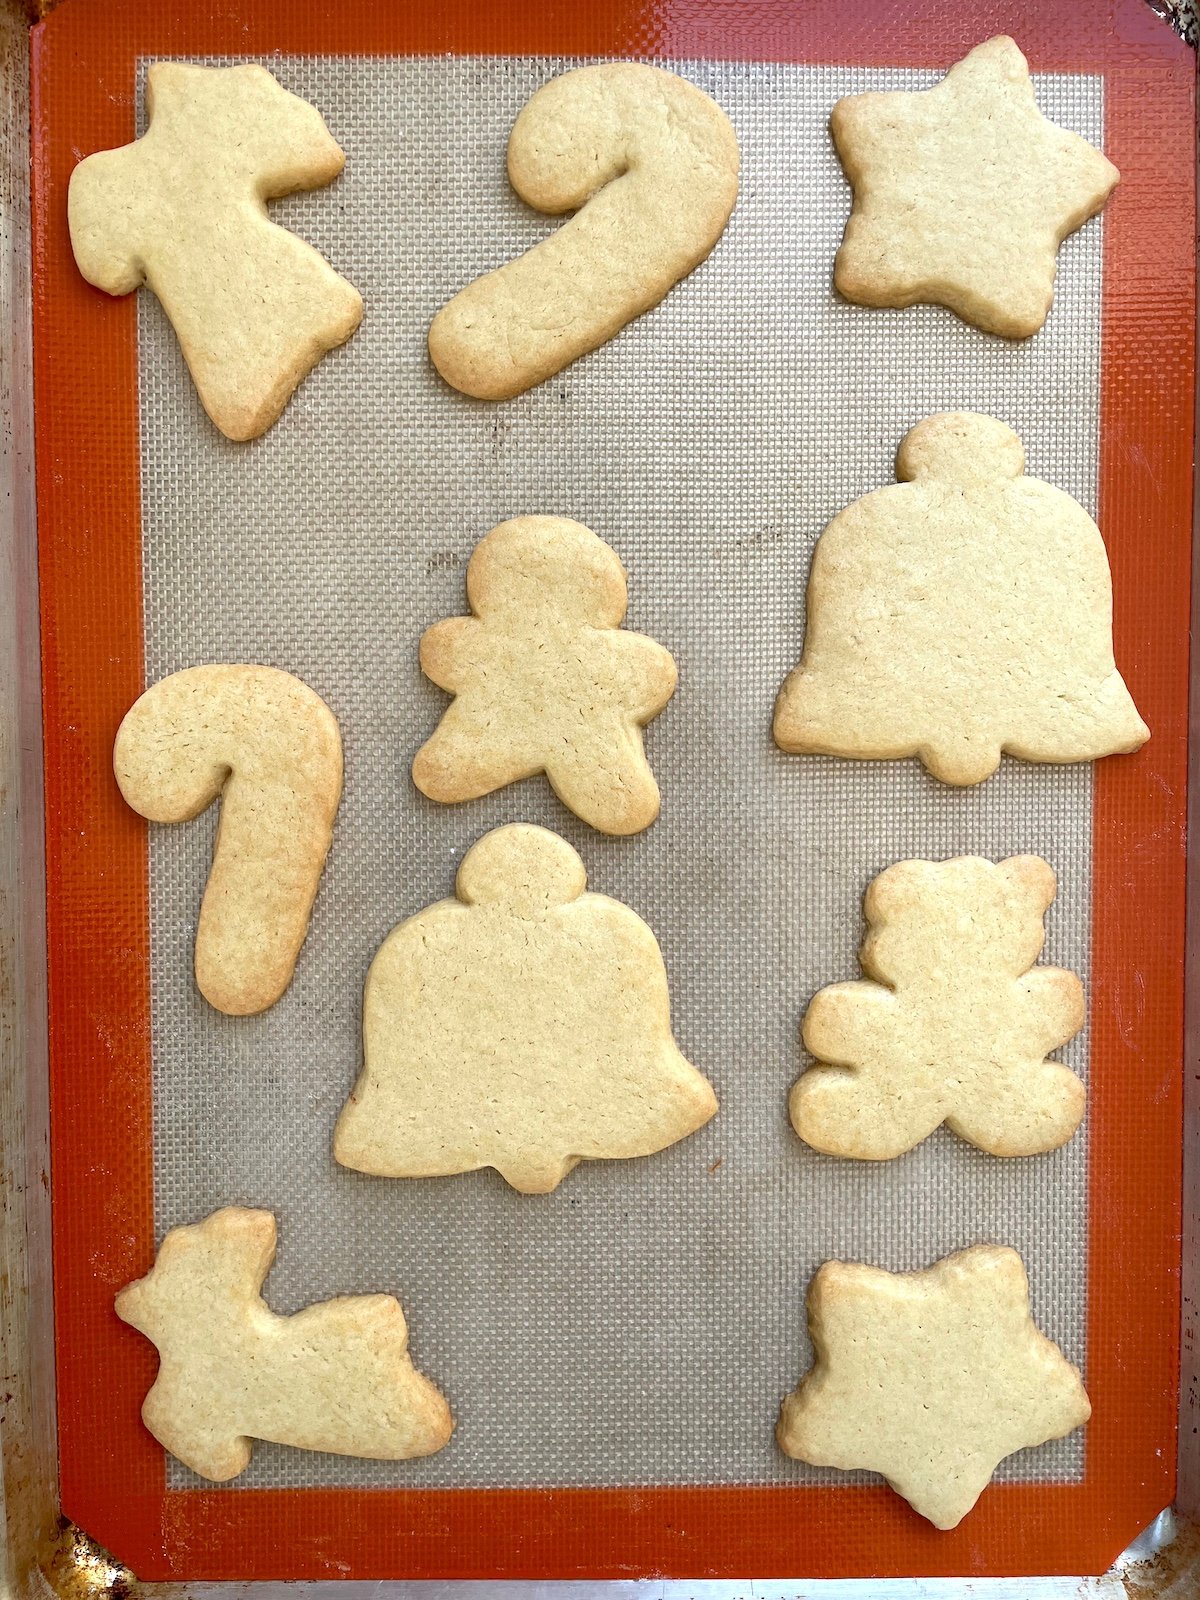
Step 7: Bake at 325°F until cookies are lightly browned.
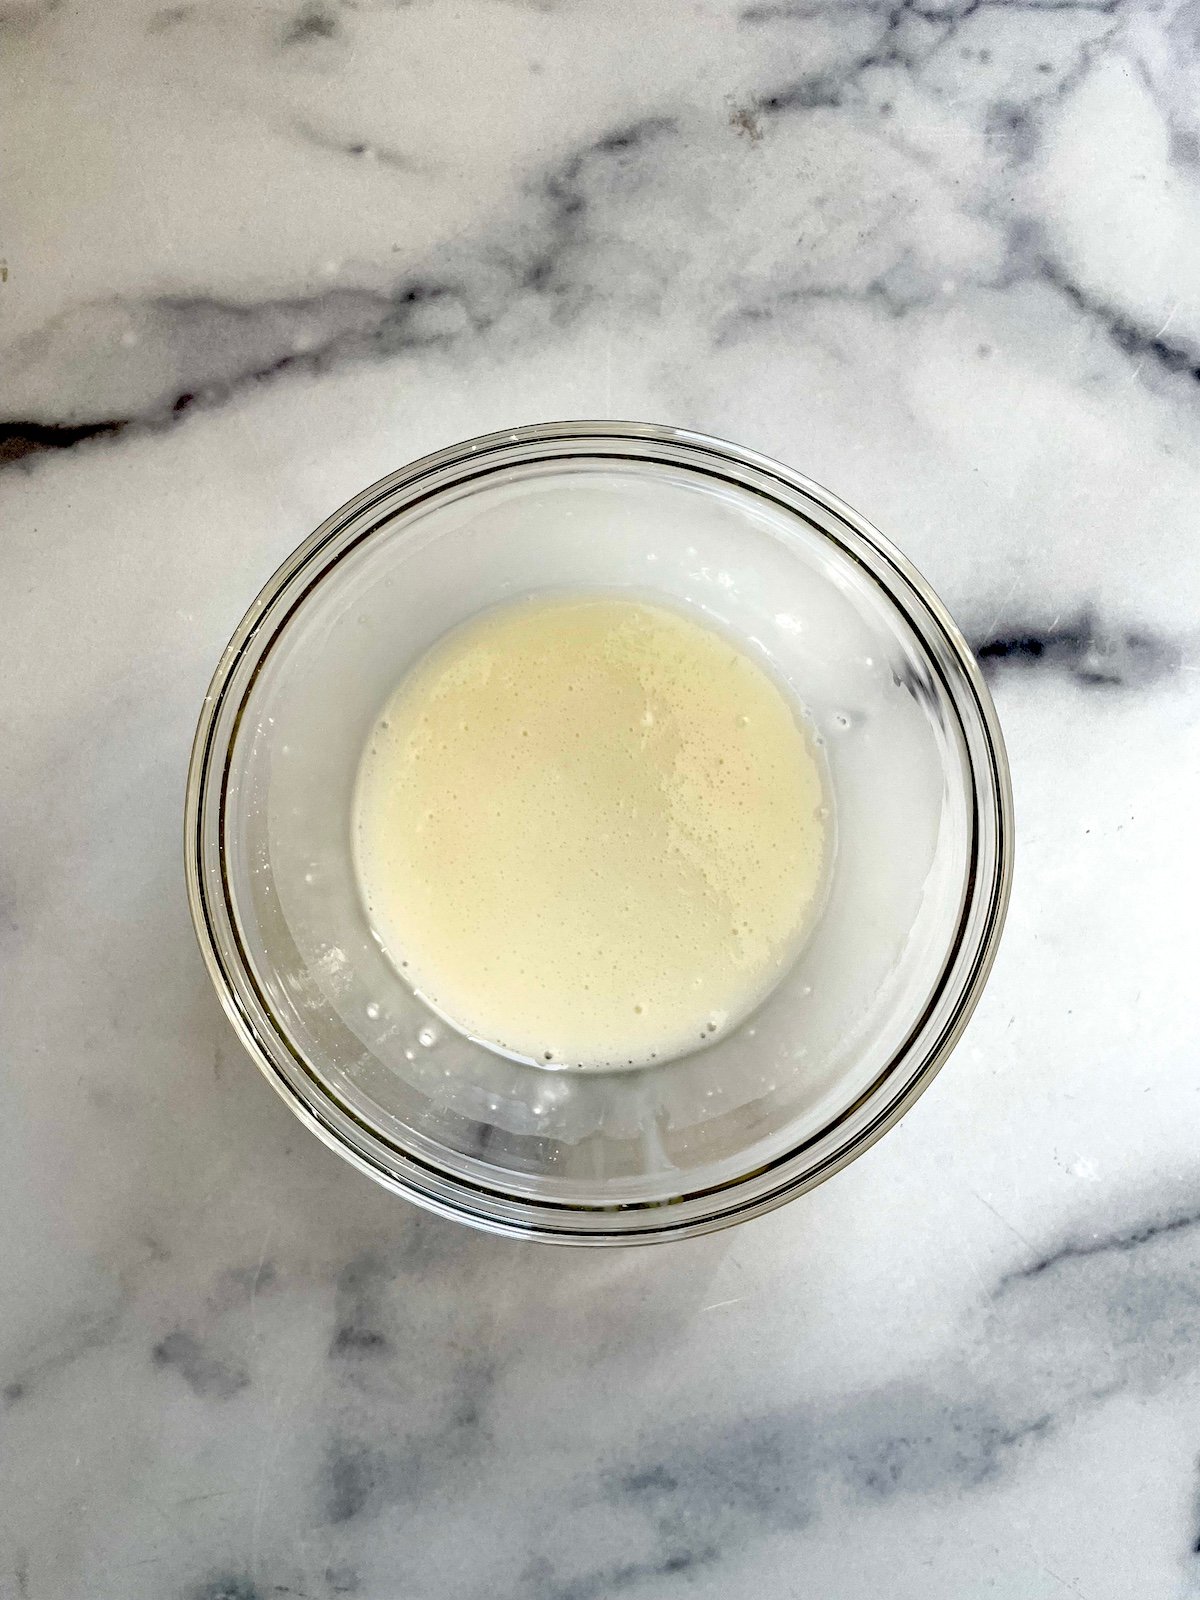
Step 8: Prepare icing in a bowl and get ready to decorate!
Recipe Video
Tips and Tricks
- Easy Transfers: Use a wide, flat spatula to transfer cookies from cutting to cookie sheet. This way you won’t misshape them.
- No sifter? No worries, you can simply whisk the dry ingredients thoroughly instead of sifting them.
- Don’t Skip the Chill Time: This helps the dough firm up so the cookies hold their shape to make perfect sugar cookies every time.
- Even Thickness: You can use rolling pin guides or stack rulers on either side of your dough for even cookies if you need!
- Test Bake One Cookie: This is optional, but if you’re unsure about your oven, test bake a single cookie first to nail the timing.

FAQs
Yes! You can refrigerate the dough for up to 3 days or freeze it for up to 3 months. Let it soften slightly before rolling out.
The best part about baking is making a lot at once. It can sometimes feel like a lot of work to do the baking, so I recommend even doubling the recipe. You can bake them up and let cool completely. Then place them in an airtight container in the freezer to decorate closer to the holiday. This allows you to bake them up when you have extra time, and quickly decorate later on.
The small amount of milk in this recipe is stabilized by the large amount of sugar, allowing you to safely store these at room temperature for 2-3 days. You will want to keep them covered and allow the icing to dry completely before stacking up in a container. You might also want to use wax paper between layers of cookies.
I have found the key to perfectly shaped cut out cookies is chilling the dough, as well as rolling about 1/4-inch thick. When the cookies are thicker they seem to puff up more when baked. If you were to bake immediately after mixing, the dough would be very soft and spread in the oven. Chilling overnight is my favorite method, and letting it rest just long enough to roll. You can also split the disc in half and roll out and bake half at once, keeping the rest in the fridge until needed.
More Christmas Treats to Enjoy
Ready to bake up a batch of these buttery, melt-in-your-mouth sugar cookies? Grab your favorite cookie cutters, call in the kids for some fun, and get creative with your decorations. Trust me—this recipe is one you’ll keep coming back to for every occasion! I’d love to know that you think of this sugar cookie recipe! Leave a comment and rating below.
Want more Weelicious? Subscribe to my newsletter and follow me on Instagram, Facebook, and TikTok for all the newest recipes!
Would you like to save this?

Classic Sugar Cookies
Ingredients
- 3 cups all purpose flour
- 2 teaspoons baking powder
- 1/4 teaspoon kosher salt
- 1 cup butter, softened
- 1 cup sugar
- 1 egg
- 1 1/2 teaspoon vanilla
Icing:
- 1 cup powdered sugar
- 1 – 2 tablespoons milk
Instructions
- Sift the flour, baking powder and salt into a bowl.
- In a separate bowl, using electric beaters or in a standing mixer, cream the butter and sugar for 3 minutes on medium to high speed until light and fluffy.
- Add the egg and vanilla to the butter mixture and beat until incorporated.
- Turn the speed to low and slowly add the flour mixture until the dough comes together.
- Place the dough onto a piece of plastic wrap, parchment paper or wax paper and divide into two flattened round shaped discs.
- Wrap the dough discs separately and chill in the refrigerator until firm, at least thirty minutes to overnight.
- Once chilled, preheat oven to 350°F.
- Let dough sit for about 10 minutes or until soft enough to roll out.
- Using a lightly floured rolling pin, roll the dough out onto a lightly floured surface until 1/4 thick and even.
- Use cookie cutters to cut out desired shapes. I like to start at one end of the dough placing the cookie cutters close together.
- Using a spatula, transfer the cut-outs onto a cookie sheet (preferably a parchment paper or silpat-lined cookie sheet).
- Bake for 8-10 minutes rotating halfway through until edges turn golden.
- Cool cookies on a rack.
Icing:
- Combine the ingredients in a bowl.
- Use to decorate the cookies.
Notes
- Easy Transfers: Use a wide, flat spatula to transfer cookies from cutting to cookie sheet. This way you won’t misshape them.
- Don’t Skip the Chill Time: This helps the dough firm up so the cookies hold their shape to make perfect sugar cookies every time.
- Even Thickness: You can use rolling pin guides or stack rulers on either side of your dough for even cookies if you need!
- Test Bake One Cookie: This is optional, but if you’re unsure about your oven, test bake a single cookie first to nail the timing.









The dough is hard to make, it’s falling apart. What am I doing wrong?
Hi! Did you substitute any of the listed ingredients? Generally this dough is foolproof. Did you melt the butter? Would love to help here!
Delicious and easy to roll!
What type of green and red sugar did you use for decorating? It looks like flakes. So pretty.
So glad you enjoyed them!
I used baking powder like the recipe says and they turned out great! The dough was very crumbly after mixing so I was nervous they weren’t going to turn out. It all squished together good though and rolled out nicely after it chilled.
In your video you say baking soda but recipe says baking powder.
I misspoke in the video – it should be baking powder as the recipe card says! Sorry about that.
I freeze them unfrosted, then defrost and decorate!
That all sounds good, but I don’t seem to have much luck freezing frosted cookies. Even at room temp, the colors seem to run together after a few days 🙁
great tips on softening butter
best cokkies ever
WOW, spam is just everywhere. It’s terrible. Anyway, I would like to know also if this icing gets hard? I always get soggy icing and you can’t store them together. Or they are only firm to the touch but can smear easy. Any tips?
I wonder how they would turn out if I used coconut sugar instead….
Does the icing get hard after you put it? Can it be stored to eat later or once iced, it needs to be served then?