This post may contain affiliate links. Please read our disclosure policy.
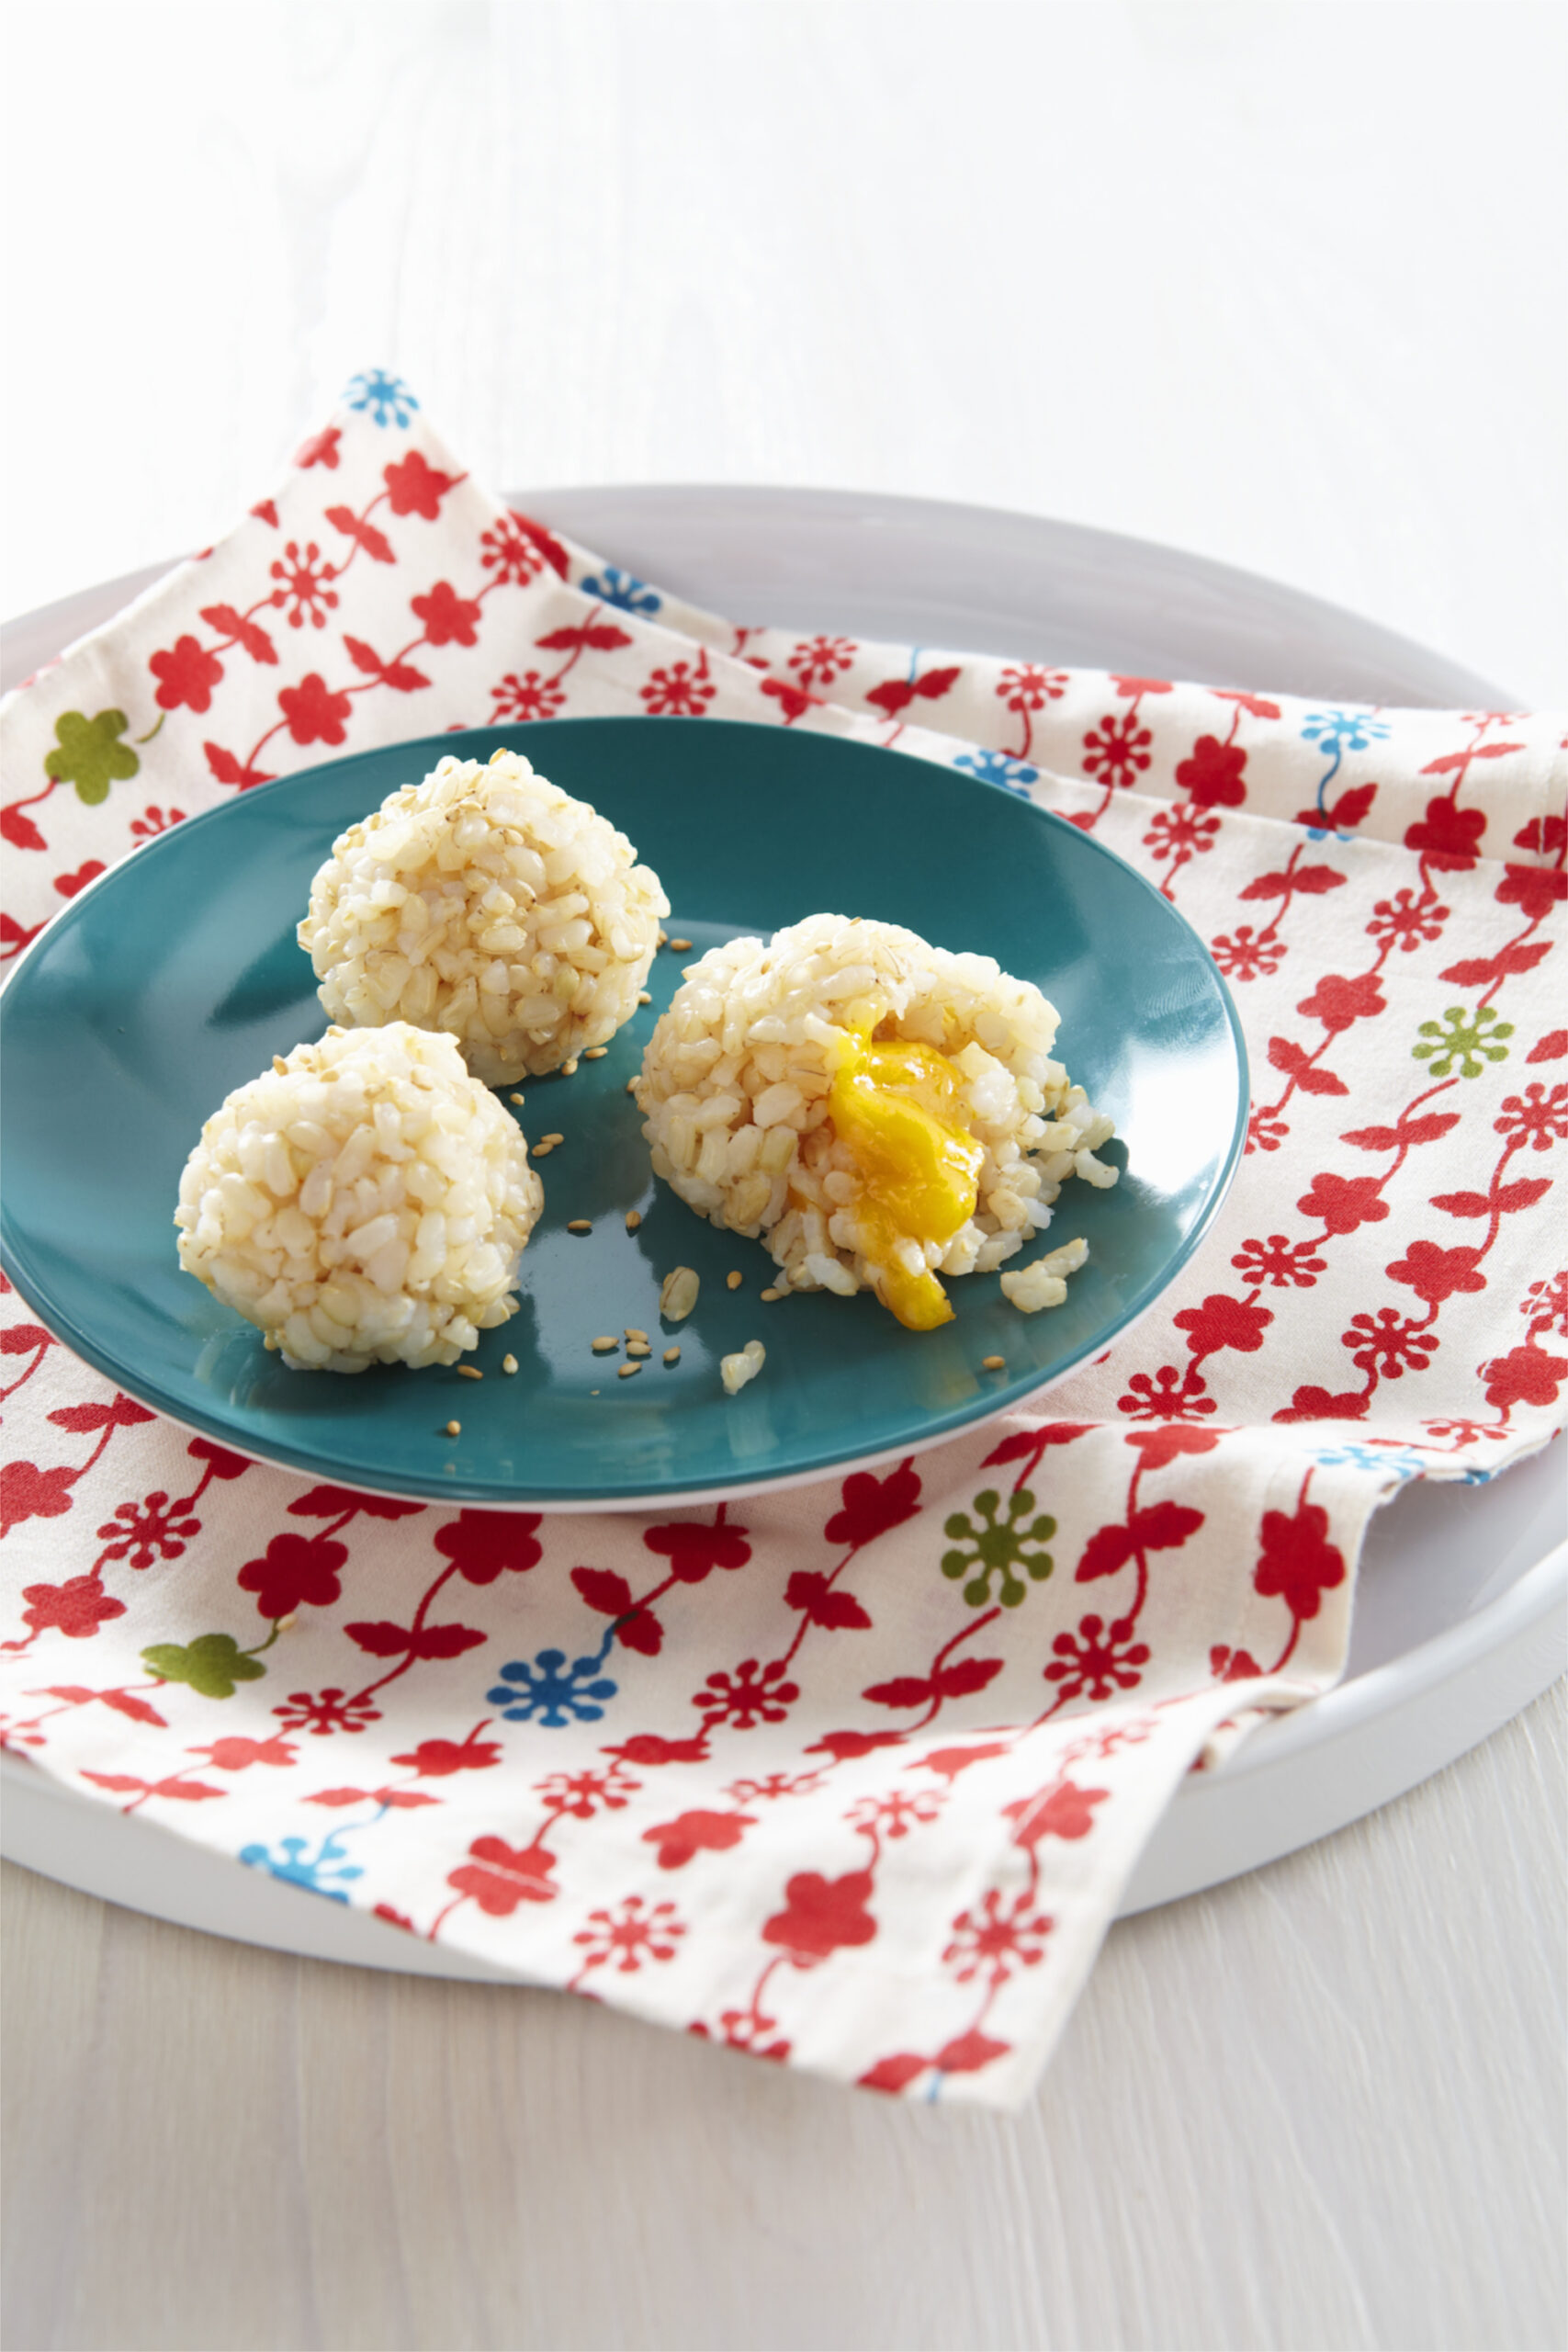
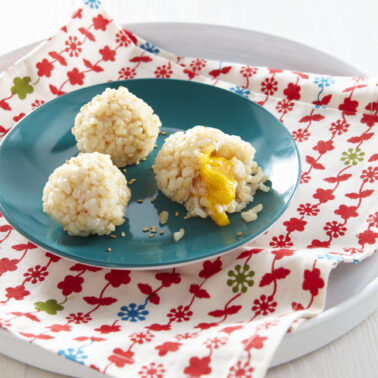
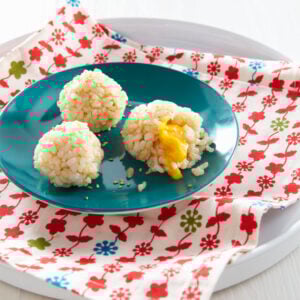
How often does the clock strike 5 and you realize “oh *%#@, I haven’t even thought about what to make for dinner!” The night that I came up with these rice & cheese balls was one of those times, and since then, it’s become a total household favorite. The recipe is incredibly easy and you probably have all of the ingredients in your kitchen already. All you do is cut cheese sticks into cubes, use your hands to wrap the rice around them into balls and then steam them quickly. For extra flavor and added nutrition, I like to give them a sprinkle of sesame seeds.
I find that whenever food appears fun or has a hidden surprise, kids are most excited about eating it. This dish satisfies both criteria_ it’s shaped like a ball (fun!) and has a cheesy center (surprise!). As soon as Kenya took a bite and realized there was gooey, melted cheese inside his rice ball, it was as if he found a new best friend! He just looked up at me with utter surprise and joy and said, “Mommy, there’s cheese!” Literally love at first bite.
(This is a great idea for the lunch box, too!)
Would you like to save this?
Rice & Cheese Balls
Ingredients
- 2 Cheese Sticks (I use mozzarella or cheddar)
- 1 Cup Cooked Rice, brown or white (it helps if the rice is sticky, so if you’re cooking the rice just for these balls, it helps to use a little extra water when making the rice – short grain rice works grea
- 2 tablespoon Sesame Seeds or Gomasio
Instructions
- Cut cheese sticks into 1/2 inch cubes (it depends on the brand, but each cheese stick should make around 7 cubes).
- Take about 2 tbsp of the rice with moist or damp hands (to avoid sticking) and place the cheese in the center, rolling the rice into a ball around it.
- Place the rice balls into a steamer pot over boiling water for 2 minutes. If you don’t have a steamer, place in the microwave for 10 seconds or just until the cheese melts.
- Sprinkle with sesame seeds or gomasio.


Sounds delicious! Thanks for sharing!
Hi Catherine! I just recived my Weelicious cookbook in the mail and had to share local rice ball recipe with you. We live overseas, and the Oinawan culture has created a cuisine where east meets west. The local Okinawans have taken the traditional onigiri and added a Mexican flair. We cook the rice with taco seasoning. We use a homemade blend but you could also use a store bought seasoning. Once cooked, add your cheese to the middle of the ball. Finally, roll the onigiri in panko to cut down on the rice sticking to your fingers!
Have you ever had these cold after you steam them? Im always looking for things to send in my 3yos lunch. They have a microwave but he doesnt like rice re-heated.
You’re on top of the game. Thanks for shaginr.
I used a smaller piece of cheese and a little bit of turkey in the center. My 2.5 y/o loved them.
this looks delicious! id love a video on how to make these 🙂
Tried them yesterday and they were a hit! I used Cheddar in the middle and sprinkled half of them with toasted sesame seeds and the other half with Aji Nori Furikake (my kids LOVE that stuff!). We even a picky friend to try them and she loved them 😀 Thanks for the idea, I wouldn’t have thought to put cheese in there! Maybe I’ll toss a little finely chopped, steamed broccoli in with the cheese too!
We tried mozzarella and cheddar and fontina, you can use any kind you desire, its so simple!
Yum! That looks like a good idea. Have you tried any other cheeses that work well?
These sounds great! I frequently make Onigiri for my sons but usually use shrimp, tuna, crab or teriyaki chicken in the middle. This sounds like a nice little surprise since my boys LOVE cheese!
How wonderful these look!!! AND already gluten-free so I won’t have to figure out how to alter them to make them safe for us to have here 🙂 Double-hooray!