
This post may contain affiliate links. Please read our disclosure policy.
Packaged snacks from the grocery? Why bother when you can be eating these sweet, crunchy and nutritious Roasted Honey Cinnamon Chickpeas!
There are so many snack foods on the market, but how many of them are actually nutritious? The shelves of most supermarkets are overflowing with a seemingly endless amount of snack food choices, the majority of which, at best, contain a good deal of salt, sugar, hydrogenated oils and more. You can’t even completely rely on the label “organic” when it comes to packaged food. Sure, it may mean what you’re buying contains less pesticides than the non-organic alternatives, but that doesn’t mean it isn’t made with additives and a host other stuff you’d rather not be feeding your family.
These Roasted Cinnamon Honey Chickpeas are my version of healthy junk food. They’re probably not prepared the way you’re used to eating chickpeas (a.k.a. garbanzo beans), which are soft in texture once cooked and traditionally used as the basis for savory dishes like hummus, soups and stews. Instead, these are super crunchy and sweetened with a light coating of cinnamon and honey, making them even more addictive than those junky snacks you can’t pry out of your child’s hands. In fact, with only three wholesome ingredients including the protein packed chickpeas, you’d be hard pressed to find another snack food that’s this good for you.
I brought a container of them with me to Chloe’s gymnastics class last week where the kids and moms camped out afterwards for their mid-morning snack couldn’t get over the fact that they were eating beans. One mom came over to ask me, “where did you buy these”? Mission accomplished!
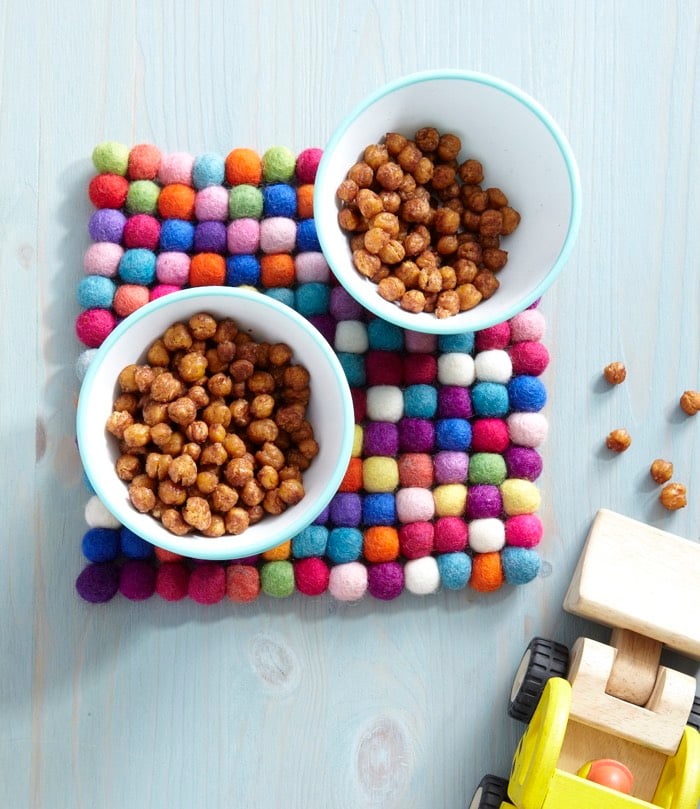
Photo by Maren Caruso
Would you like to save this?

Roasted Honey Cinnamon Chickpeas
Ingredients
- 1 15 ounce can garbanzo beans, drained and rinsed (or 2 cups cooked garbanzo beans)
- 1/2 teaspoon ground cinnamon
- 1 tablespoon vegetable or canola oil
- 1 tablespoon honey
Instructions
- Preheat oven to 400 F.
- Place the beans between two paper towels and pat dry, loosening the outer skin of the beans.
- Remove the outer skins of the beans and pat dry to remove any other excess liquid (removing the outer skin of the beans takes a few minutes, but it’s a great job for getting kids involved).
- Whisk the cinnamon and oil in a bowl to combine, add the beans stirring to coat and place on a baking sheet.
- Roast for 40 minutes.
- Remove the beans from the oven, place in a bowl and toss with the honey.
- Place the beans back into the oven and roast an additional 7 minutes.
- Cool completely and serve.
- * Store in a covered container on your counter for up to 2 weeks


I haven’t tried that in this recipe, but I think it would work. It might not crispy up like the honey does.
Can you substitute agave nectar for a the honey?
Can you substitute a Godbey nectar for the honey?
Sweet! What is the serving size that goes with the nutritional info?
[…] personally have never tried Falafel, but apparently it’s pretty good. I’ve made these Roasted Chickpeas before, but I think they are more for older toddlers, like around 3. Do Chickpea Cookies sound […]
Love these! I lined the sheet pan with foil and checked/turned them about every 10 min (based on another’s comments). They were perfect! Thank you!
[…] finally, something to snack on, that’s actually good for you! Honey-roasted chickpeas with cinnamon, anyone? They’re from one of my fave mom-bloggers, […]
Once again, another winner! I haven’t tried a single recipe of yours that my kids didn’t adore. Me too, for that matter!
[…] From Weelicious: […]
Just made these (out of my newly purchased Weelicious cookbook) and they are seriously BLACK! Burned up little chickies! Glad I came to the website to peek at the comments… I guess I’ll try again on another night, I’m thinking 375deg might be sufficient.
That is so strange! I never have a problem with them burning! Maybe make sure to coat them really well with the oil?
I have tried to make this recipe several times, cutting down on the time and each time they were burned. So disappointed because they look delicious! Any suggestions?