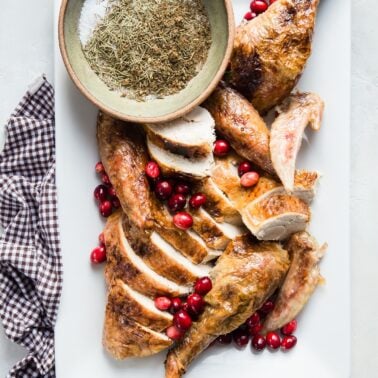
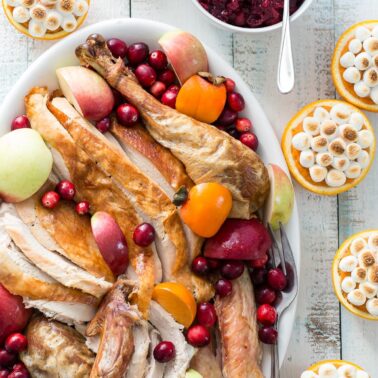
Sometimes cooking meat and other proteins can be a bit overwhelming. Let me show you how to make fall-off-the-bones ribs in the crock pot. Make room for more side dishes in the oven when you make your Turkey on the Grill.
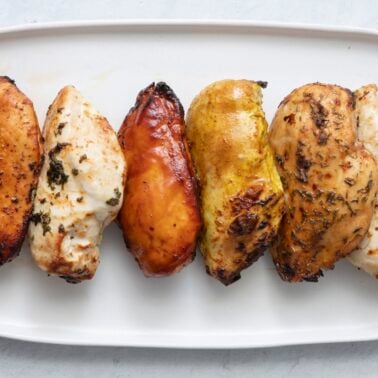
I’ve got 6 ways to marinate chicken – no matter what you want to use it for! And take a shortcut and pick up a rotisserie chicken because there are 20 ideas for leftovers!
Sunday brunch wouldn’t be complete without Crispy Fried Eggs, and you can hop on the charcuterie train with a Protein Board fit for a king.