This post may contain affiliate links. Please read our disclosure policy.
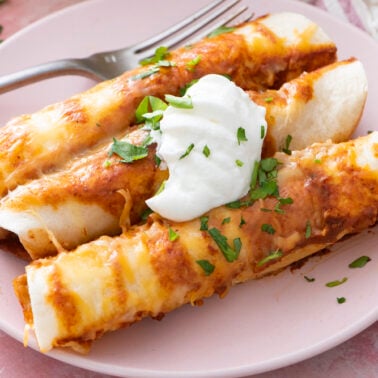
If you’re busy parent looking for an easy, crowd-pleasing meal, these Mexican Enchiladas are just what you need. They’re packed with tender shredded chicken, gooey cheese, and smothered in enchilada sauce. Plus, they’re super customizable, so you can make them just the way you like! Mexican Enchiladas are one of my go-to weeknight meals!
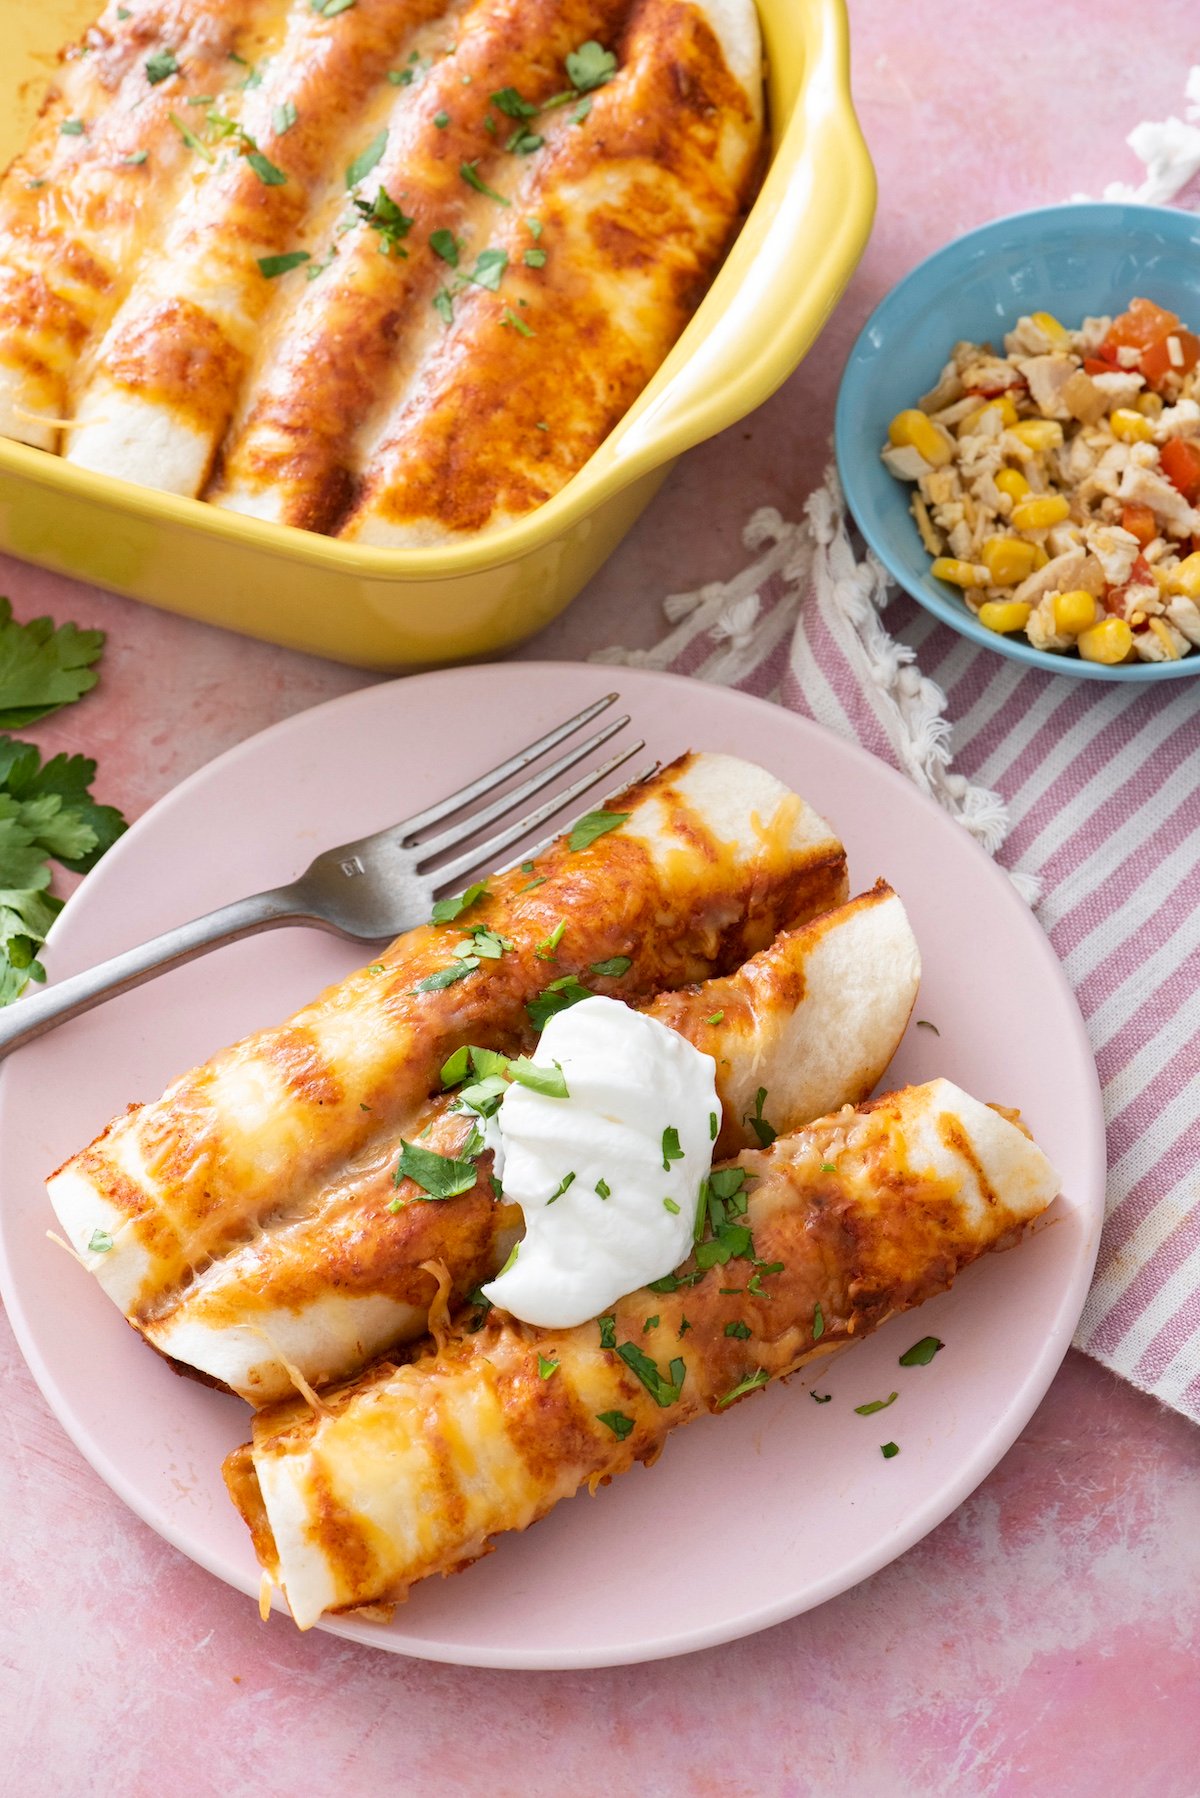
Table of Contents
Why I Love This Recipe
- Family favorite: My kids ask for these chicken enchiladas on repeat! It’s always a hit and never fails to make everyone happy.
- Simple, but packed with flavor: With just a few ingredients, you get a dish that tastes like you spent hours in the kitchen. If you love quick and flavorful meals, check out my Beef and Broccoli Stir Fry for another weeknight winner.
- Great for busy nights: Whether I’m rushing between work, kids’ activities or just need something easy, this enchiladas recipe is a lifesaver. Make things even simpler by having Mexican Chicken in the Crock Pot ready to shred!
- Make-ahead friendly: These enchiladas are perfect for prepping ahead and freezing, similar to how I prep my Mexican Lasagna. It’s so convenient to have something in the freezer ready to pop in the oven for those hectic days.
- Customizable for picky eaters: You can easily switch up the fillings depending on what everyone likes.
The Ingredients
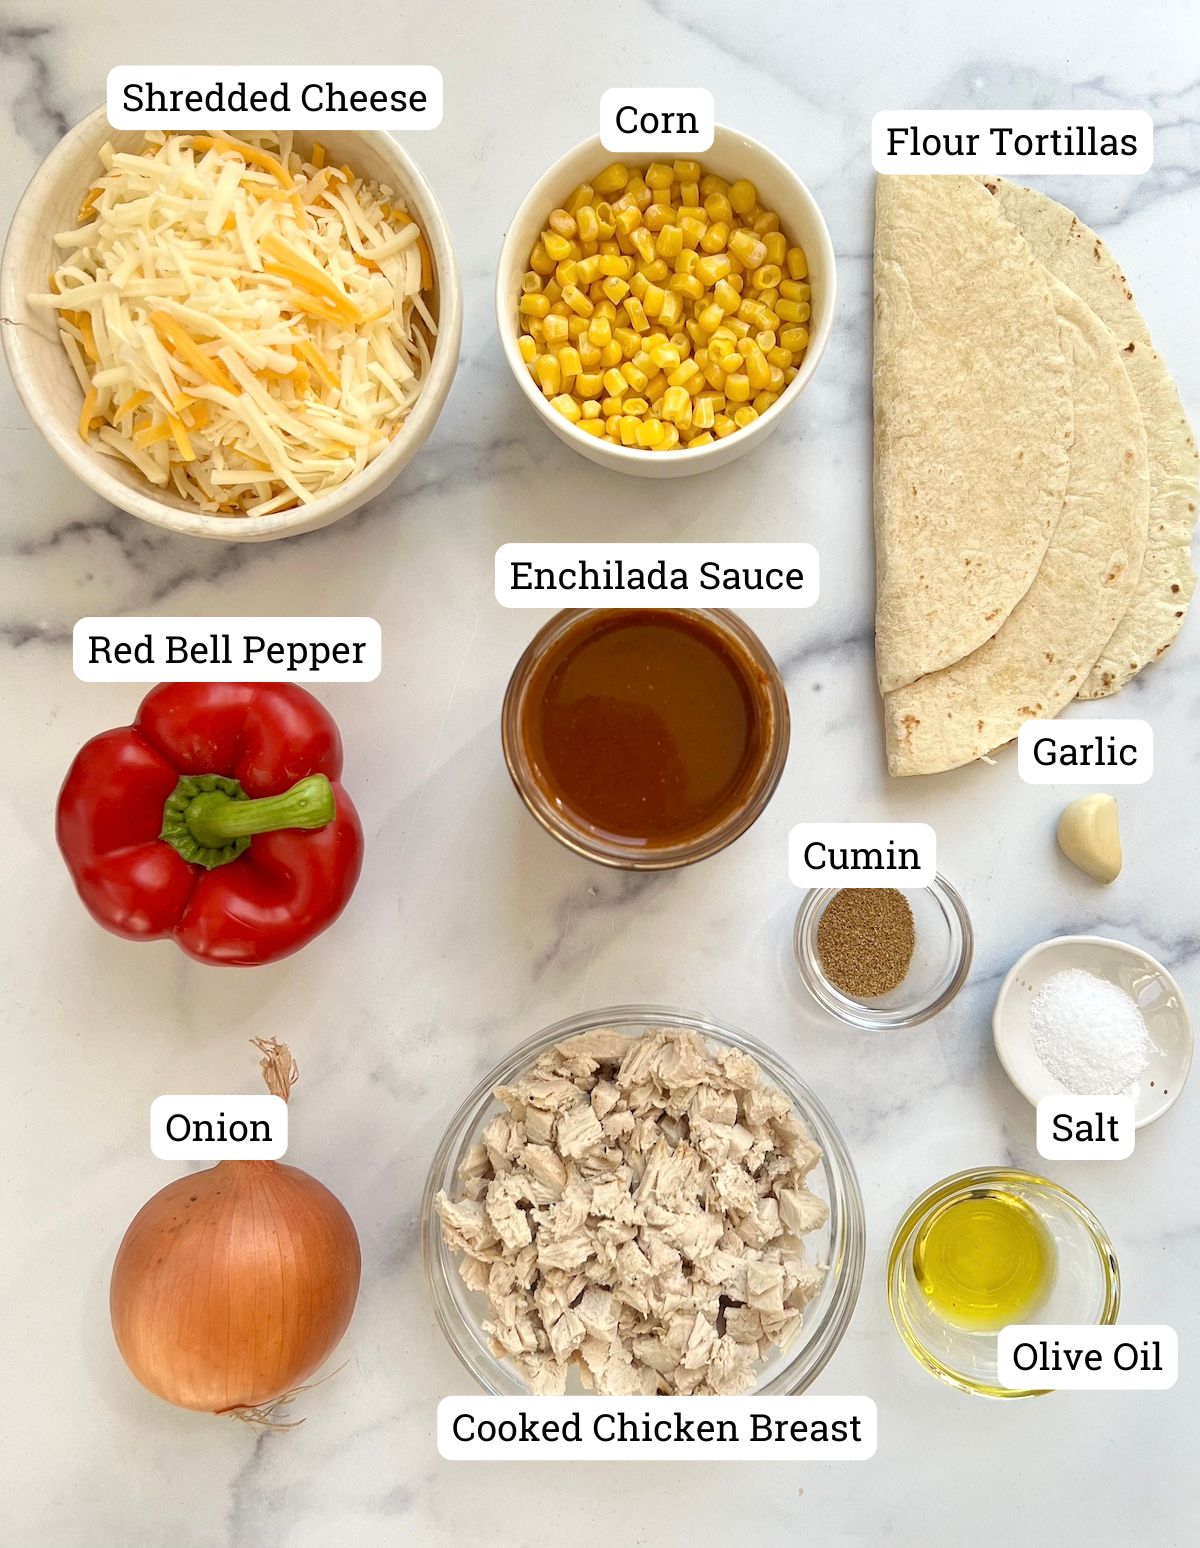
- Onion & Red Bell Pepper: These veggies add flavor and texture to the filling, making these enchiladas irresistibly delicious.
- Ground Cumin: This warm, earthy spice provides the classic Mexican flavor that enchiladas are known for.
- Garlic Clove: Just one clove adds an aromatic kick that enhances all the other flavors.
- Chicken Breasts: For tender, juicy shredded chicken, slow-cook your chicken breasts in the crock pot. Or save time by using leftover roasted chicken or a store-bought rotisserie chicken.
- Corn: Whether you use fresh corn off the cob or defrosted frozen corn, it adds a touch of sweetness and crunch to the enchiladas.
- Mexican Cheese Blend: This mix of melty cheeses like cheddar and Monterey Jack makes your enchiladas cheesy and irresistible.
- Enchilada Sauce: The key to rich, flavorful enchiladas. Use your favorite store-bought or try making your own homemade enchilada sauce (find my enchilada sauce recipe in this Vegetarian Enchilada Casserole post)!
- Flour Tortillas: I use flour tortillas because they’re soft, easy to roll, and crack less than corn tortillas. Perfect for holding all that delicious filling inside!
Substitutions and Variations
Feel free to get creative with your enchiladas! Here are some ways you can switch it up:
- Meat options: Swap out chicken for ground beef, turkey, or even Mexican shredded pork.
- Vegetarian: Omit the meat and add more veggies like black beans, zucchini, or mushrooms for a hearty vegetarian version. I also have a delicious vegetarian Sweet Potato Black Bean Enchilada recipe!
- Cheese choices: While I love the Mexican cheese blend, you could also use cheddar, Monterey Jack, Mozzarella or even pepper jack for a bit of heat.
- Corn Tortillas: Feel free to use corn tortillas instead of flour. You will want to heat them up in a pan or microwave for 10-15 seconds before rolling so they’re more pliable and less likely to break apart.
- Red or Green Sauce: Feel free to use red or green enchilada sauce for different flavor profiles!
How to Make Mexican Enchiladas
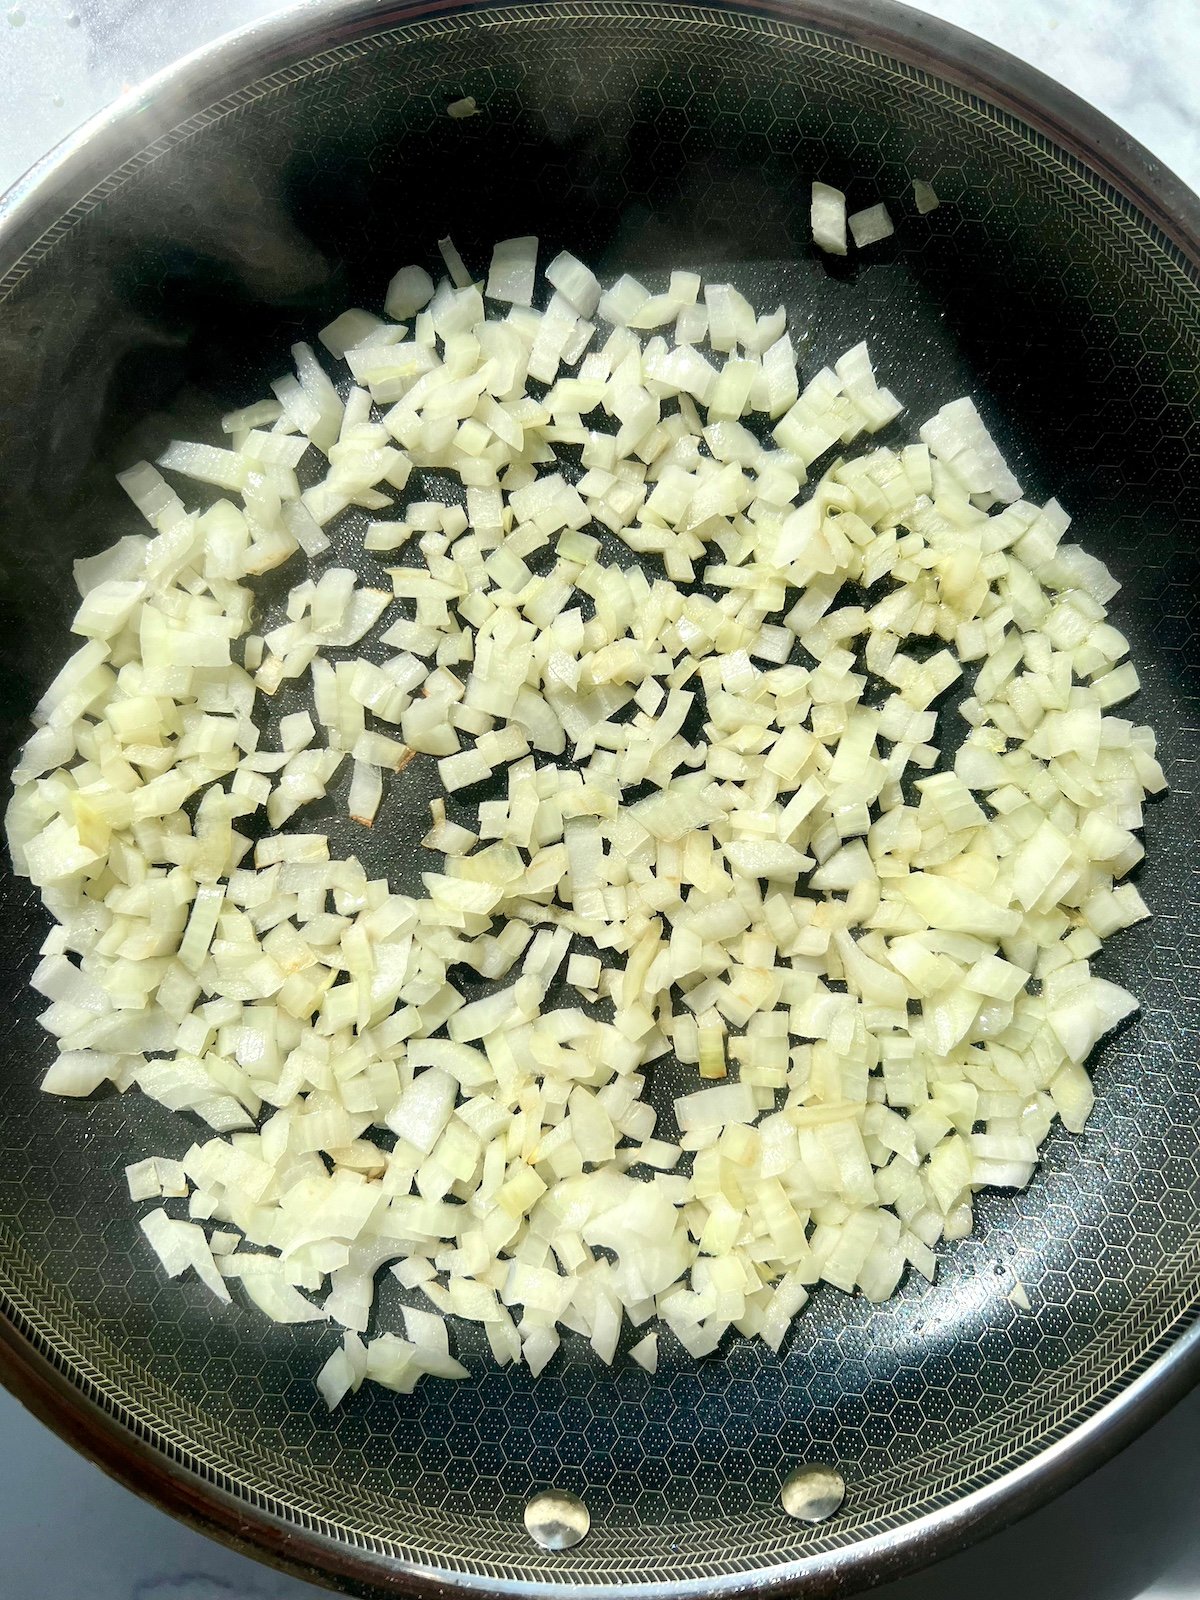
Step 1: Preheat the oven to 350°F. In a sauté pan, heat 1 tablespoon of olive oil over medium heat. Add chopped onions and salt, cooking for 3 minutes.
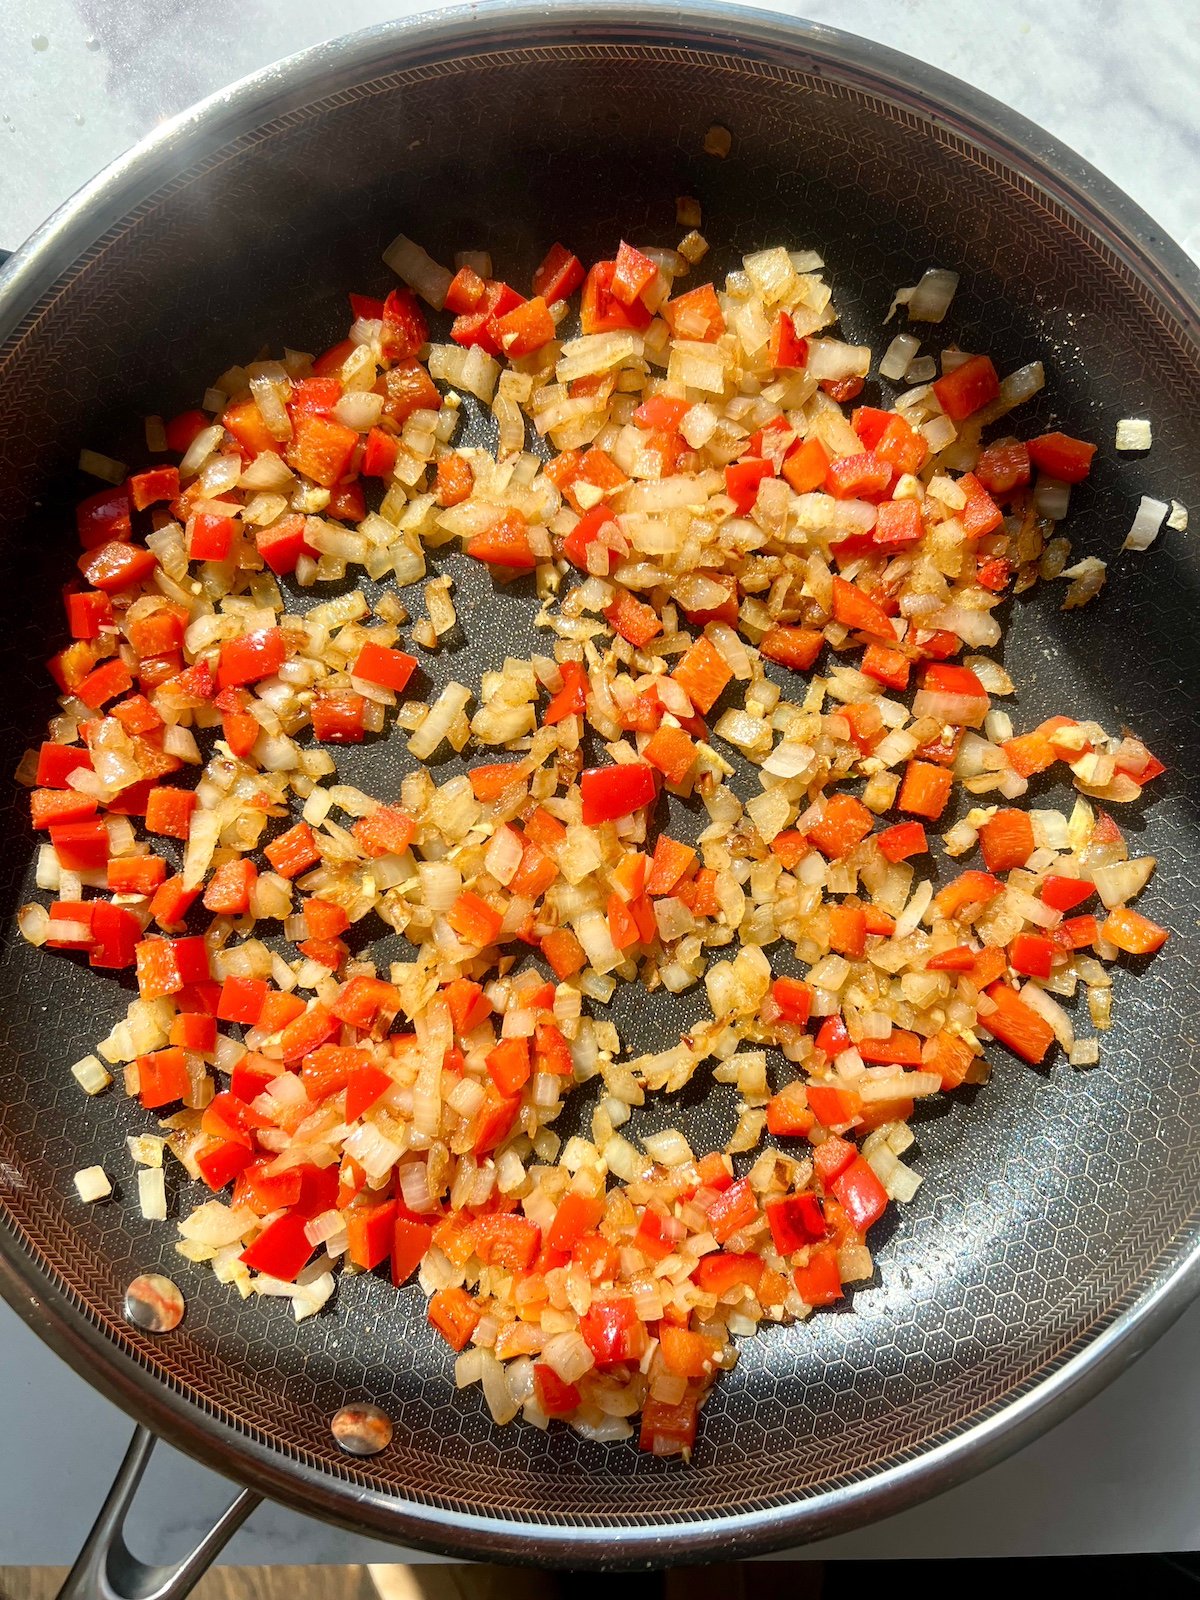
Step 2: Add the red bell pepper and cook for another 2 minutes. Stir in cumin and garlic, and cook for an additional minute before removing the mixture from the pan.
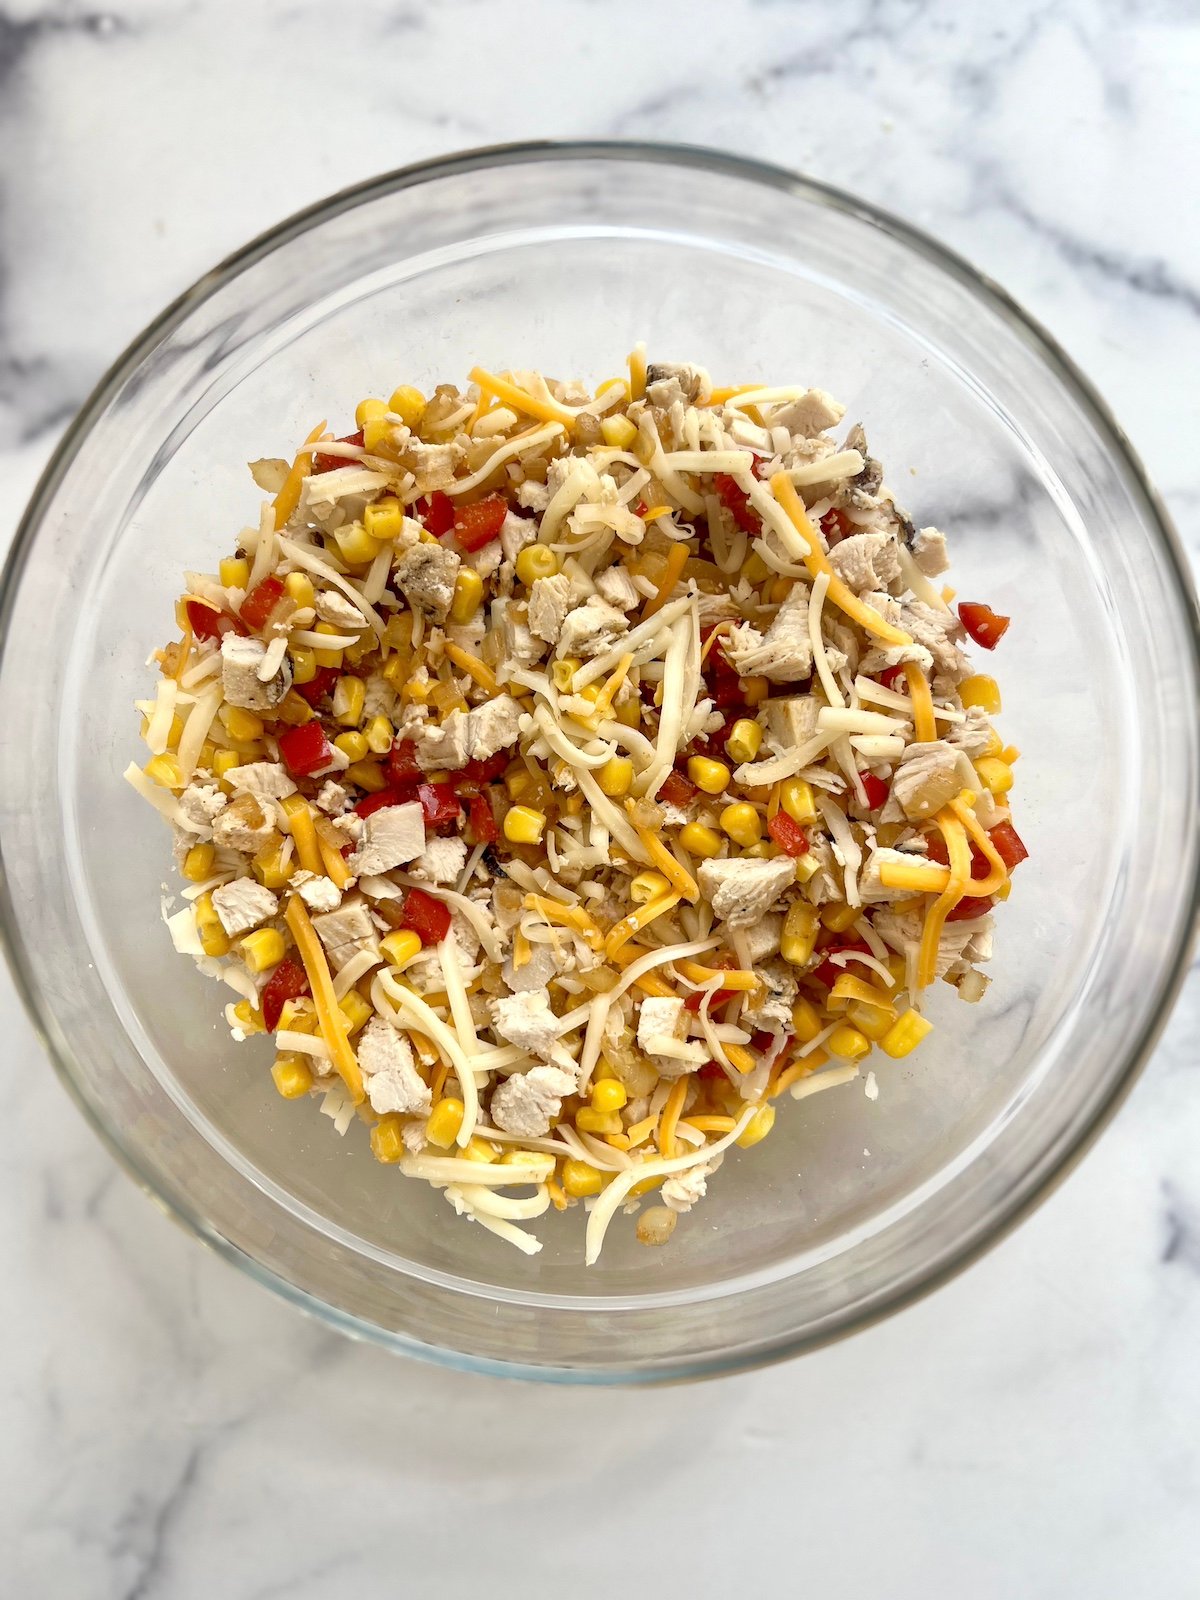
Step 3: Let the mixture cool slightly, then add the shredded chicken, corn, and 1 cup of cheese. Stir to combine.
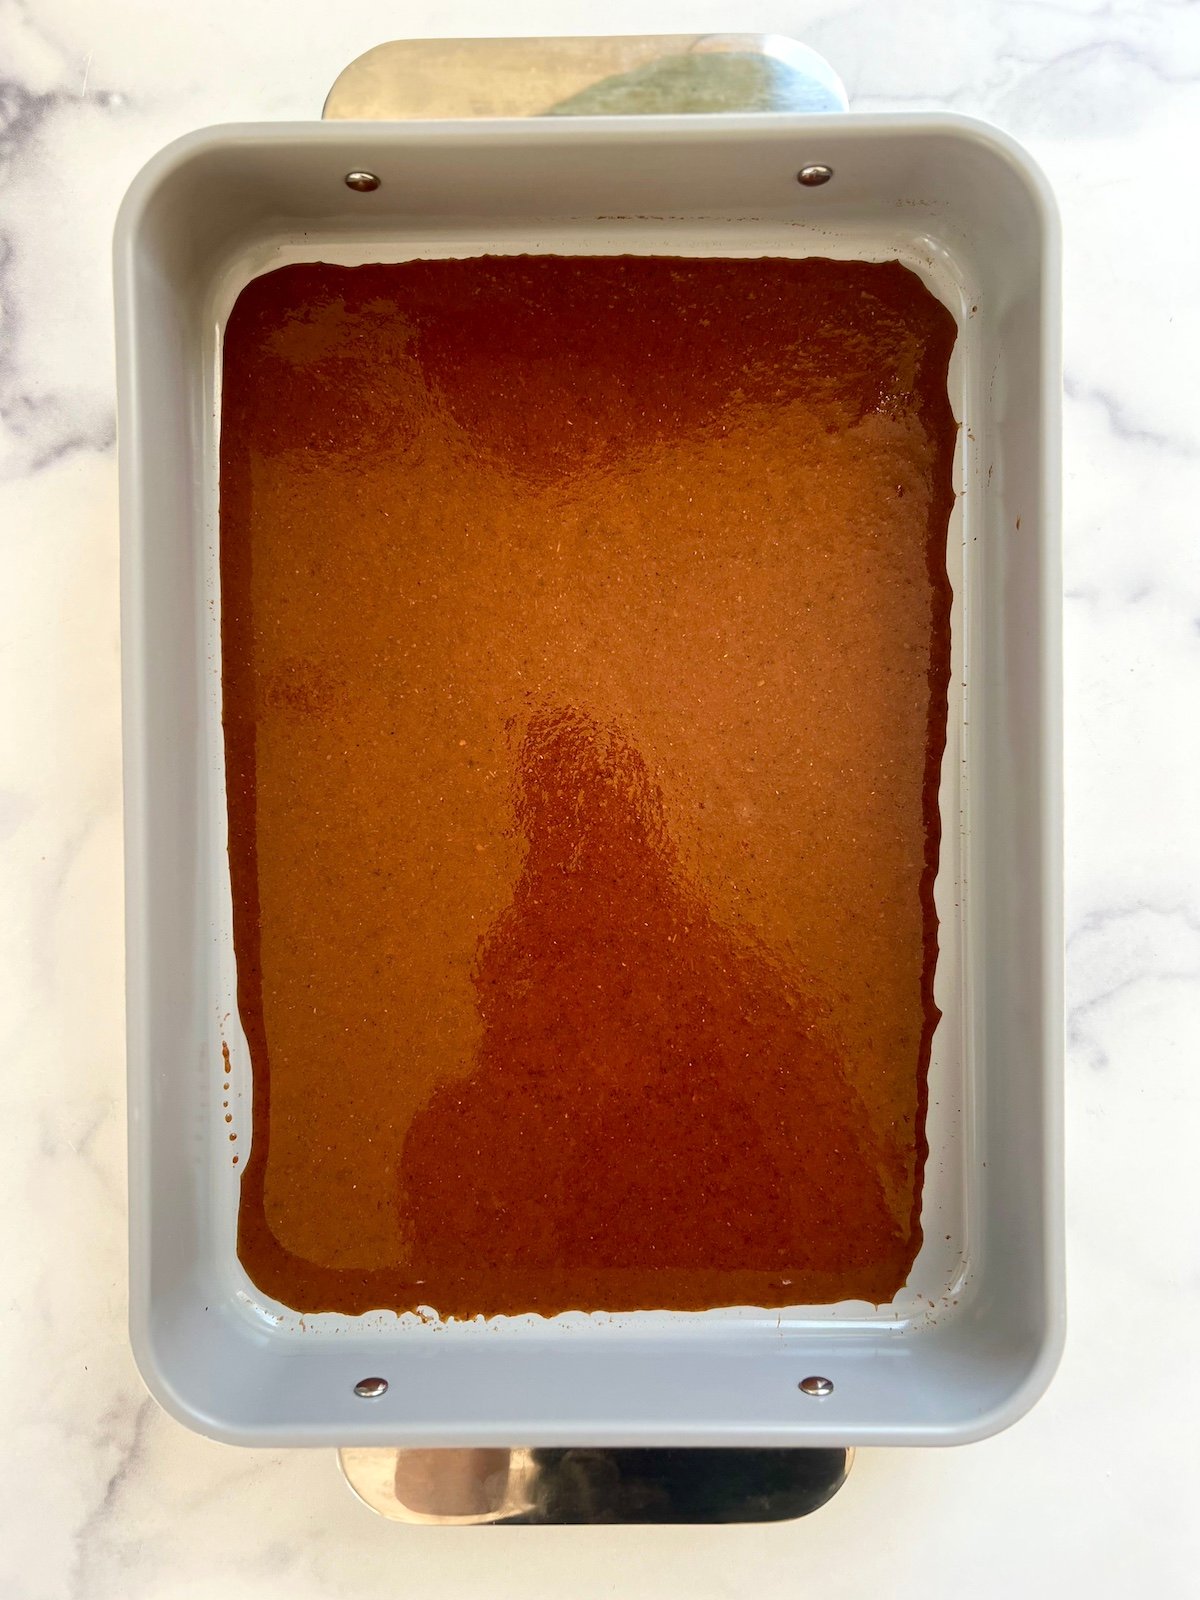
Step 4: Pour half of the enchilada sauce into a 9 x 11-inch baking dish.
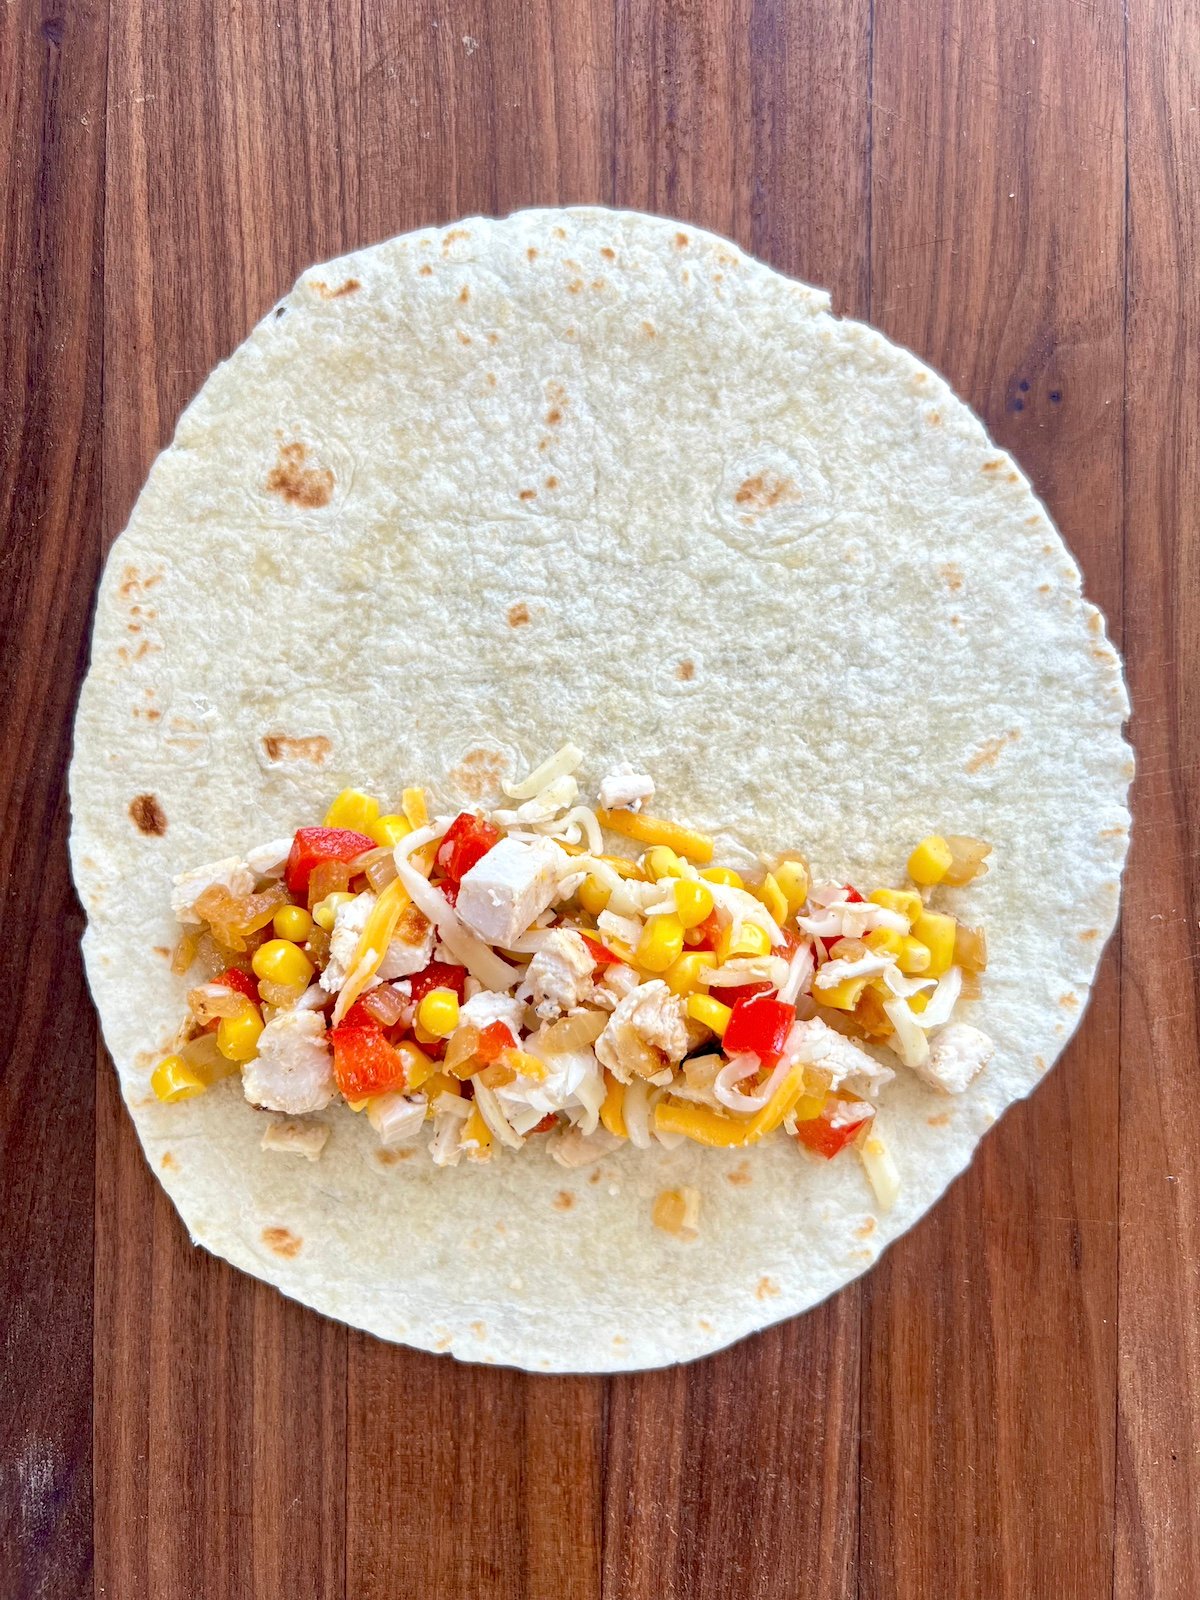
Step 5: Lay a tortilla flat, add about ½ cup of filling, and roll tightly, like a burrito. Place the enchiladas seam-side down in the baking dish. Repeat with the remaining tortillas and filling, placing them snugly in the dish.
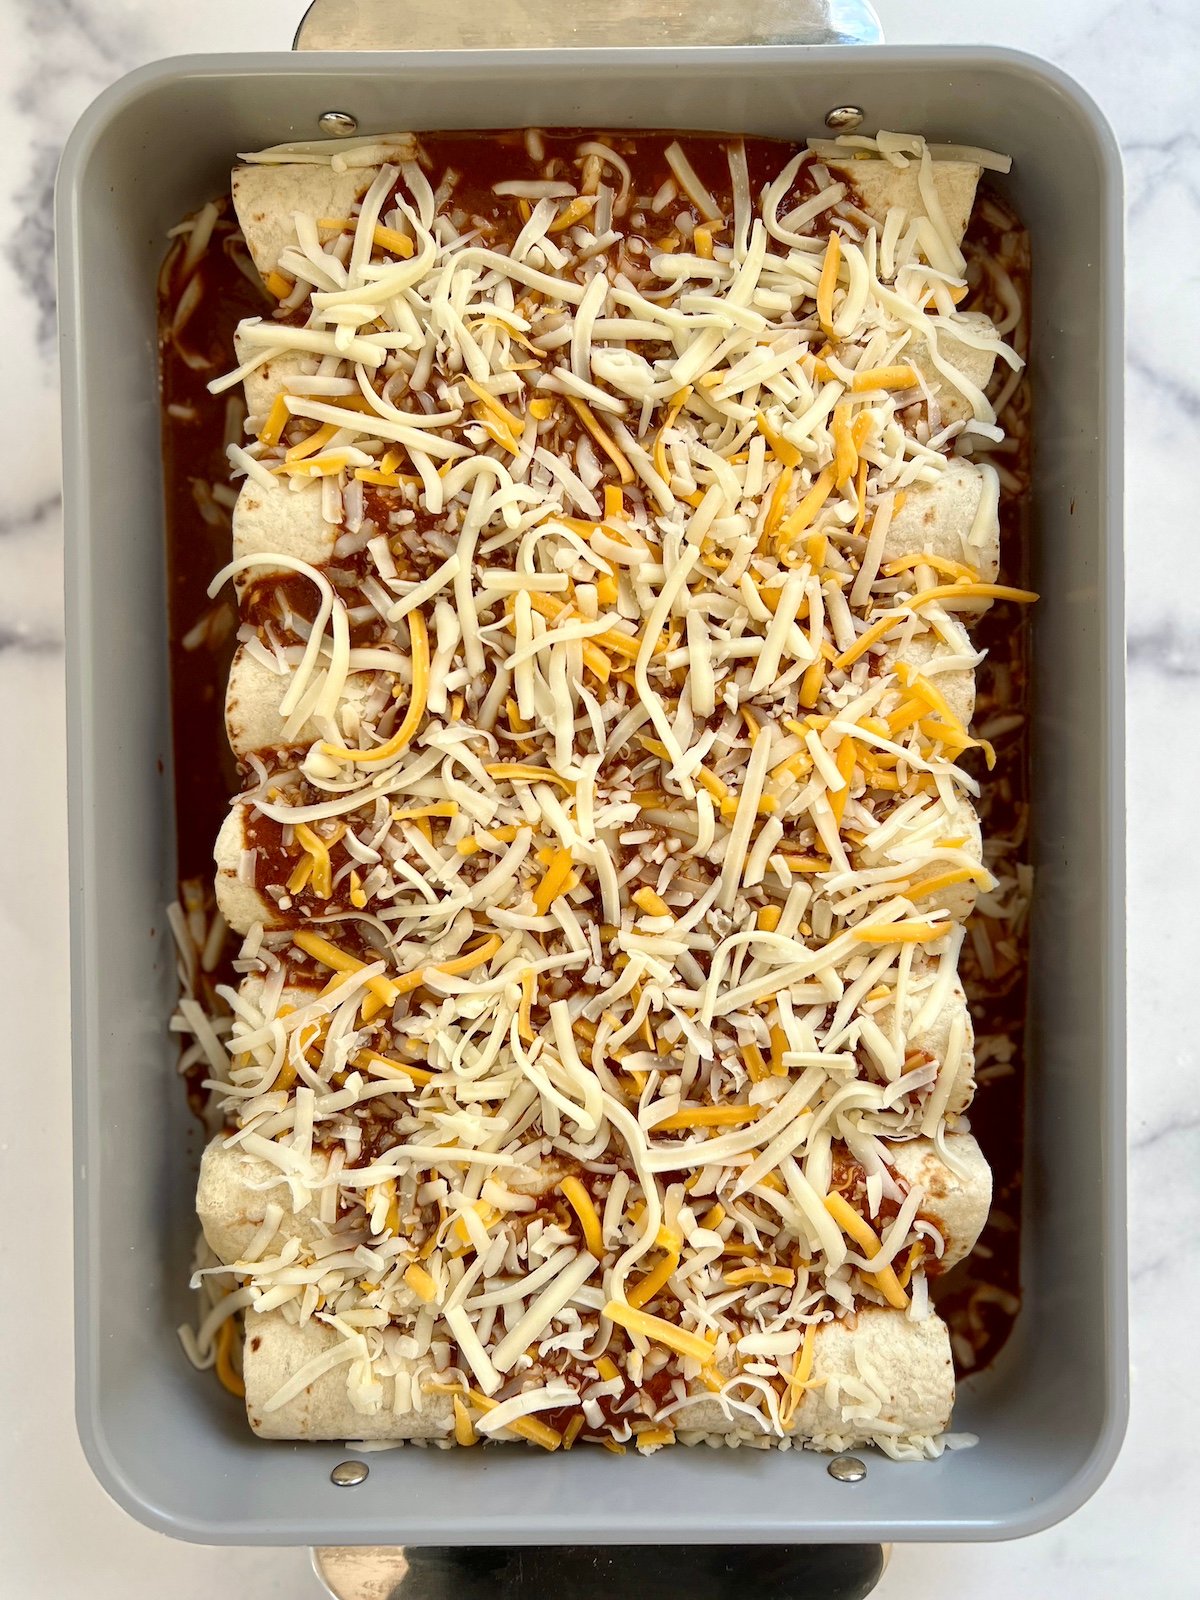
Step 6: Pour the remaining enchilada sauce over the top and sprinkle with the remaining ½ cup of cheese. (If planning to freeze, do so after this step!).
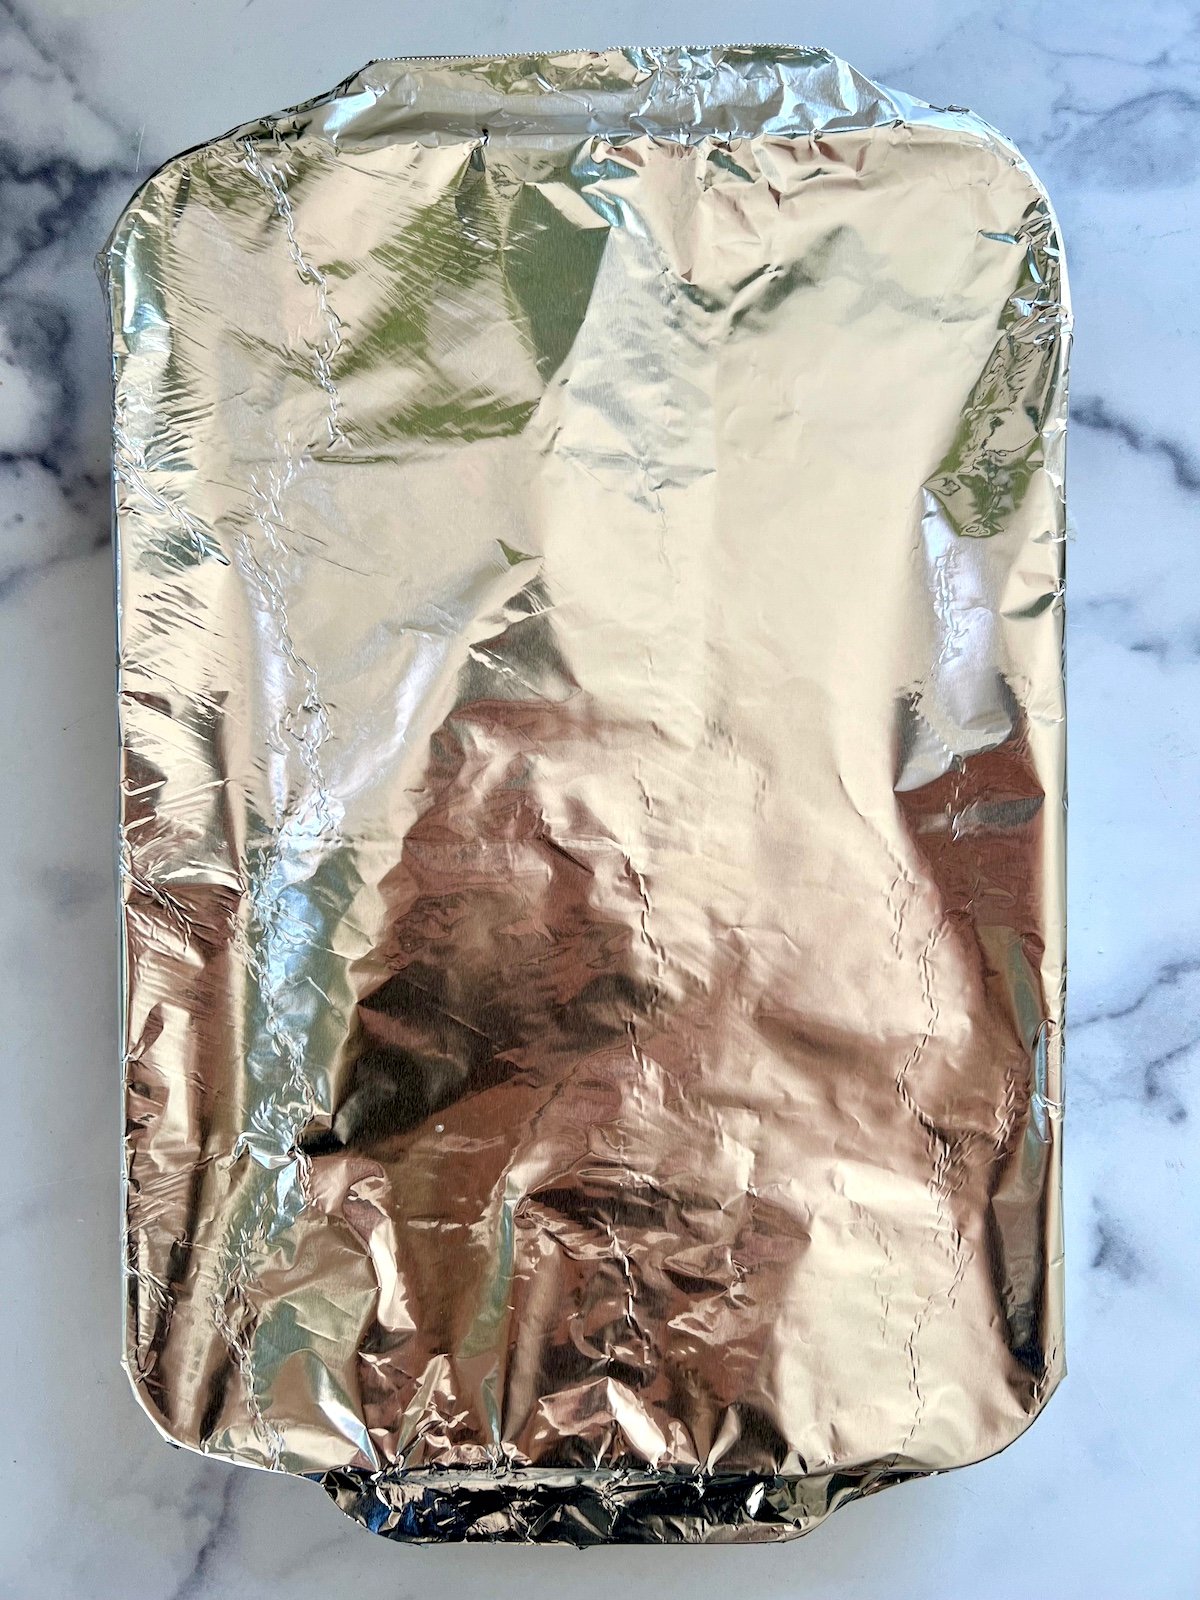
Step 7: Cover with foil and bake for 25-30 minutes (35-40 minutes if baking from frozen).
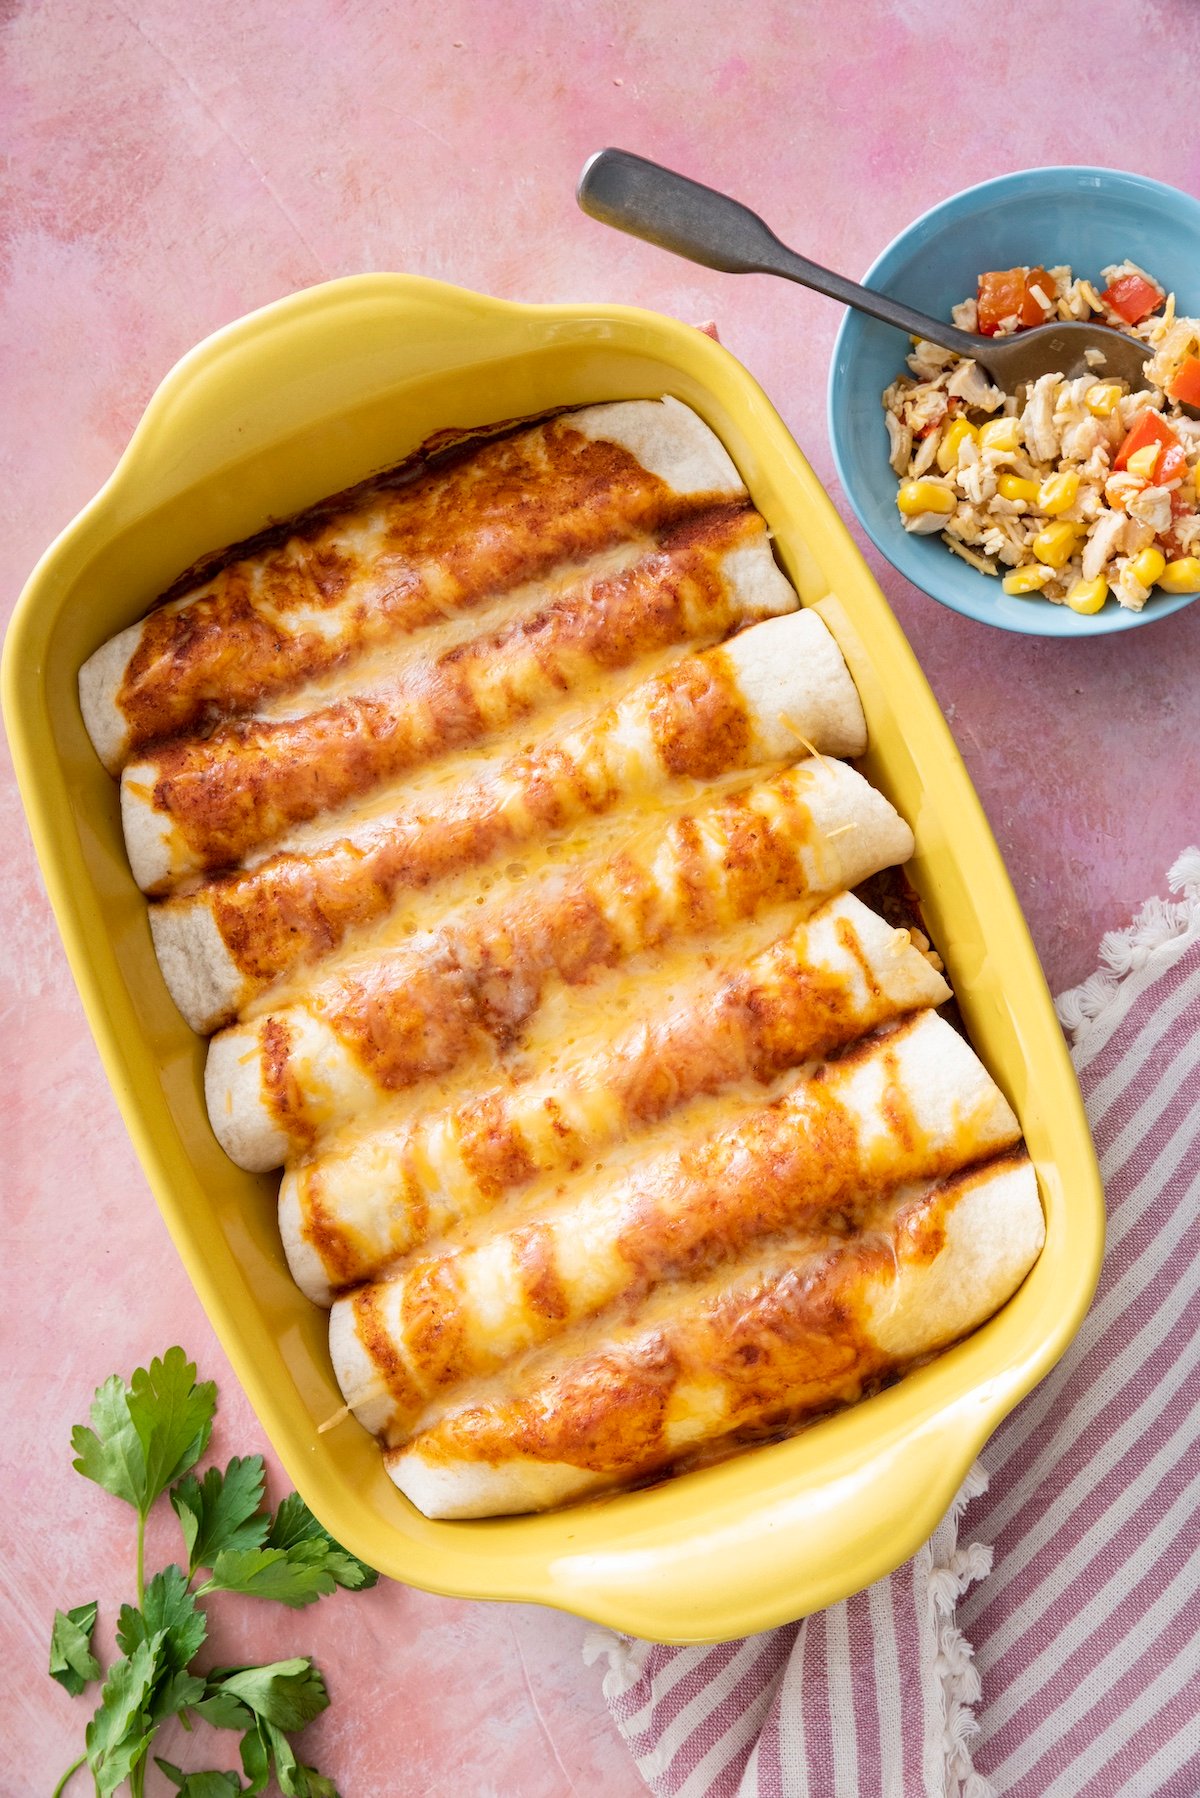
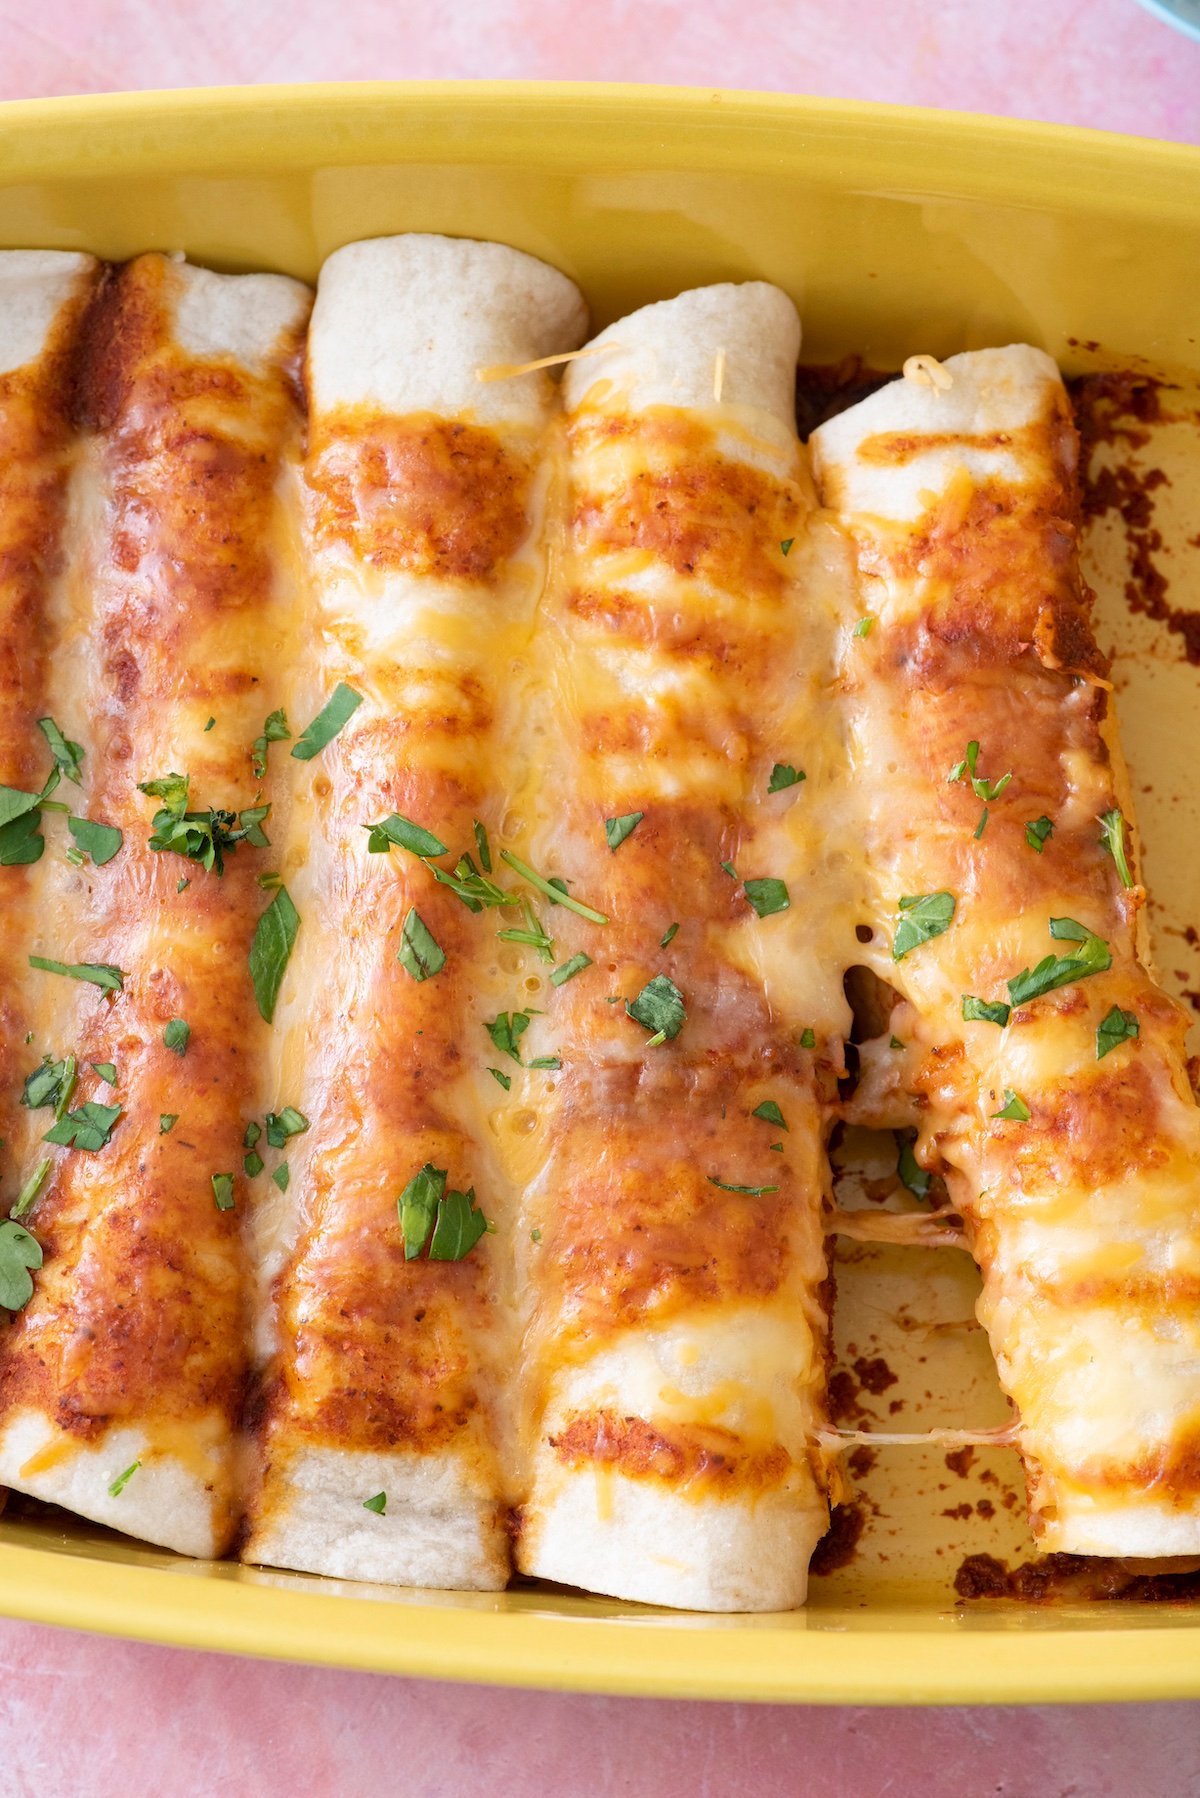
Step 8: Serve with a dollop of sour cream and chopped cilantro if desired.
Tips and Tricks
- Don’t overfill: Be careful not to overstuff the tortillas to avoid tearing them when rolling.
- Freezing: If you plan to freeze these enchiladas (they freeze really well!), assemble them but don’t bake them yet. Wrap the dish in foil so that it’s airtight and freeze for up to 4 months. When you’re ready to cook, just pop them in the oven straight from the freezer and add 10-15 minutes to the baking time!
- Warming tortillas: If your tortillas are stiff or cracking, warm them in the microwave for 10-15 seconds before filling to make them more pliable.
FAQs
Absolutely! You can assemble the enchiladas and refrigerate or freeze them before baking. Just add 10-15 minutes to the cooking time if starting from frozen.
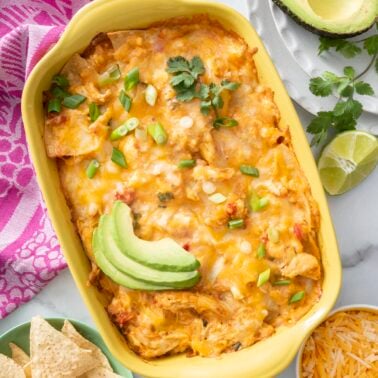
Serve these with a side of Mexican rice, pinto or refried beans or a fresh salad for a complete meal. You could also pair them with my homemade guacamole recipe and some pico de gallo with baked tortilla chips.
More Make Ahead Freezer Recipes
If you’re looking for a dish that’s packed with flavor, easy to make, and sure to please the whole family, then you’re going to love these Mexican Enchiladas! This recipe is a go-to for busy nights when I need something hearty and delicious on the table fast. Whether you’re making them for a weeknight meal or prepping ahead to freeze, these enchiladas are as satisfying as they are simple.
Want more Weelicious? Subscribe to my newsletter and follow me on Instagram, Facebook, and TikTok for all the newest recipes!
Would you like to save this?
Mexican Enchiladas
Ingredients
- 1 tablespoon olive oil
- 1 small onion, chopped
- 1 teaspoon kosher salt
- 1 red bell pepper, diced
- 1 teaspoon ground cumin
- 1 clove garlic, minced
- 2 cups chicken, cooked and shredded (about 2 chicken breasts)
- 1 cup frozen corn, defrosted
- 1 1/2 cups Mexican cheese blend
- 28 ounce can enchilada sauce
- 8 flour tortillas
Instructions
- Preheat oven to 350°F.
- Heat 1 tablespoon of olive oil in a sauté pan over medium heat and cook onions and salt for 3 minutes.
- Add red bell pepper and sauté for another 2 minutes.
- Add cumin and garlic and sauté for an additional minute.
- Remove the mixture from the pan and place in a bowl. After the mixture has cooled, add the chicken, corn, and 1 cup cheese. Mix to combine.
- Pour half of the enchilada sauce in a 9 x 11 inch baking dish.
- Lay a tortilla flat, add about 1/2 cup of filling, and roll tightly, like a burrito. Place the enchiladas seam-side down in the baking dish.
- Repeat with the remaining tortillas and filling, placing them snugly in the dish.
- Pour the remaining enchilada sauce over the top and sprinkle with the remaining 1/2 cup of cheese. (*If you’re planning on cooking this dish another day, cover it and freeze up to 4 months at this point.)
- Cover the dish with foil and bake in the oven for 25-30 minutes. If you are starting with frozen enchiladas, bake covered for 35-40 minutes.
- Serve with chopped cilantro and a dollop of sour cream if desired.
Notes
- Freezing: Enchiladas will stay in the freezer for up to 4 months. For best results, prepare enchiladas then freeze. Do not bake. When ready to serve, bake from frozen adding 10-15 minutes to the cook time.
- Warming tortillas: If your tortillas are stiff or cracking, warm them in the microwave for 10-15 seconds before filling to make them more pliable.
If I use corn tortillas instead of flour, does that change cooking time? Do you not te amend corn? My daughter is gluten sensitive.
I made these last night with chicken poached in vegetable broth and my husband loved them! I used Rick Bayless’ Frontera sauce in a bottle and fresh whole wheat tortillas from Whole Foods. Also skipped the garlic and cumin since I didn’t have it, but didn’t miss them at all. I used a 3 quart glass pan and still could only fit 5 tortillas since they were big. Thanks for the recipe!
I made these from the Weelicious book and LOVE them! Thank you!