

This post may contain affiliate links. Please read our disclosure policy.
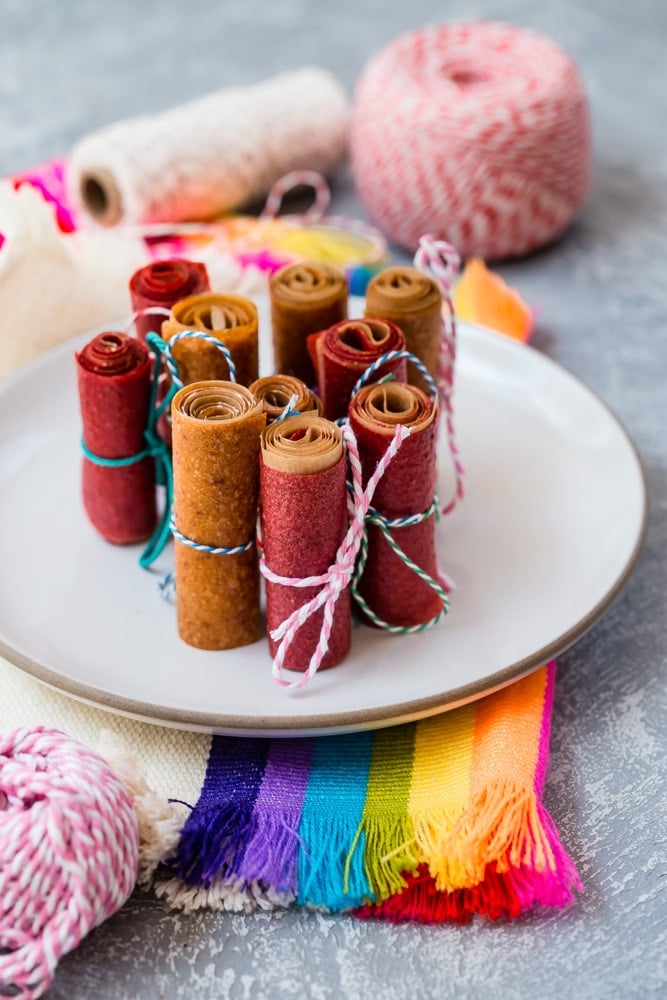
For me, one of the great sites and smells of summer is a big basket of fresh peaches. We love eating them so much in my house that I tend to go a bit overboard at the farmers’ market every Sunday and buy way more than we could possibly eat in a week. As the days go by, some get bruises while others become uber soft and juicy. Unless you want to eat peaches for every meal there’s nothing you can really do with them except….make fruit leather!
Would you like to save this?
If you think my kids like eating peaches, you should just see how excited they get for this homemade fruit leather. They go through it so quickly I tend to make about three batches a week, but one of the great things about this recipe is that it stays good for weeks, if not longer.

Peach Fruit Leather
Ingredients
- 4 ripe peaches (skin on)
- 1 tablespoon honey (optional if fruit isn’t ripe enough)
Instructions
- Preheat oven to 225 F degrees.*
- Rinse and remove seeds from peaches.
- Place the peaches and honey in a blender and puree until smooth.
- Pour the mixture onto a parchment lined baking sheet and spread with the back of a spoon or spatula in a large rectangle (my rectangle was 11 x 15 inches) making sure that the thickness is completely even.
- Bake for 3-4 hours or until dry and not sticky to the touch. Remember, cooking times will vary depending on how thick you spread your mixture and how much water (juice) is naturally in the fruit.**
- Set aside and cool at room temperature; it takes several hours for the fruit to soften up. Note that when you first take the fruit leather out of the oven, the edges will be a bit dry and crispy, but if you allow it to sit out for several hours it softens up nicely.
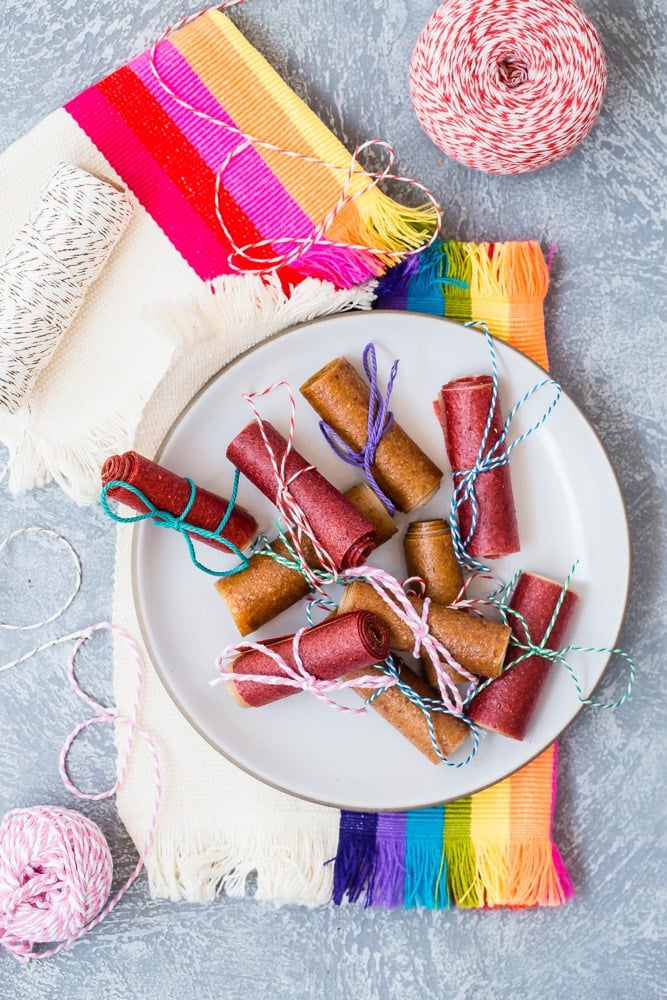
- Cut with a knife, pizza cutter or scissors into strips, keeping the paper on if desired, then roll the leather into “roll ups”.
- * If you choose to use a dehydrator, cook the fruit leather at 135 degrees for 5 hours.
- ** Every oven is different, so the cooking time maybe less than 2 hours if your oven tends to run hot.





Saw you on the Today show. Good job! Excited to make the peach leather. Our area is rich in peaches, almonds, and rice. Looking forward to seeing what you have on your site all our crops.
Which dehydrator do you use/recommend?
That should work just fine! be sure to drain them well first!
Can I use Canned Peaches instead if Fresh Peach?
Can you use frozen fruit?
Just pulled a ton of these out of the dehydrator. I am glad to have found your recipe and that it included the skins. All hail the Vitimix!
Nothing one could do …..except buy fewer peaches!
I have made the strawberry ones 2x already and have turned out perfect each time. I use 2 lbs organic strawberries and 2T honey and spread them on two baking sheets over parchment paper. I bake them in my convection oven starting at 175 degrees then after two hours turn up to 200 for another hour or so. I let them sit over night to soften a bit and then I cut them into strips and roll them. They turn out great. Making peach and strawberry ones now for my son’s birthday party at school. My kids and their friends love them.
Looking forward to trying this!
Cooked as directed and the paper turned so crispy that it would not peel away from the fruit. Every other recipe I read calls for an oven temp of 150C.
I am so sad this didn’t work. I was really looking forward to my daughter trying this, but after one hour in the oven, it’s burnt. Wasted 4 delicious peaches on this. Ill try again tomorrow with a traditional, low low heat, longer timed recipe.
I have two pans in the oven now (I know, not the best time of year to have the oven on for several hours, but at least it’s a low temp). It seems quite thick, so I’m hoping it turns out. It smells great, and the color is something I want to paint on my walls! I did sprinkle some Fruit Fresh to slow the browning.
Store in an airtight container on the counter! They’ll last at least a week!
How would I store these after they’re made? and how long do they last?
Suggest you keep a close eye because mine wasn’t even in 3 hours & burned…so bummed but will try it again.
I LOVE peaches! I am looking forward to giving this recipe a go!