‘Tis the season for spreading joy and what better way than with a delightful homemade treat! If you’re a fan of the cheesy goodness reminiscent of Goldfish crackers, you’re in for a treat with these irresistible Cheese Wafers. Plus, they make the perfect gift for friends, family, or neighbors during the holiday season. Trust me, these are so good that of all recipes on Weelicious these Cheese Wafers are in my top 10 favorites.
Some moms make their kids sugar cookies, gingerbread people and or maybe even Peppermint Brookies. My mom made cheese wafers. I’m not talking about a tins worth, I’m literally talking pounds and pounds! You would have thought she was starting her own cheese wafer business with the amount of sharp cheddar cheese kept in our refrigerator, especially during the holidays. I remember standing by her salivating as she made them. Really, they’re THAT good.
Why I Love Cheese Wafers
- Perfect for Gifting: Not only do these Cheese Wafers capture the essence of a classic snack, but they also add a personal touch to your holiday gifting. Package them up in cute containers or festive bags, and you’ve got a gift that’ll make anyone’s day.
- Super Kid-Approved: These wafers are not just kid-friendly; they’re kid-MAGNETS. My little ones can’t resist the cheesy allure. With the perfect blend of cheesy goodness and a hint of spice, they’re a snack that pleases all palates.
- Homemade Goodness: If you love the nostalgic flavor of goldfish crackers, then you’re going to be obsessed with these Cheese Wafers. They’re the perfect homemade version of everyone’s favorite childhood snack, and dare I say, may even outshine the original?
The Ingredients
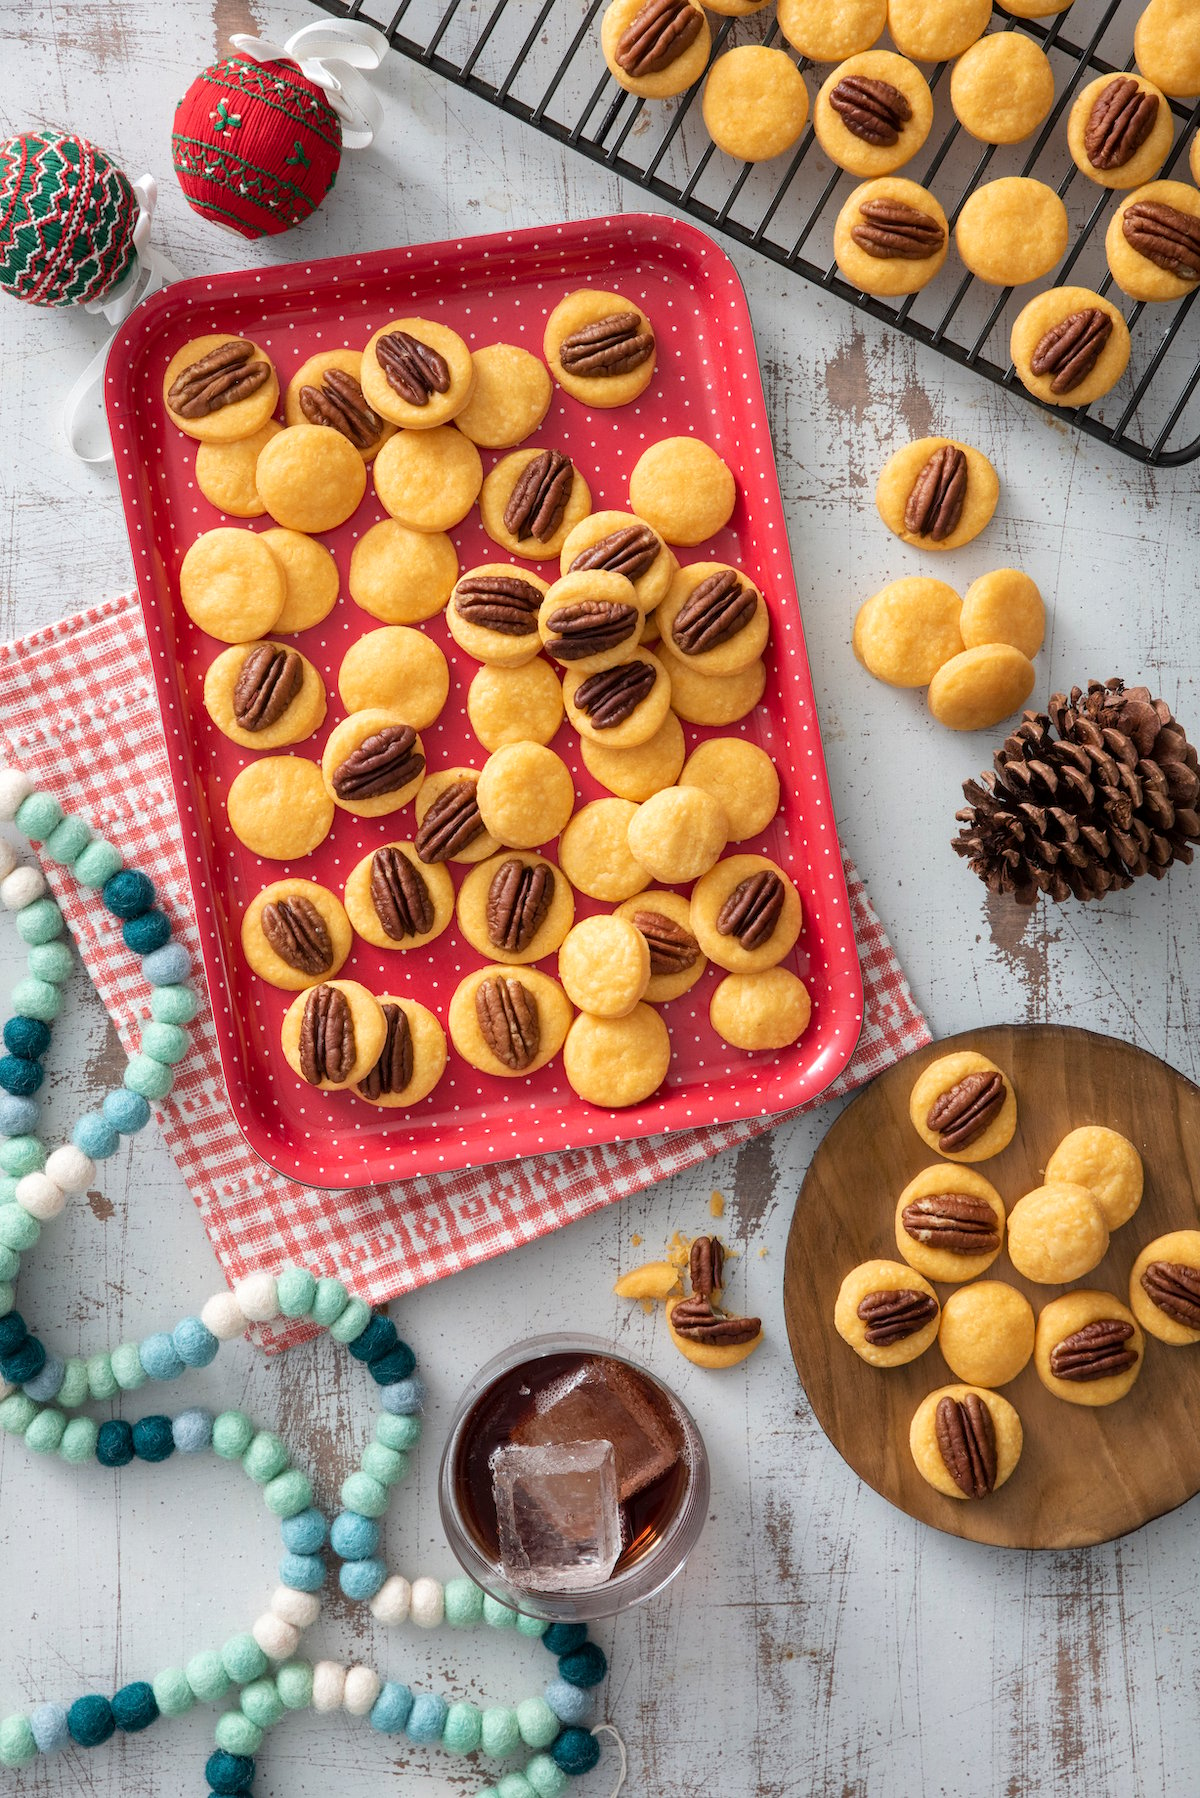
- Sharp Cheddar Cheese
- Butter
- All Purpose Flour
- Raw Pecan Halves, or other nut of preference (optional)
How to Make Homemade Cheese Wafers
1. Combine Ingredients: Combine all the ingredients in a food processor and combine (dough may be a bit crumbly, but it will stick together). Remove all the dough to a piece of parchment or waxed paper and shape into a thick flat circle.
2. Refrigerate: Cover dough with waxed paper and refrigerate for one hour or overnight.
3. Prep Oven: Preheat oven to 400°F.
4. Roll Out Dough: Open waxed paper and roll out dough on it into a 1/4 inch-thick piece.
5. Cut Out Wafers:Take small cookie cutters and cut out into shapes. Any small shape will usually work so have fun with it!
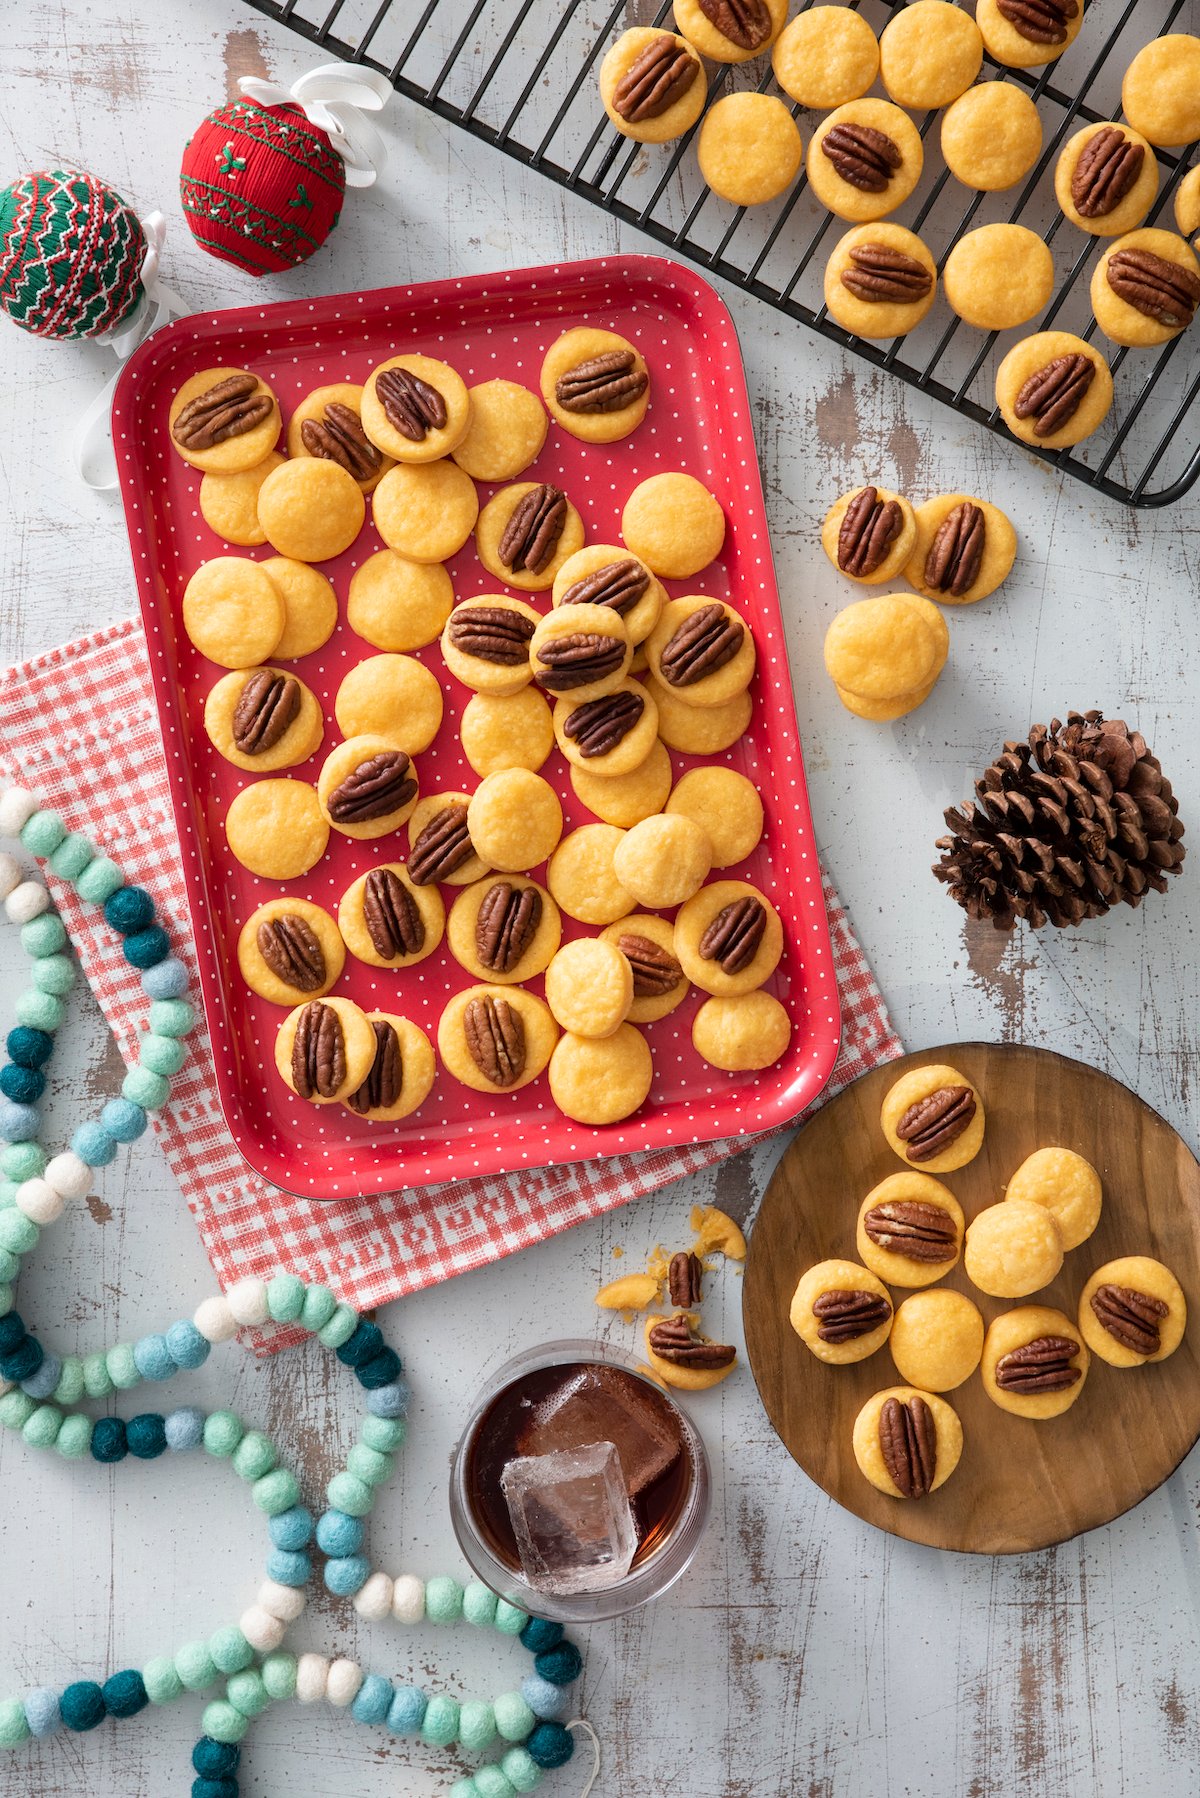
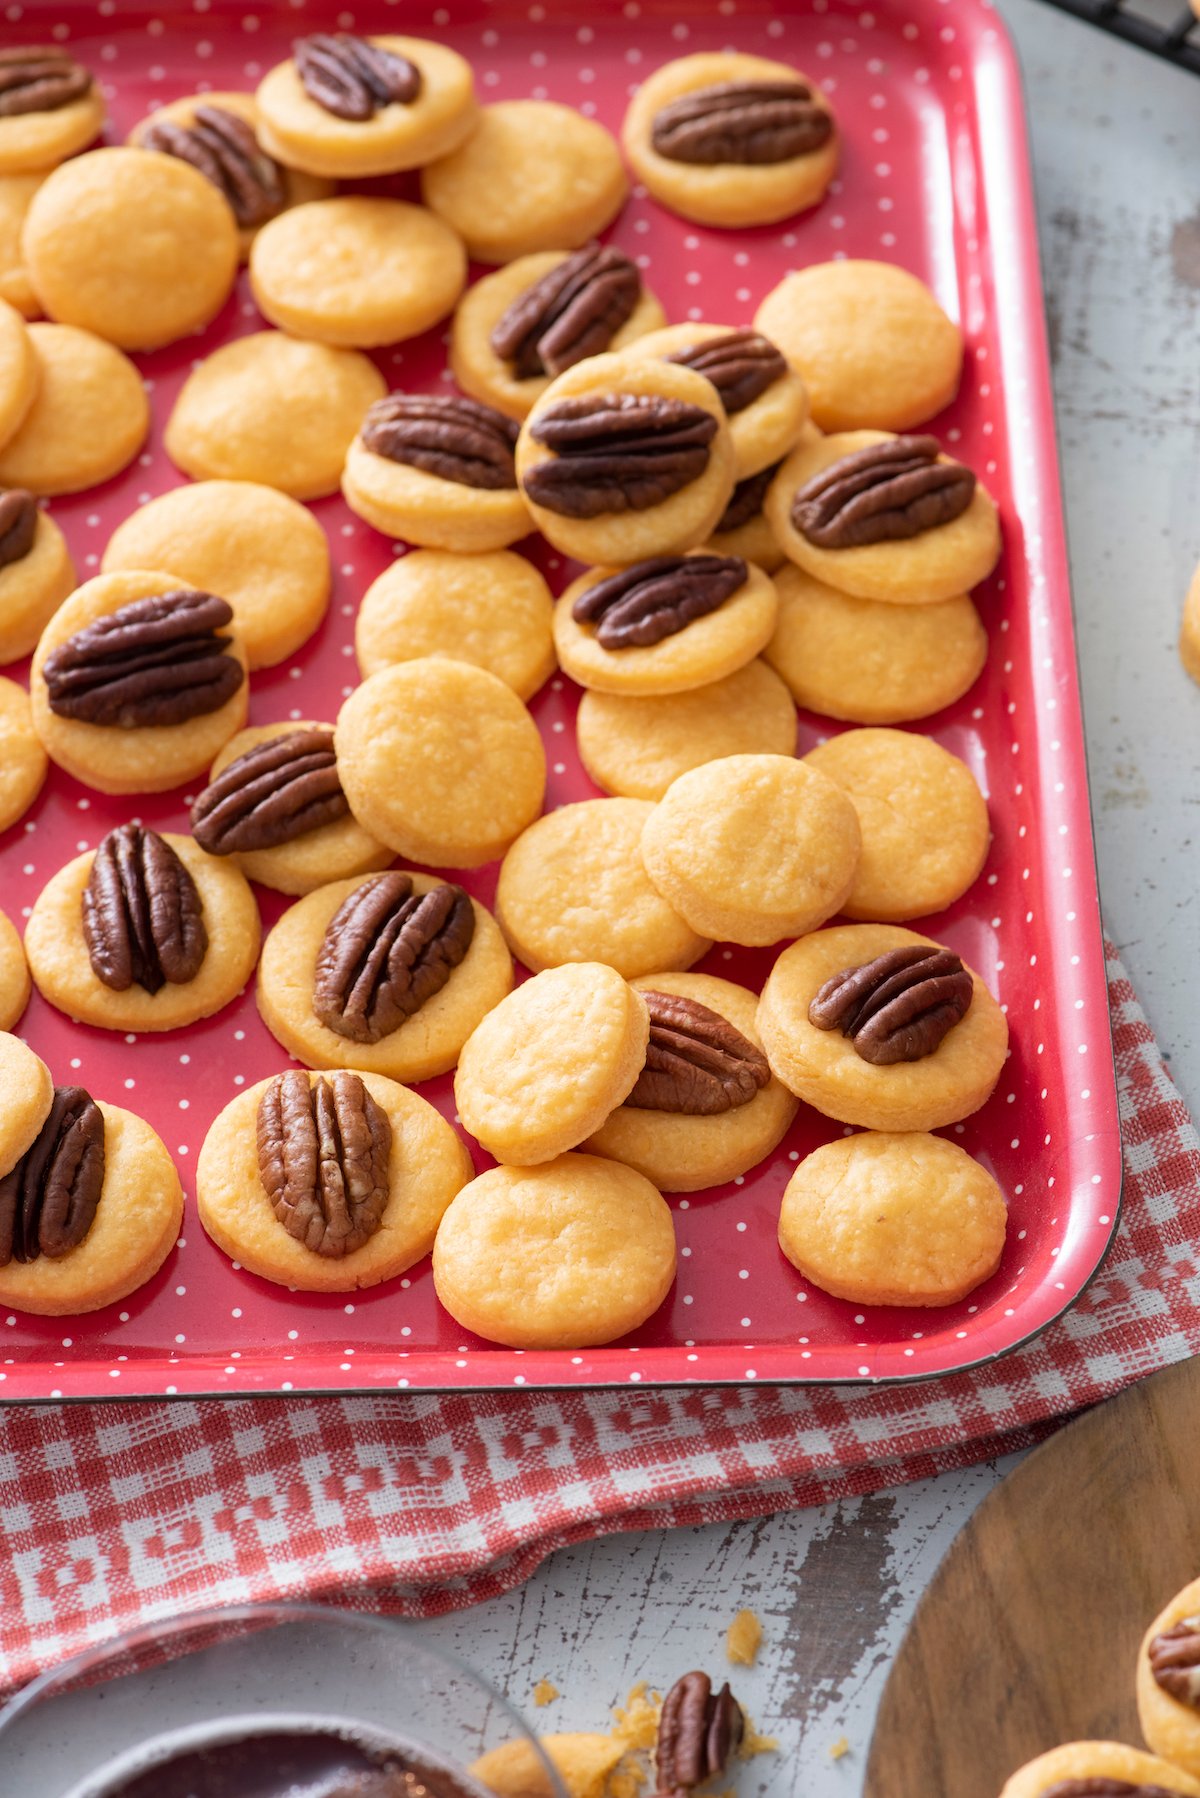
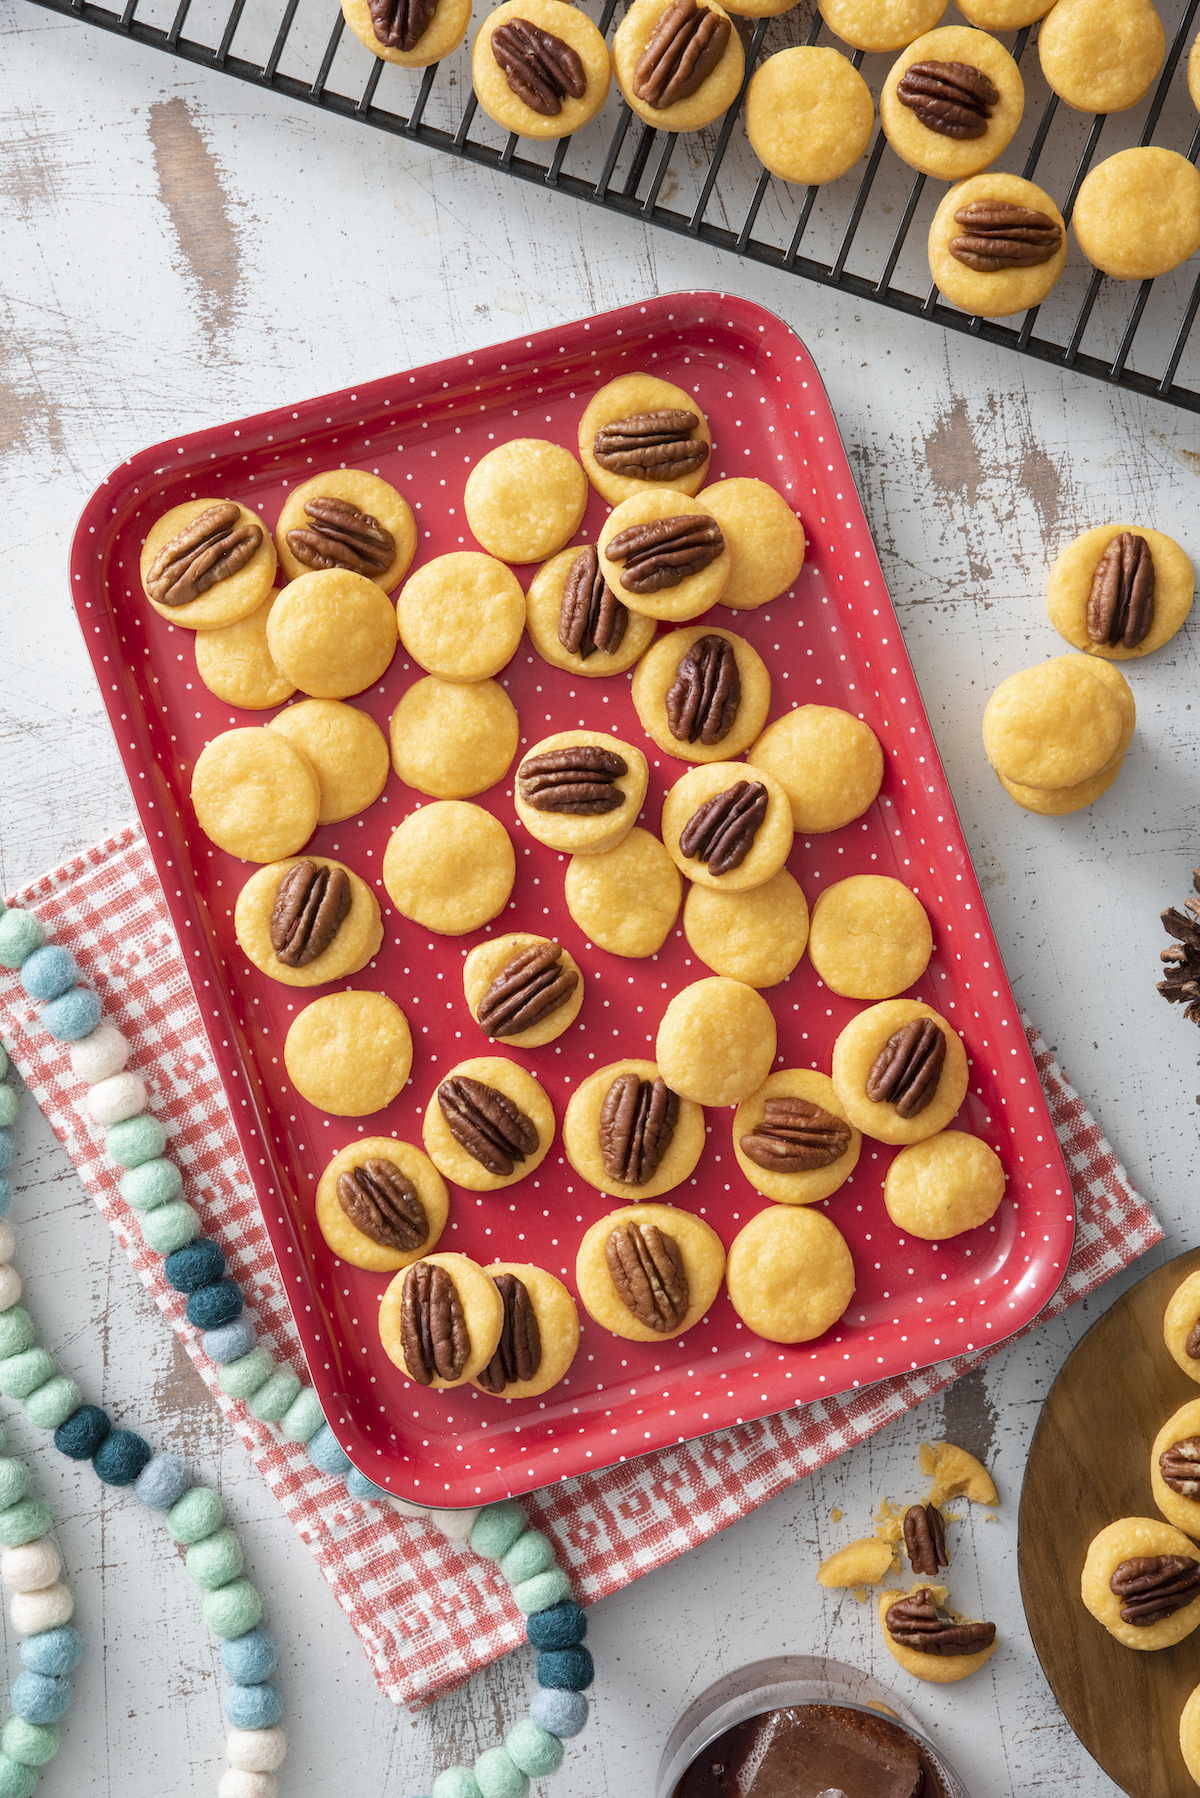
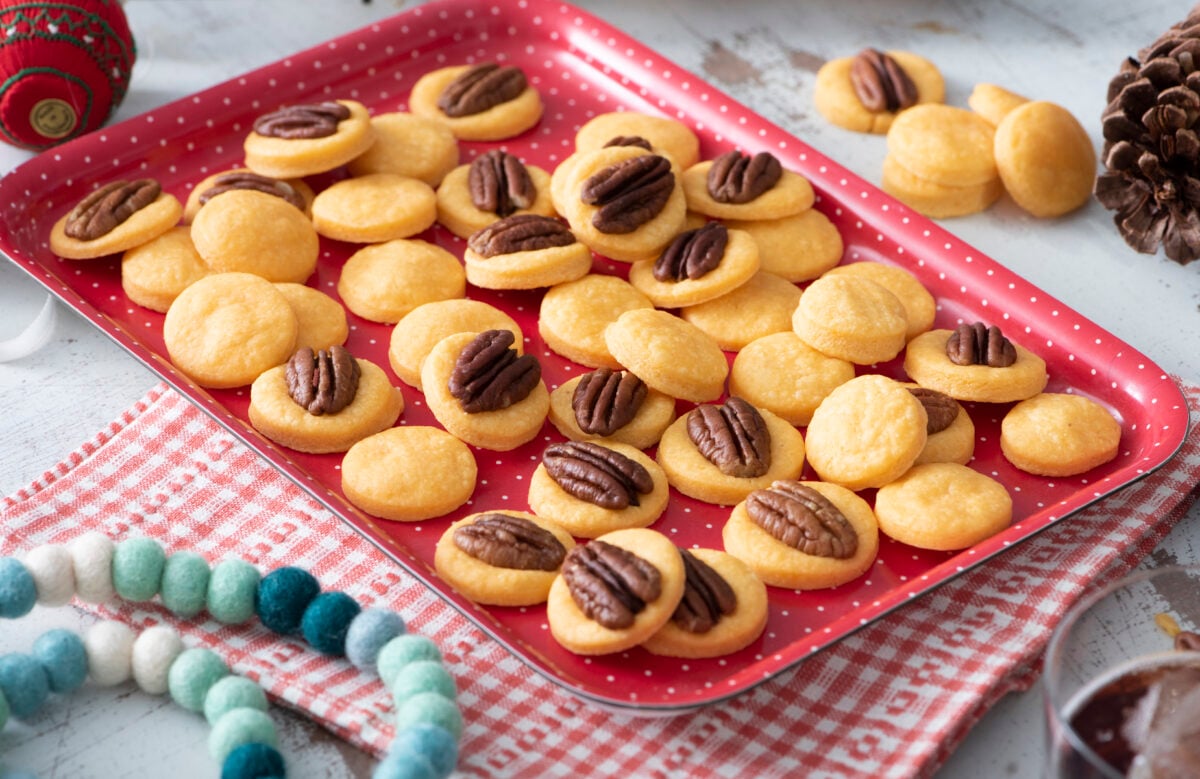
6. Bake: Place on a cookie sheet (preferably lined with a silpat or parchment paper). Add pecans or other nut on top (if preferred) and bake for 12-15 minutes. Let cool on sheet for 2 minutes before removing.
Cheese Wafer Substitutions/Additions
Nutty Choices: Personalize your Cheese Wafers by swapping out pecans with any nut of your choice or skipping them altogether for a nut-free twist.
Gluten-Free Goodness: Embrace a gluten-free option by using gluten-free flour in this recipe. Enjoy the same delicious Cheese Wafers without the gluten, making them accessible to everyone at your table.
Cheese Exploration: Experiment with different cheese varieties like pepper jack or colby jack for a unique flavor profile. Get creative and tailor these wafers to your taste preferences!
Storage and Freezing Instructions
- Storage: Allow your Cheese Wafers to cool completely after baking. Store the cooled wafers in an airtight container at room temperature for up to one week. This ensures they maintain their delightful crispiness and flavor.
- Freezing: If you want to freeze a large batch, flash freeze the wafers on a baking sheet first. Lay them in a single layer, ensuring they don’t touch. Once frozen, transfer the wafers to a freezer bag. Removing excess air from the bag helps prevent freezer burn. Label the bag and freeze for up to two months.
- Thawing: When ready to enjoy, let the wafers thaw at room temperature for about 20-30 minutes. For a crispier texture, you can reheat them in the oven for a few minutes.
Whether you’re on the hunt for a tasty homemade gift or a new family favorite, these Cheese Wafers are your golden ticket. Just a word of warning: once you start, you might find yourself hiding a stash for yourself! Let me know in the comments if you’re making these for the holidays this year and tag me on social media if you do!

Cheese Wafers
Equipment
- Food Processor
Ingredients
- 1/2 pound sharp cheddar cheese, grated
- 5 tablespoons butter, cut into cubes
- 1 cup all purpose flour, plus additional for sprinkling
- raw pecan halves, or other nut of preference (optional)
Instructions
- Combine all the ingredients in a food processor and combine (dough may be a bit crumbly, but it will stick together).
- Remove all the dough to a piece of parchment or waxed paper and shape into a thick flat circle. Cover with waxed paper and refrigerate for one hour or overnight.
- Preheat oven to 400°F.
- Open waxed paper and roll out dough on it into a 1/4 inch-thick piece.
- Take small cookie cutters and cut out into shapes (you could also take an empty plastic medicine bottle to make circle shaped crackers. Just make sure you clean out the bottle thoroughly first.).
- Place on a cookie sheet (preferably lined with a silpat or parchment paper). Add pecans or other nut on top (if preferred) and bake for 12-15 minutes. Let cool on sheet for 2 minutes before removing.
- Serve.
Notes
- Storage: Allow your Cheese Wafers to cool completely after baking. Store the cooled wafers in an airtight container at room temperature for up to one week. This ensures they maintain their delightful crispiness and flavor.
- Freezing: If you want to freeze a large batch, flash freeze the wafers on a baking sheet first. Lay them in a single layer, ensuring they don’t touch. Once frozen, transfer the wafers to a freezer bag. Removing excess air from the bag helps prevent freezer burn. Label the bag and freeze for up to two months.
- Thawing: When ready to enjoy, let the wafers thaw at room temperature for about 20-30 minutes. For a crispier texture, you can reheat them in the oven for a few minutes.
- Nutty Choices: Personalize your Cheese Wafers by swapping out pecans with any nut of your choice or skipping them altogether for a nut-free twist.
- Gluten-Free: Embrace a gluten-free option by using gluten-free flour in this recipe. Enjoy the same delicious Cheese Wafers without the gluten, making them accessible to everyone at your table.
- Cheese: Experiment with different cheese varieties like pepper jack or colby jack for a unique flavor profile. Get creative and tailor these wafers to your taste preferences!


My dough was crumbly but I was able to mold it with my hands and have it stick together before refrigerating it. I did the same thing after it came out of the refrigerator just to soften it a bit before rolling. The first batch I baked right after I cut the shapes. The second one I stuck in the freezer for a couple of minutes. That batch came out a little bit better. I used a full 8 oz of cheddar cheese.