This post may contain affiliate links. Please read our disclosure policy.
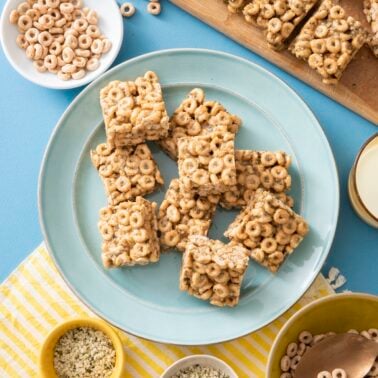
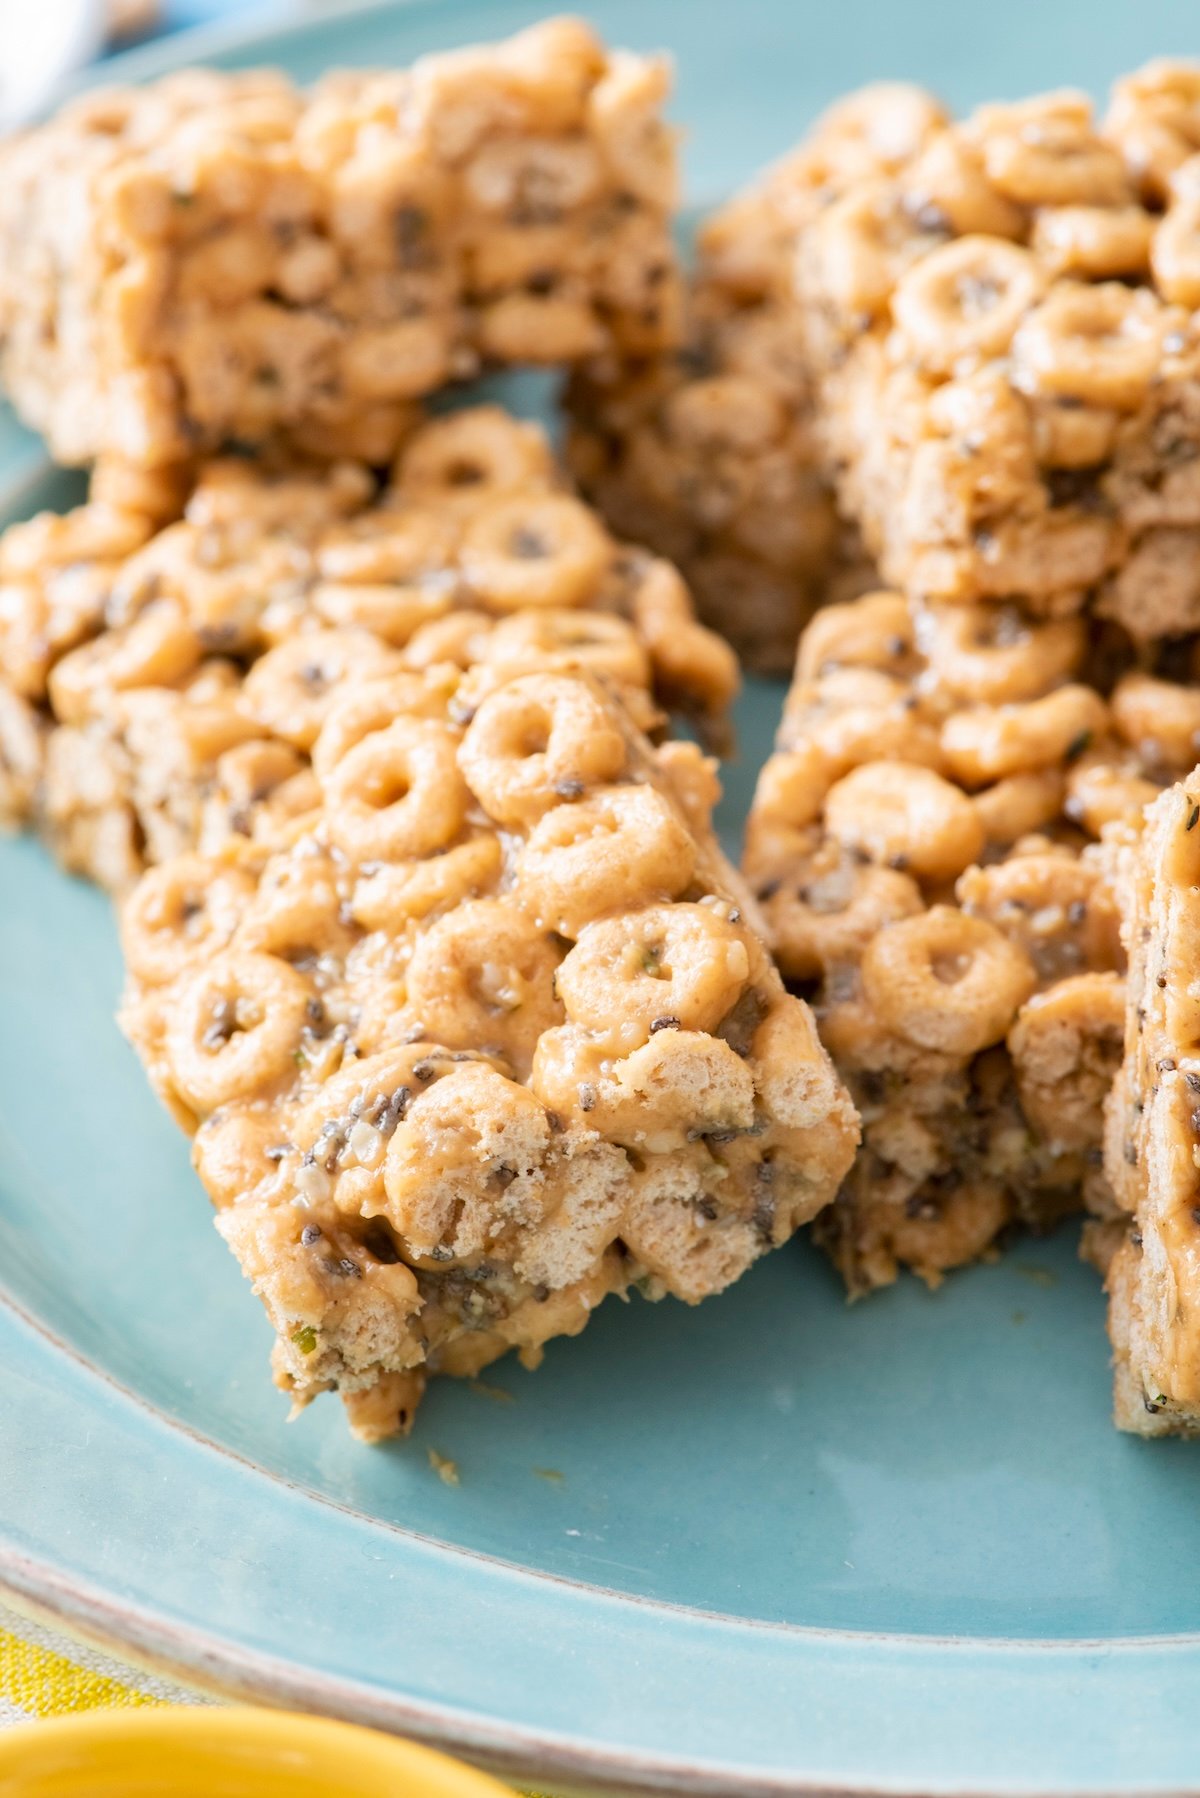
Looking for a quick and easy snack that’s healthy, high in protein, and kid-approved? These Protein Cereal Bars are just the thing! Made with five simple ingredients including peanut butter, honey, and your favorite O’s cereal, they come together in minutes and don’t require any baking!
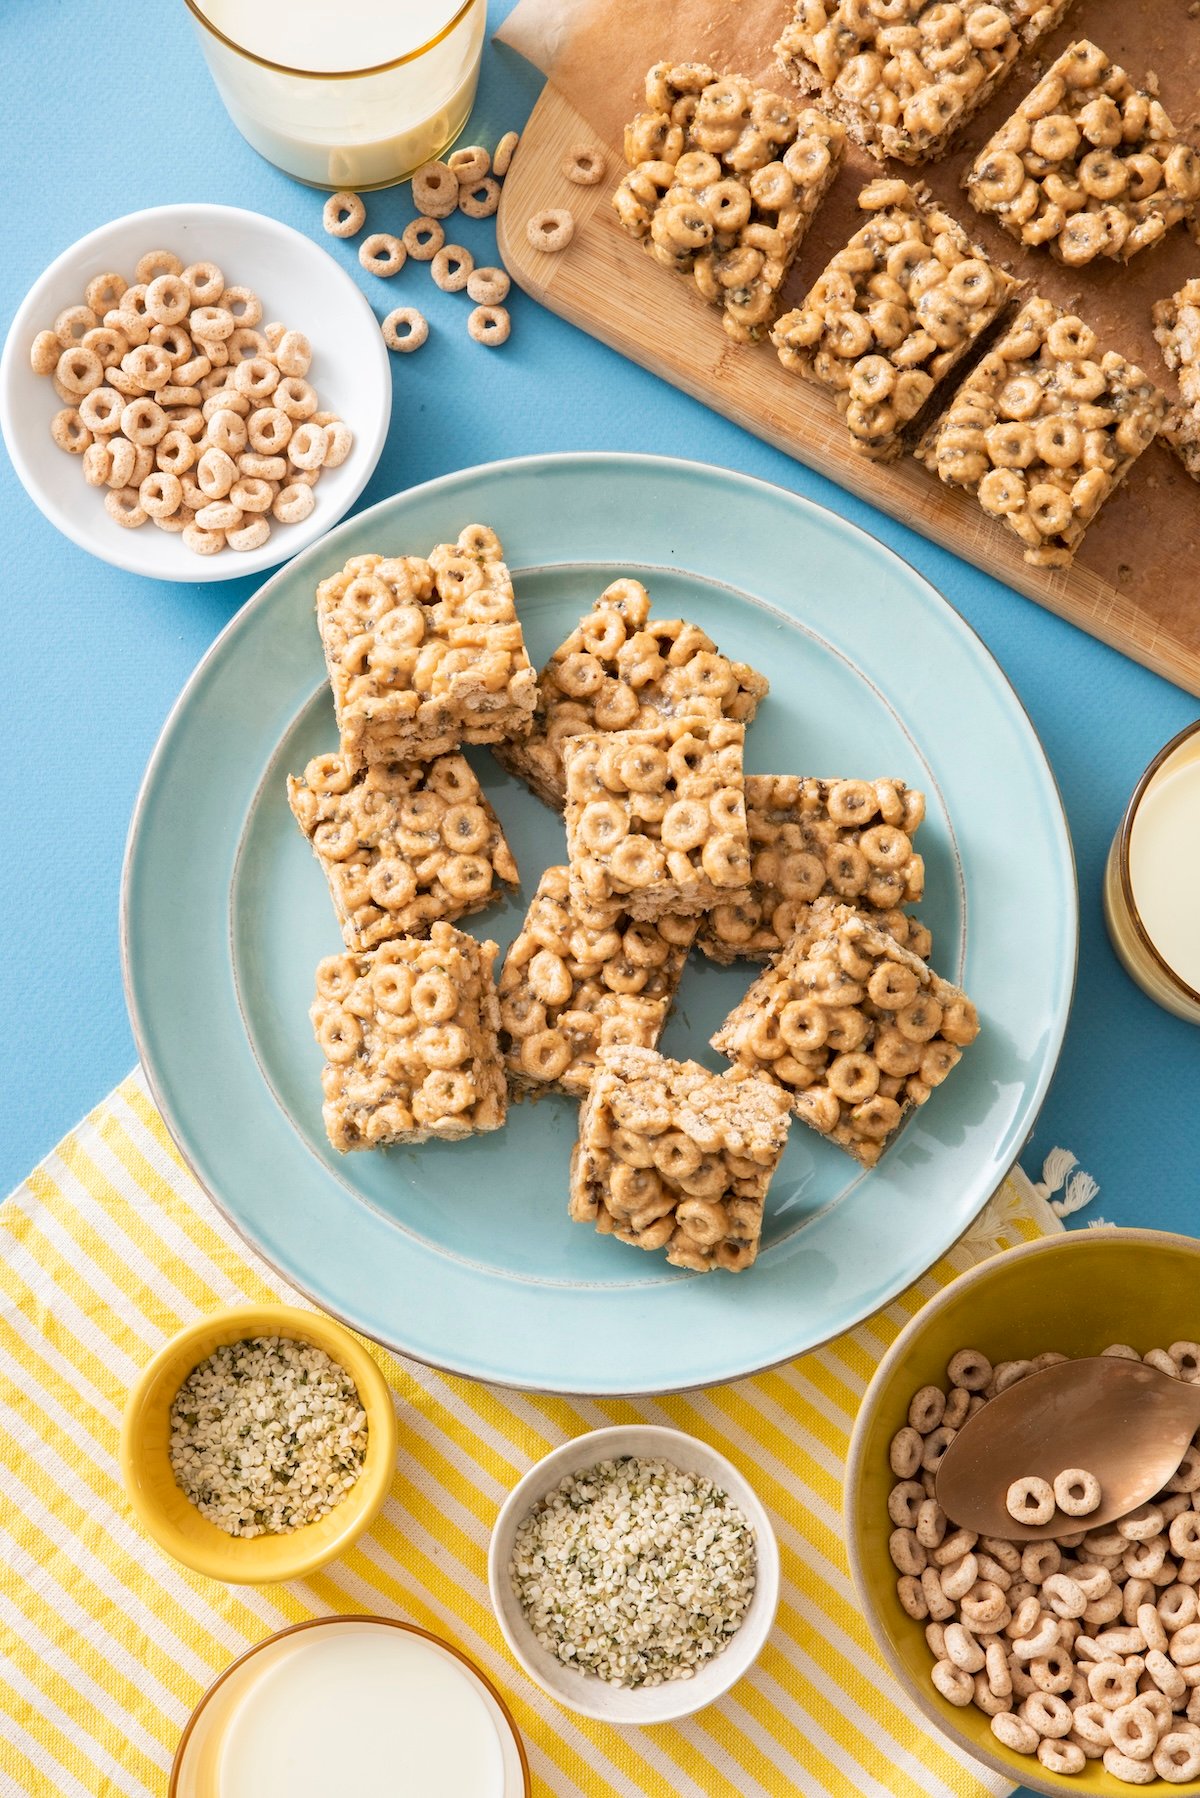
Table of Contents
Why I Love This Recipe
These Protein Cereal Bars are one of my favorite quick snacks to have on hand. They’re easy to make, no baking required, and packed with protein to keep everyone satisfied. My kids love them, and they’re a fun recipe to make together. My youngest daughter always volunteers to help mix and press the bars into the pan!
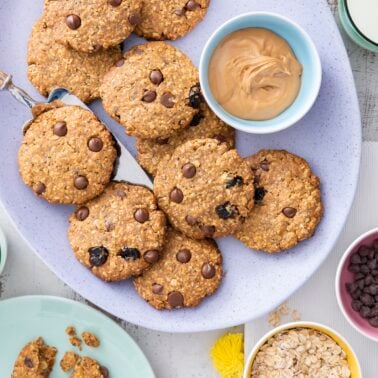
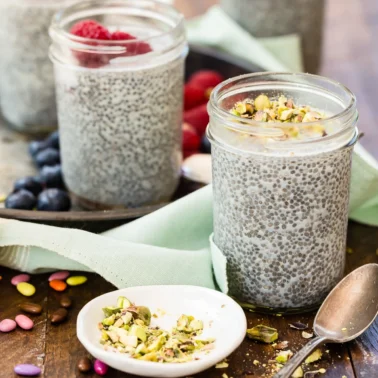
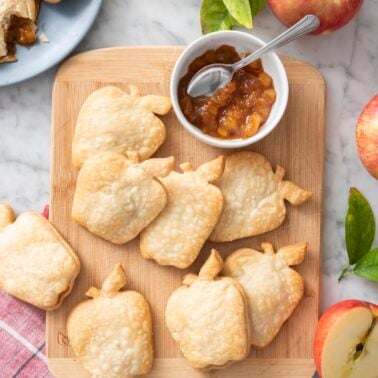
They’re right up there with my other favorite high-protein snacks like Protein Balls and my no oven needed No-Bake Cookie Dough Balls. And if you love easy, packable breakfasts, you’ll also want to check out my Oatmeal On-the-Go Bars. These are the kind of kid-friendly snacks that make busy days a little smoother!
The Ingredients
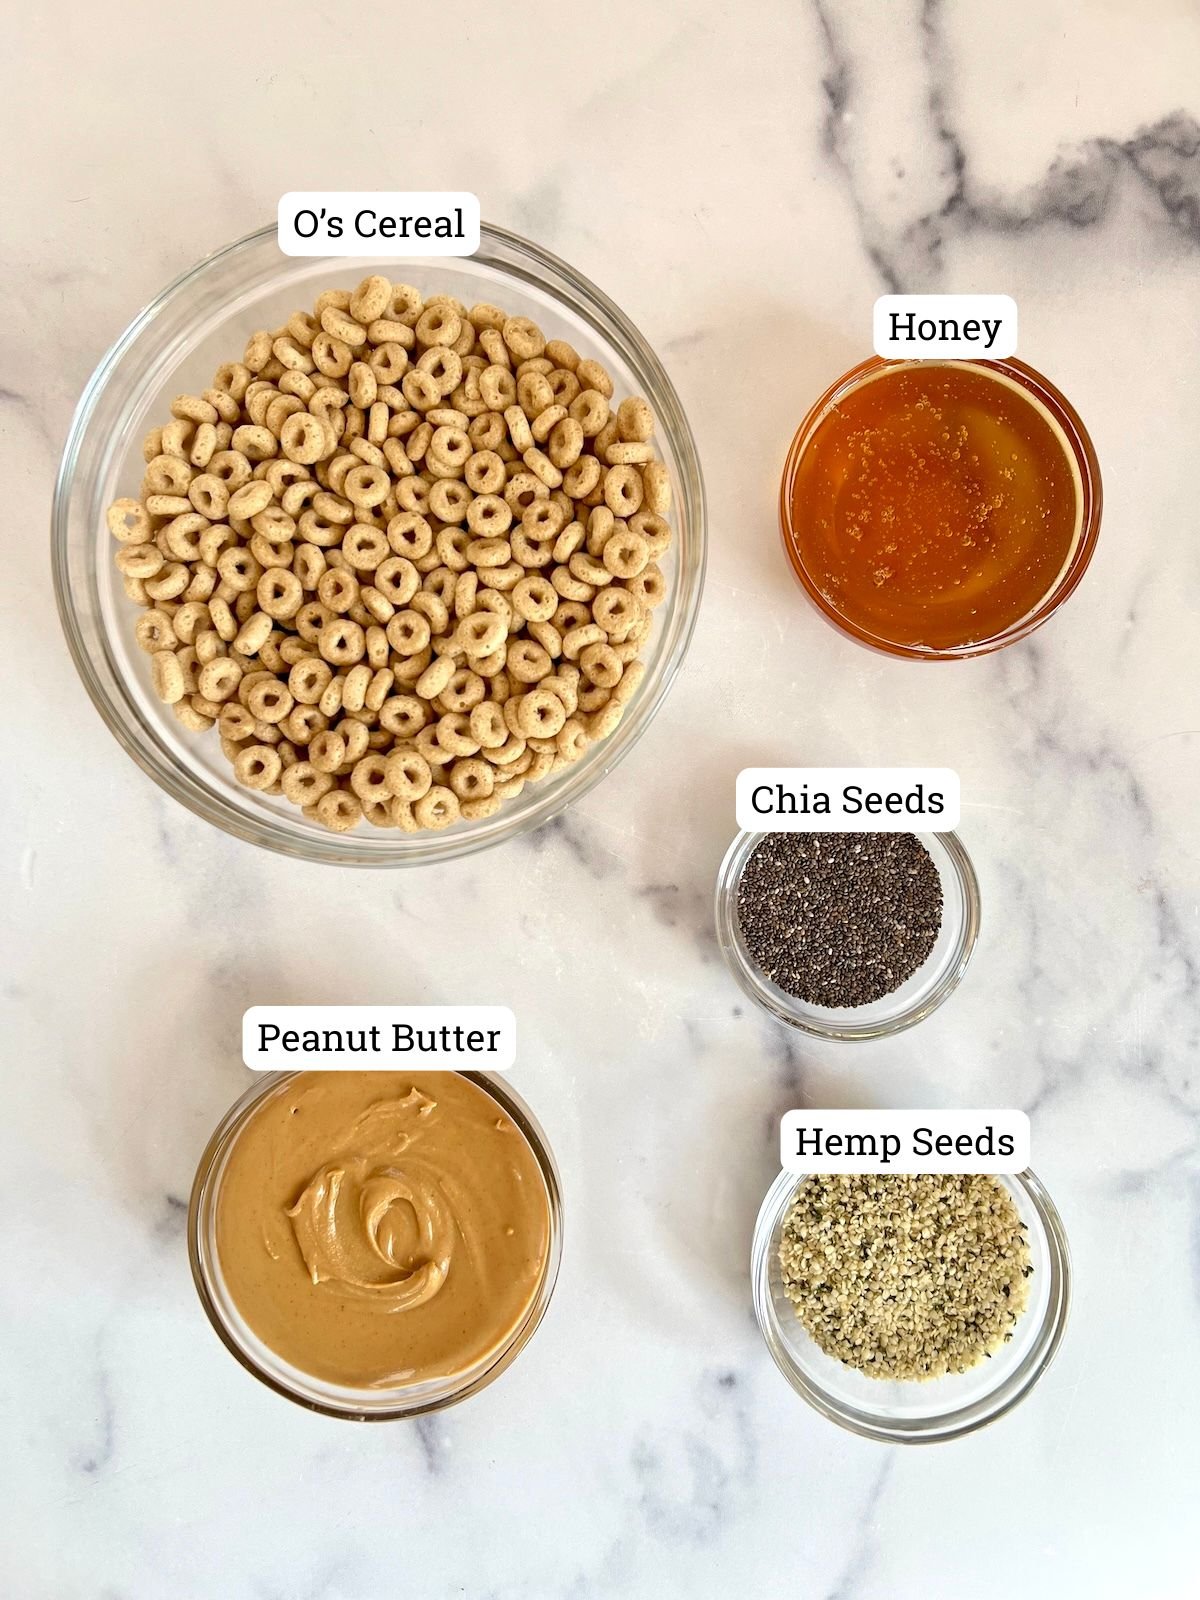
You only need a handful of pantry staples to whip up these bars:
- Peanut Butter: Creamy peanut butter adds protein and helps bind everything together. Any nut or seed butter will work in this recipe.
- Honey: A natural sweetener that pairs perfectly with peanut butter and helps hold the bars together.
- O’s Cereal: Use your favorite brand of O-shaped cereal for a satisfying crunch. Or, use any cereal (or combinations of cereals) you have on hand.
- Hemp Seeds: These tiny seeds are packed with plant-based protein, fiber, and healthy fats.
- Chia Seeds: Another superfood, chia seeds add even more fiber and protein to the mix.
Variations and Substitutions
These bars are easy to customize based on what you have on hand:
- Nut-Free: Use sunflower seed butter in place of peanut butter to make these bars school-safe.
- Gluten-Free: Choose a certified gluten-free O’s cereal to make this recipe gluten-free.
- Add-ins: Try mixing in mini chocolate chips, dried cranberries, or shredded coconut for extra flavor.
- Swap the Sweetener: Maple syrup works as a delicious alternative to honey in needed.
How to Make Protein Cereal Bars

Step 1: Place peanut butter and honey in a saucepan over low heat and stir for one minute or until melted and combined.
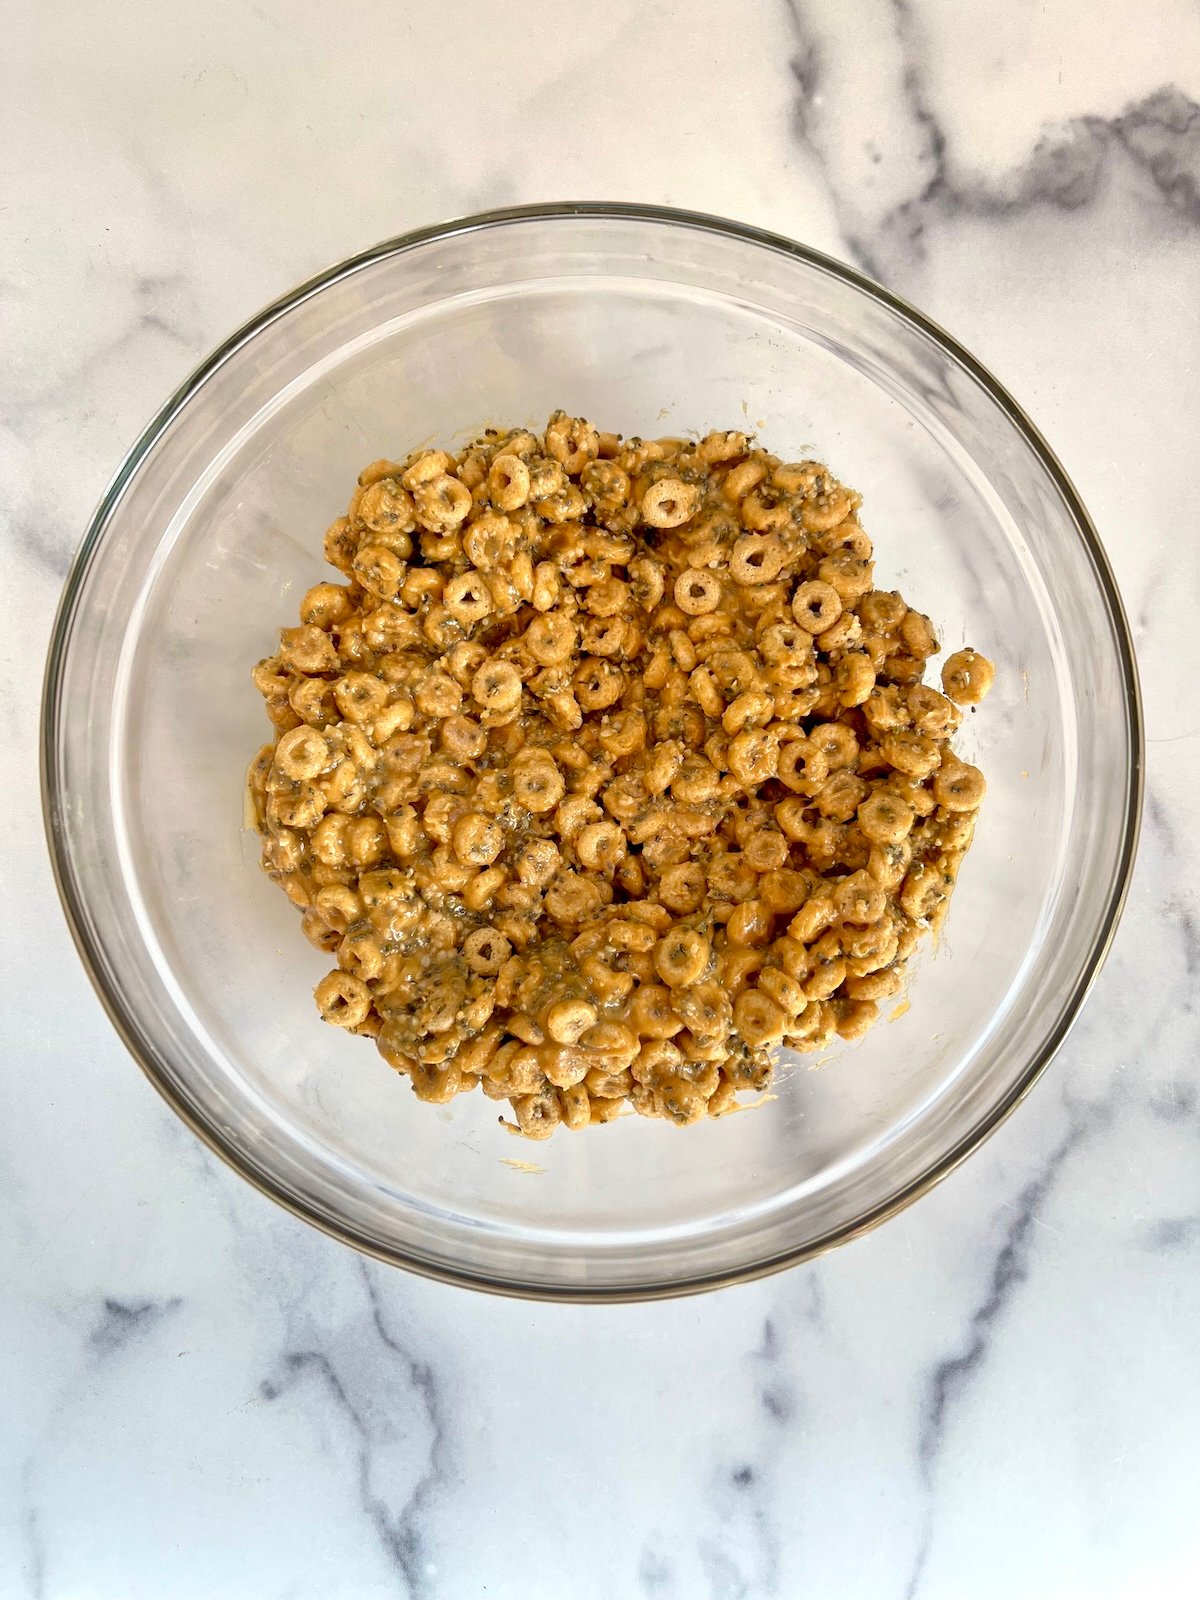
Step 2: Place cereal, hemp and chia seeds in a bowl and stir to combine. Pour peanut butter mixture over cereal and stir to throughly coat the cereal evenly.
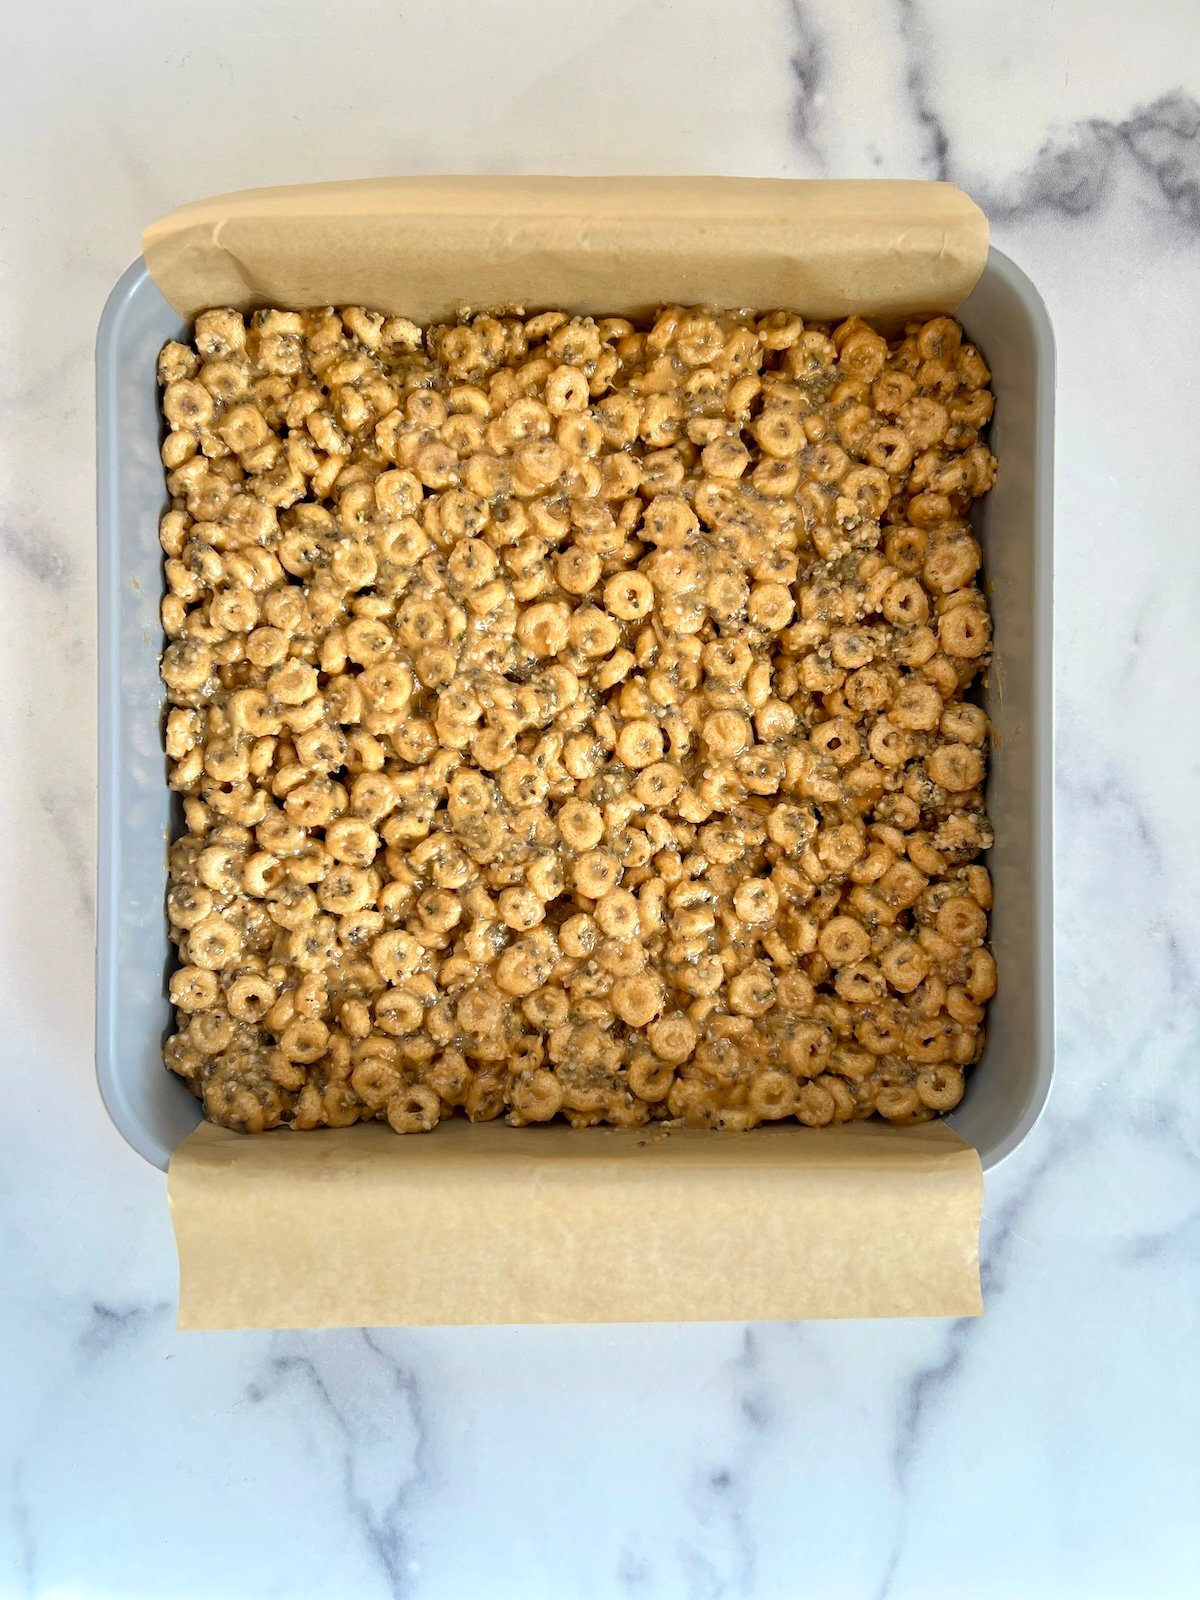
Step 3: Pour mixture into a greased and parchment lined 8×8 inch baking dish. Using a spatula press the mixture into the pan until top is smooth, flat and even.
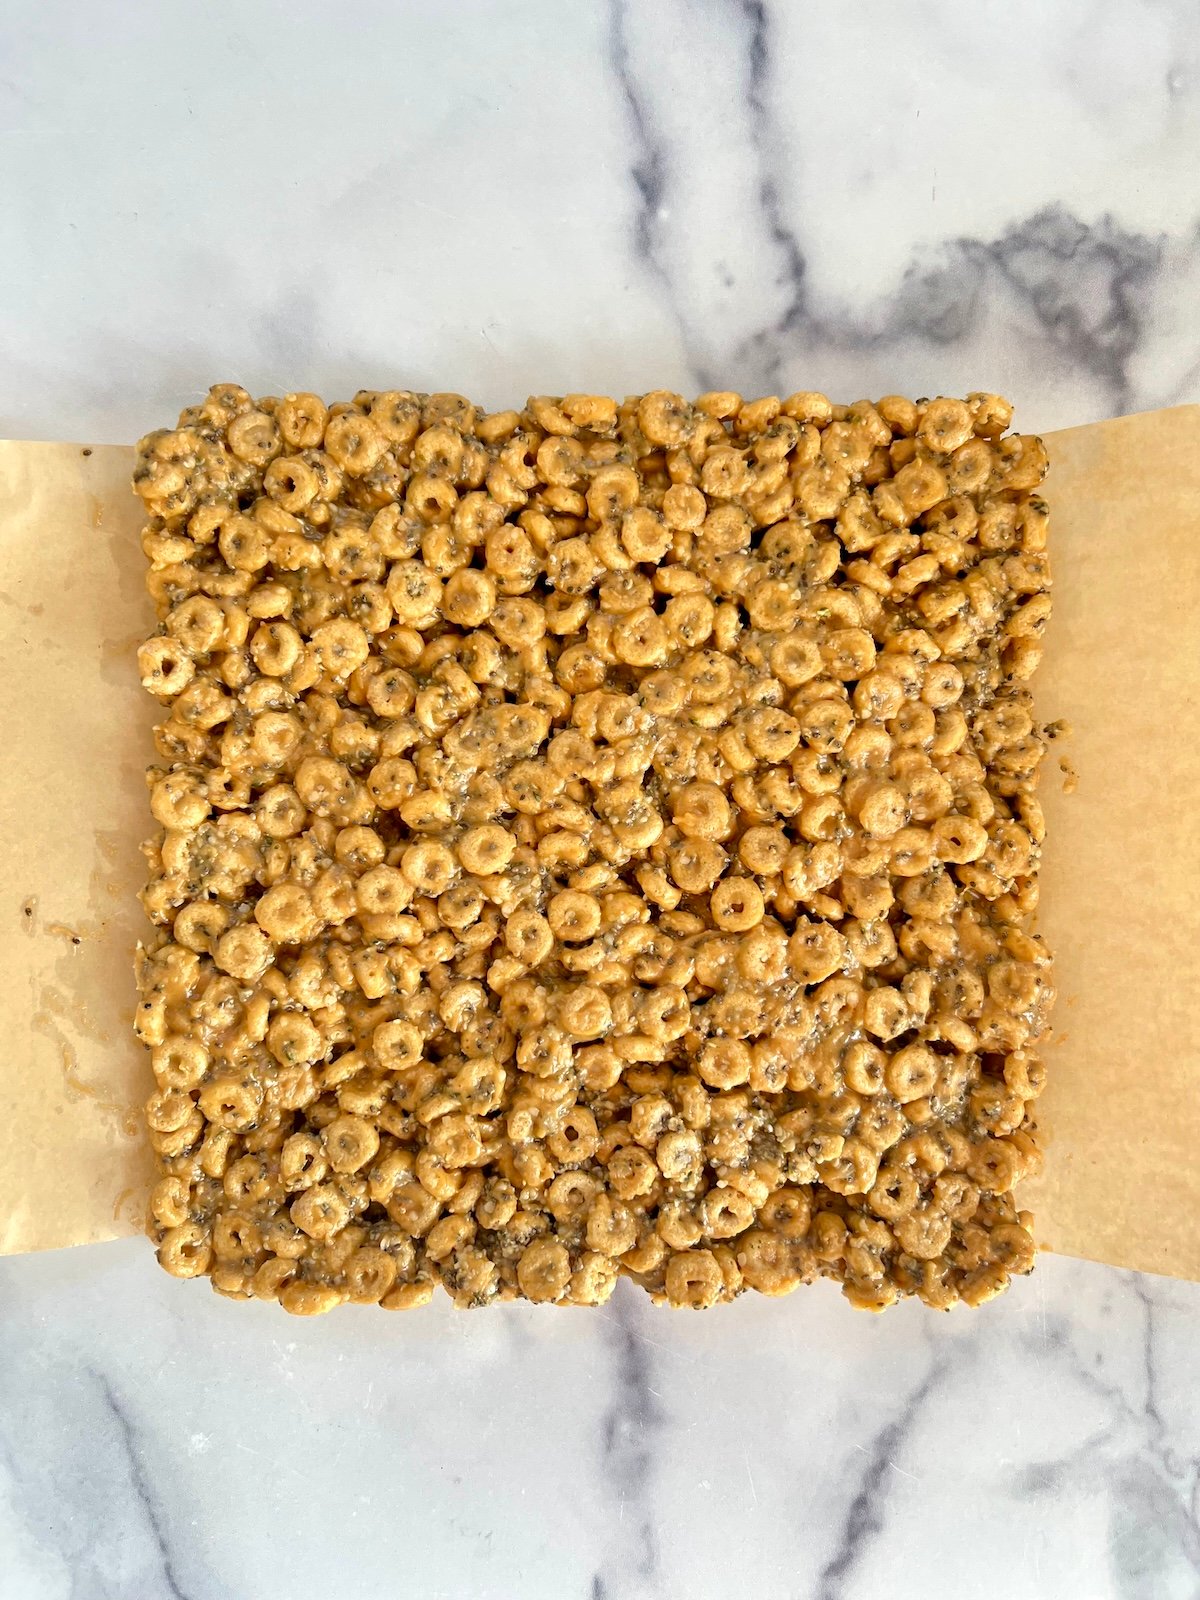
Step 4: Allow bars to thoroughly cool by placing in the refrigerator or freezer for about 15 minutes.
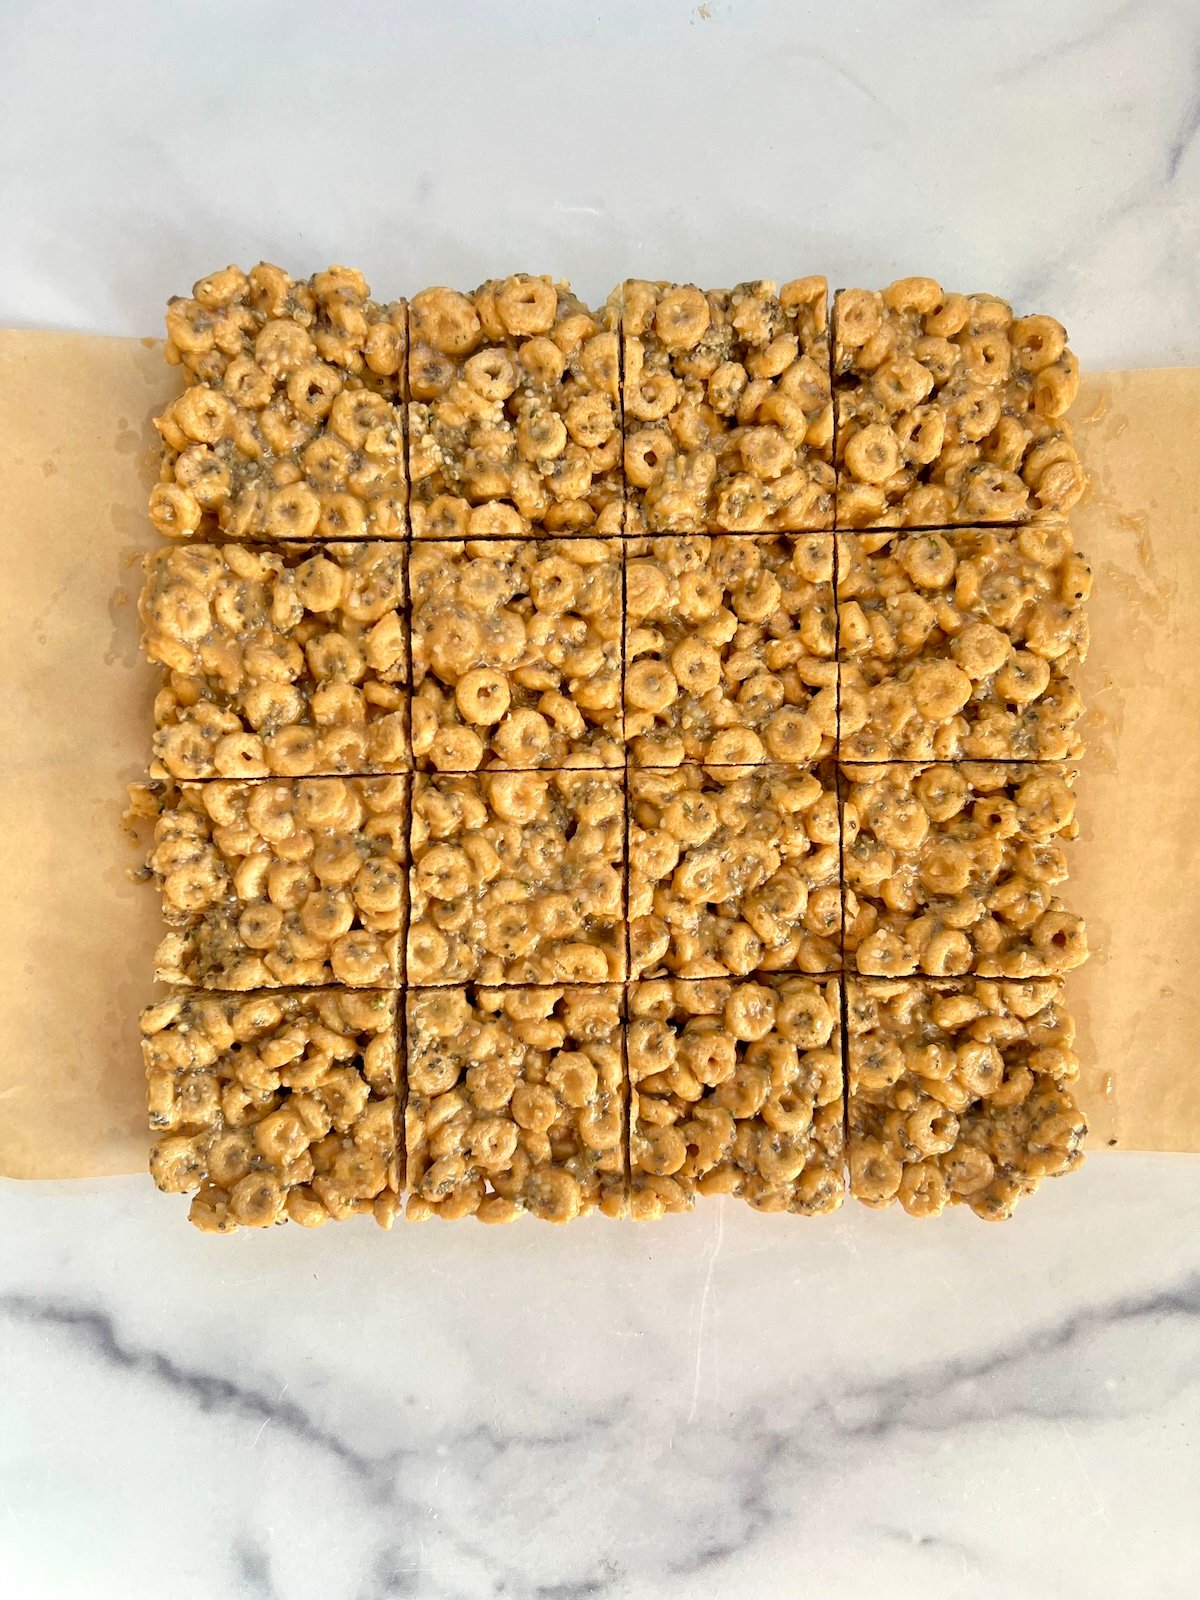
Step 5: When set, cut into bars or squares.
Recipe Video
Tips and Tricks
- Press firmly: Use a spatula to press the mixture firmly into the pan so the bars hold together well once cooled.
- Cool completely: Don’t rush the cooling process. Letting the bars sit for at least 15 minutes in the refrigerator helps them firm up and keep their shape.
- Storage: Store the bars in an airtight container in the refrigerator for up to a week.
FAQs
Yes! Wrap them individually and store in a freezer-safe container for up to 3 months. Let them thaw at room temperature before eating.
For sure! These bars are perfect for meal prepping. Make a double batch and enjoy them throughout the week or store them in the freezer for a quick and easy snack or breakfast on the go!
Absolutely. They’re high in protein and fiber, making them a great on-the-go breakfast option!
More Protein Packed Recipes

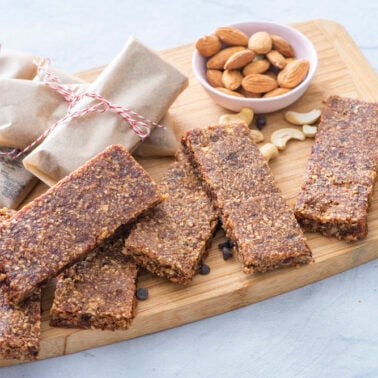
Whether you’re fueling up for the day or need something to tide you over between meals, these no-bake Protein Cereal Bars are the perfect grab-and-go option. I’d love to know what you think when you make these — leave a comment and rating below!
Want more Weelicious? Subscribe to my newsletter and follow me on Instagram, Facebook, and TikTok for all the newest recipes!
Would you like to save this?

Protein Cereal Bars
Ingredients
- 3/4 cup peanut butter
- 1/2 cup honey
- 3 1/2 cups O’s cereal
- 3 tablespoons hemp seeds
- 2 tablespoons chia seeds
Instructions
- Place peanut butter and honey in a saucepan over low heat and stir for one minute or until melted and combined. You could also do this step in the microwave in 30 seconds increments until melted.
- Place cereal, hemp and chia seeds in a bowl and stir to combine.
- Pour peanut butter mixture over cereal and stir to throughly coat the cereal evenly.
- Pour mixture into a greased and parchment lined 8×8 inch baking dish.
- Using a spatula press the mixture into the pan until top is smooth, flat and even.
- Allow bars to thoroughly cool in the refrigerator or freezer for about 15 minutes.
- Once cooled, cut into bars or squares.
Notes
-
- Press firmly: Use a spatula to press the mixture firmly into the pan so the bars hold together well once cooled.
-
- Cool completely: Don’t rush the cooling process. Letting the bars sit for at least 15 minutes in the refrigerator helps them firm up and keep their shape.
-
- Storage: Store the bars in an airtight container in the refrigerator for up to 1 week. To freeze, wrap bars individually and store in a freezer safe container for up to 3 months. Thaw at room temperature and enjoy!


These look amazing especially close to back to school time in the morning, can these freeze?? I love making a bunch of your recipes ahead so I have something healthy I can grab for the kids. Please let me know
Thx!
Natalie
Yes! They freeze great actually! Wrap them individually and store in the freezer for up to 3 months.
We made these today and everyone loves them. Might have added a sprinkling of chocolate chips on top! 😉 We didn’t have hemp seeds available to us at this time. What would you recommend as a replacement? More chia? Flax seeds or ground flax? Thank you for the yummy snack!
Does sun butter work? Or do you recommend another substitute? My daughter loves peanut butter but I can’t take it to her school.
Sun butter would work just fine! Any nut or seed butter you like.
I am deathly allergic to banana, kiwi and avocado (latex allergy )
I love your site
I love seeing you on Food TV (Guys Groceries Games)
I am a Montessori Preschool Teacher (Owner/Director) and I like to share your site with my students/families
Thank you
Hey, I was curious about what kind of hemp seeds you use and if you’ve ever tried any on Amazon. I checked your store, but didn’t see any listed. Thanks and I’m excited to try these with my toddler.
I usually just get mine at the grocery store! Trader Joe’s/Whole Foods/etc sell hemp seeds, but Amazon would work too if that’s easier for you.
Thx for the recipe! I’m assuming it would work ok to microwave the “sauce” instead of using a pot, but I’m curious if melting in the pot is better for some reason.
Absolutely! I would microwave in 30 second increments and stir in between to prevent the mixture from burning.
Can flax seeds be used in place of hemp or chia seeds?
That should work!