This post may contain affiliate links. Please read our disclosure policy.
Kids running around in swimsuits with popsicles dripping down their arms. That’s summer to me in a nutshell. And when those popsicles happen to be red, white, and blue, well, it can only mean one thing: the Fourth of July is here.
These red, white and blue popsicles are my homemade answer to the classic Bomb Pop. I was completely obsessed with those as a kid, the rocket-shaped ones I’d get from the ice cream truck at the pool every summer. I’d hear that jingle from three blocks away and come running. I still love everything about them, though looking back, I’m a little stunned by how much food coloring I was happily slurping down. These give you all the same patriotic, three-color fun, except the colors come from real raspberries and blueberries instead of food dyes.
They do take a little patience because of the layering, but the actual work couldn’t be simpler. And honestly, the looks on my kids’ faces when they realize the colors are made from real fruit? That’s worth the wait every single time. If you end up as hooked on homemade pops as we are, I’ve got a whole roundup of popsicle recipes to keep you busy all summer.
The Three Layers
The whole trick to these popsicles is the layers, so here’s what makes each one:
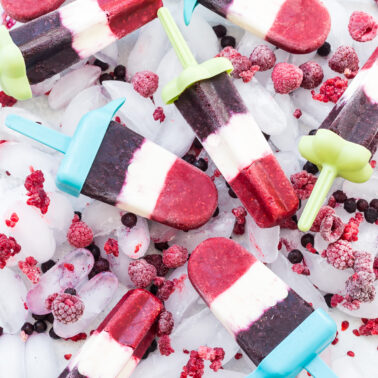
- Red (top): Pureed raspberries with a touch of honey. Raspberries give the truest, brightest red of any berry.
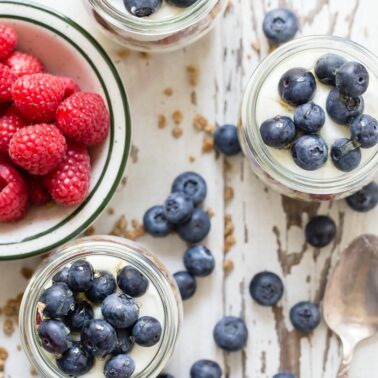
- White (middle): A simple blend of yogurt and milk. This creamy layer separates the two fruit colors and keeps them crisp and distinct.
- Blue (bottom): Pureed blueberries with honey. Blueberries give you a deep blue-purple that reads beautifully against the white.
The order is really up to you. As long as the white layer is in the middle, you can put red or blue on top. Bomb pops always had red on top, so that’s the layer I freeze first.
A tip from years of making these, and from a few readers who’ve made them too: if you want the white layer to have a little more flavor, swap the milk for coconut milk. It adds a subtle richness that plays really well with the berries.
The One Thing That Matters: Freeze Each Layer
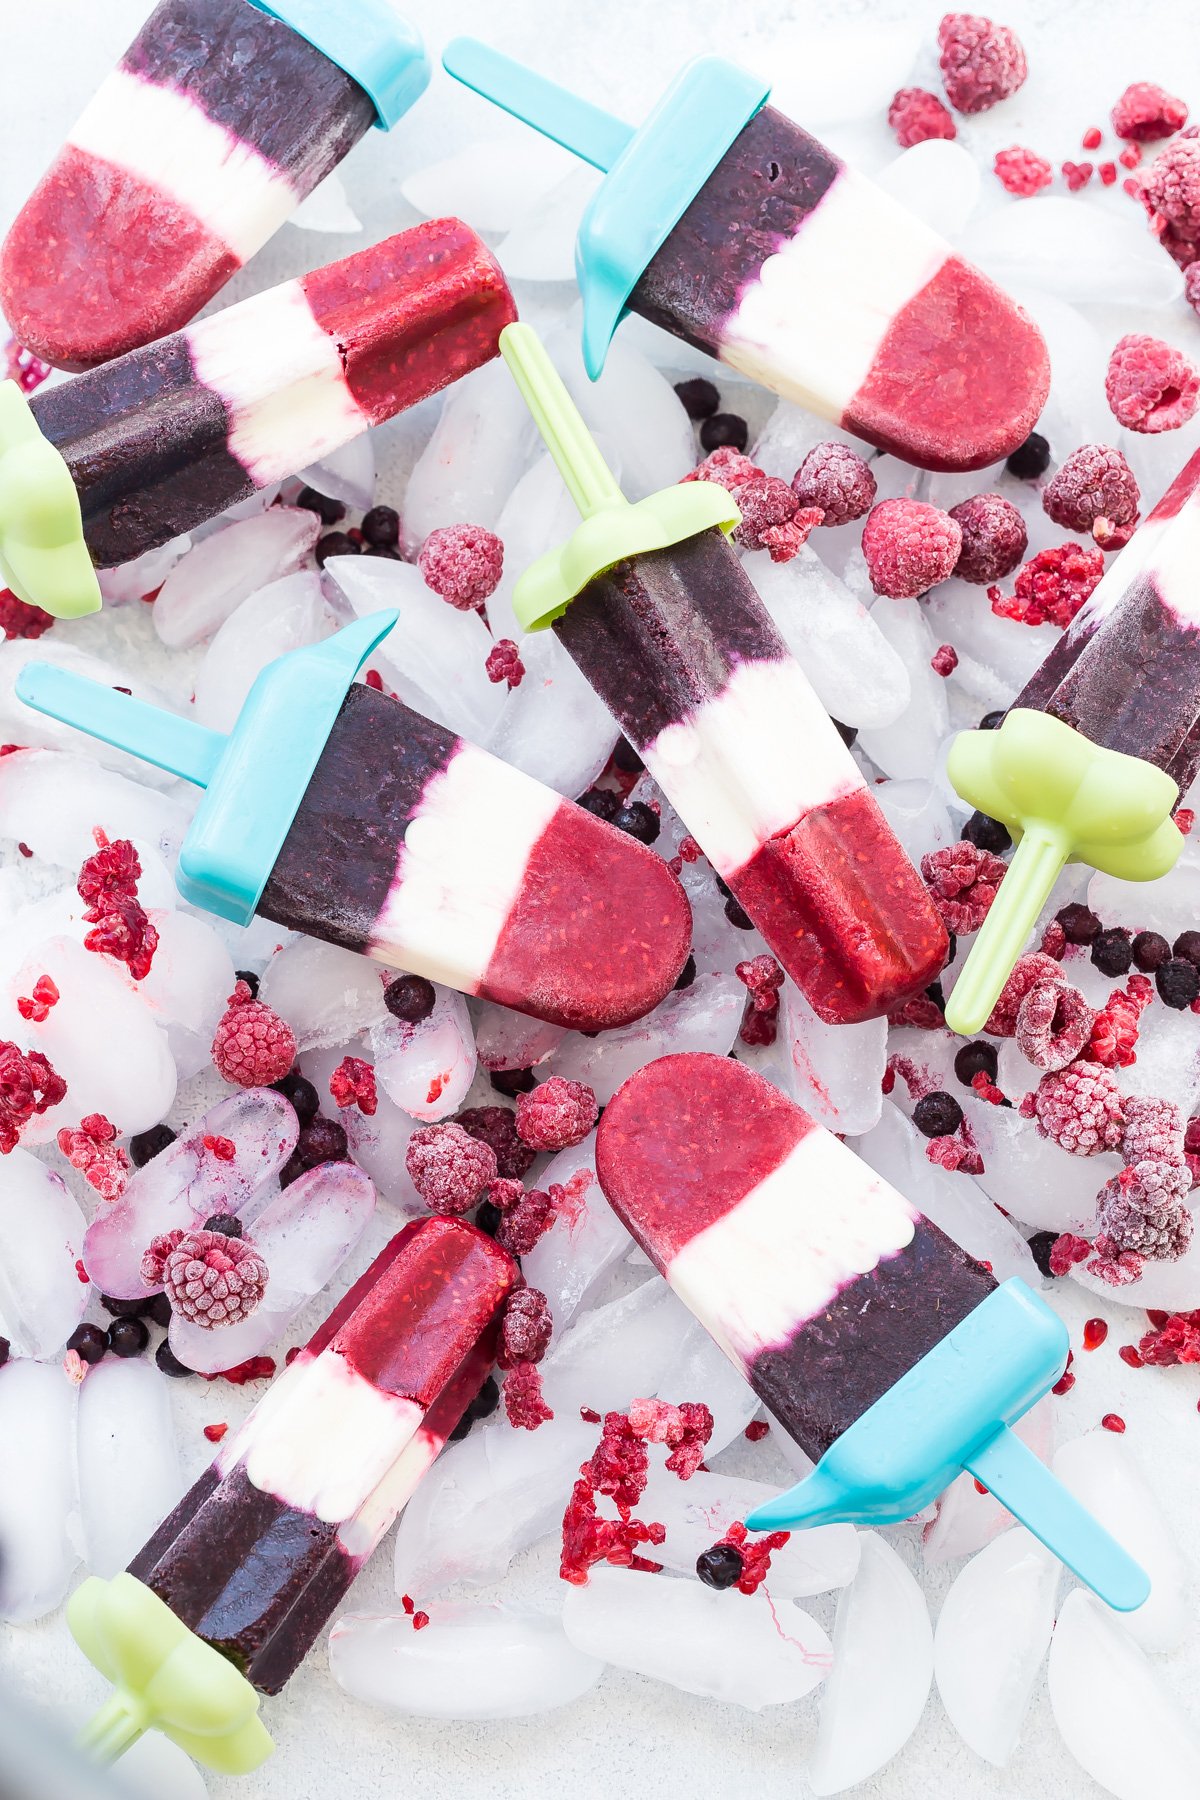
If you take away one thing, it’s this. Each layer has to freeze before you pour the next one on top. This is the difference between clean, defined red-white-and-blue stripes and a muddy purple blur.
Give each layer at least an hour in the freezer, and honestly the longer the better. Skipping or rushing this step is the number one reason homemade popsicles come out looking muddy instead of striped, so it’s worth the patience. I use these popsicle molds (the star shape is what gives you that real Bomb Pop look), but any mold works!
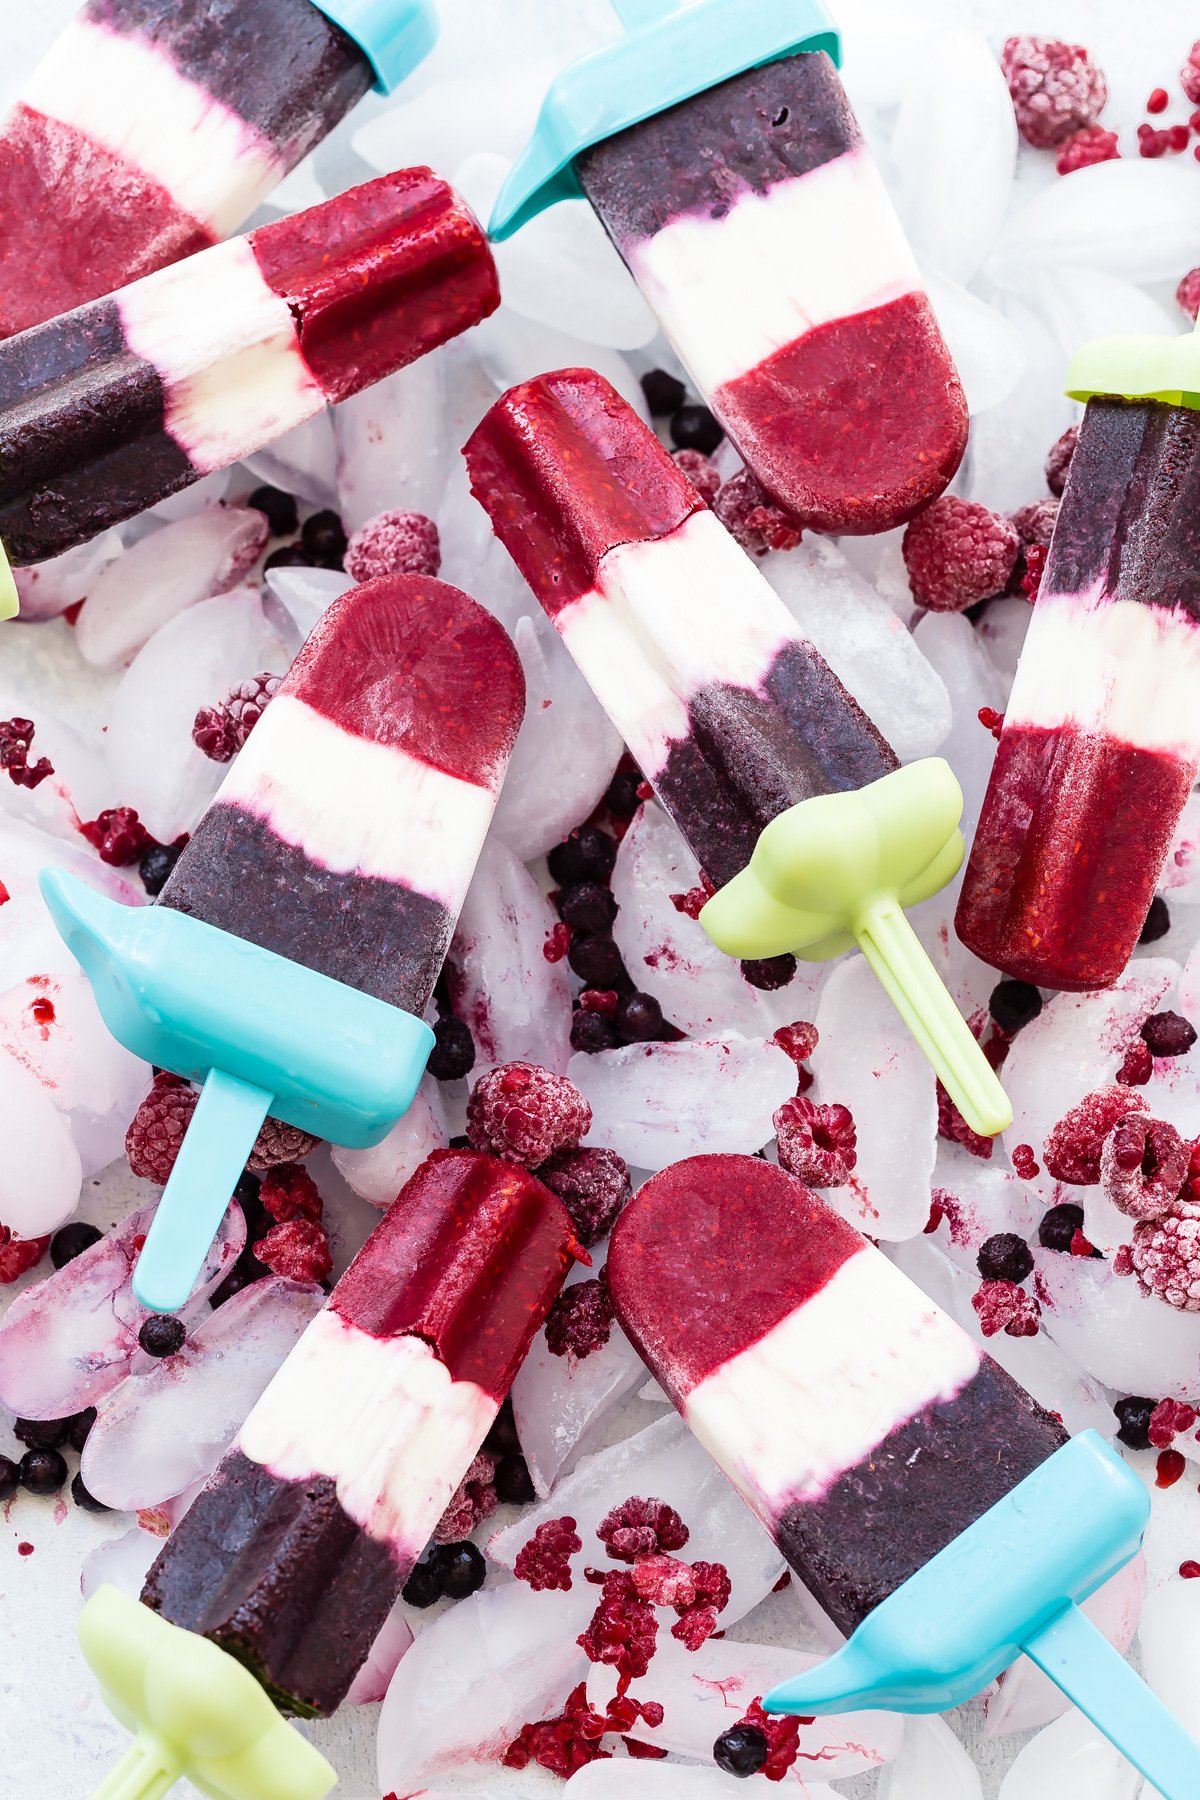
One more little trick that’ll save you some grief: have your next layer mixed and ready before you open the freezer. If you’re scrambling to blend the next batch while the molds sit out on the counter, that frozen layer starts to thaw, and the colors bleed. Mix first, then pour and get them right back in the cold.
How to Make Red, White & Blue Popsicles
Now that you know the golden rule, the rest is easy:
- Red layer: Puree the raspberries with honey and pour into your molds, about a third full. Freeze at least an hour, until solid.
- White layer: Whisk the yogurt, milk, and honey together. Pour over the frozen red to two-thirds full, tap the molds to settle it, and add the sticks. Freeze at least another hour.
- Blue layer: Puree the blueberries with honey (have it ready before you open the freezer). Pour over the white to fill, then freeze 6 hours or overnight until solid.
To serve, run the molds under warm water for a few seconds and they’ll slide right out.
Would you like to save this?
Make Them Ahead (Your Fourth of July Self Will Thank You)
These are a dream make-ahead treat, which is exactly what you want when you’ve got a backyard full of people on the Fourth. Since they need a good 6 hours to freeze through, I always make them the day or two before. Once they’re solid, you can pop them out of the molds and stash them in a freezer bag for up to a month, which also frees up your molds for round two.
If your molds run smaller than mine, you might have a little berry puree left over. Don’t toss it! Swirl it into yogurt, spoon it over pancakes, or stir it into oatmeal the next morning.
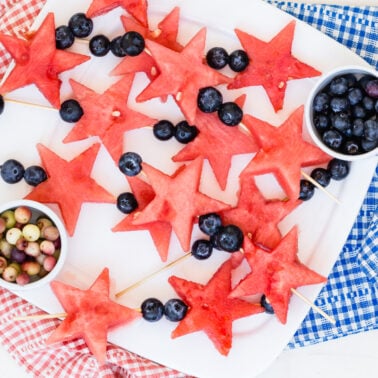
More Festive Fourth of July Recipes
Nothing says summer to me quite like a barefoot kid with a popsicle in one hand and a blue-stained grin. If you make these for the Fourth, come back and leave a comment and a rating below and tell me how they turned out. I love seeing them every single year!
Want more Weelicious? Subscribe to my newsletter and follow me on Instagram, Facebook, and TikTok for all the newest recipes!

Red, White & Blue Popsicles
Ingredients
- 1 (12 oz) bag frozen raspberries, defrosted
- 6 tablespoons honey or agave, divided
- 1 cup plain yogurt
- 1/2 cup milk (cow's, almond, or coconut)
- 1 (12 oz) bag frozen blueberries, defrosted
Instructions
- Puree the raspberries with 2 tablespoons honey until smooth. Pour into popsicle molds, filling about a third of the way up. Freeze at least 1 hour, until solid.
- Whisk the yogurt, milk, and 2 tablespoons honey until smooth. Pour over the frozen red layer to about two-thirds full. Tap the molds to even it out and insert the sticks. Freeze at least 1 hour.
- Puree the blueberries with the remaining 2 tablespoons honey until smooth. Have it ready before removing the molds, then pour over the white layer to fill. Freeze 6 hours or overnight, until solid.
- To serve, run the molds under warm water for a few seconds to release.
Notes
- The order is flexible as long as the white layer stays in the middle. Freeze whichever color you want on top first.
- For a richer white layer, use coconut milk in place of regular milk.
- Each layer needs to freeze before adding the next, at least an hour each (longer is better), or the colors will blend instead of forming clean stripes.
- Have each layer’s mixture ready before opening the freezer so the frozen layer doesn’t thaw while you work.
- Popsicle molds vary in size, so you may have leftover puree. Save it for yogurt, pancakes, or oatmeal.
- Store finished popsicles in a freezer bag for up to 1 month.


They turned out well except that I used milk and yogurt in the white section, and it wasn’t that flavorful, so I would try coconut milk next time. My daughter is my main critic. The three steps meant that I had to allow time for each step and cleaning out the blender each time, so it was labor intensive in that regard.
[…] & Yogurt Popsicles. I made these red, white and blue popsicles for the Fourth of July and Liam flipped over them. They were adorable but the three steps of […]
filmy videozer…
[…]Red, White & Blue Pops | Weelicious ??? – Fast, Easy & Fresh Homemade Home Made Baby Food Babyfood Recipes, Toddler Food and recipes for the entire family![…]…
making your pops for this weekend! Thanks for the idea, can’t wait to see the kids faces =)
Thank you for the wonderful recipe! We posted it on our Facebook and Twitter pages to share with our fans as well and look forward to trying it this weekend.
[…] Red, White & Blue Pops […]
I made some raspberry pops today w/ honey and 1/2 of fresh squeezed orange juice, kids love! These red/white/blue pops will be next! I have the same mold, my question is after you poured the last layer of puree(raspberry) in and the stick can still go into the already frozen white/blue layers?
Made these tonight, for tomorrow! Excited to eat them, they look great!
I made these last weekend and they were a hit! I have one son who loves fruits and veggies and one who avoids them at all costs. The one that avoids the fruits and veggies loved these! He can now have a popsicle anytime he wants!
thanks
I happened to use the same Popsicle molds and did the same tri-color rockets with my son this weekend! We used coconut milk for the white section and it tasted yummy with the raspberry and blueberry.