
This post may contain affiliate links. Please read our disclosure policy.
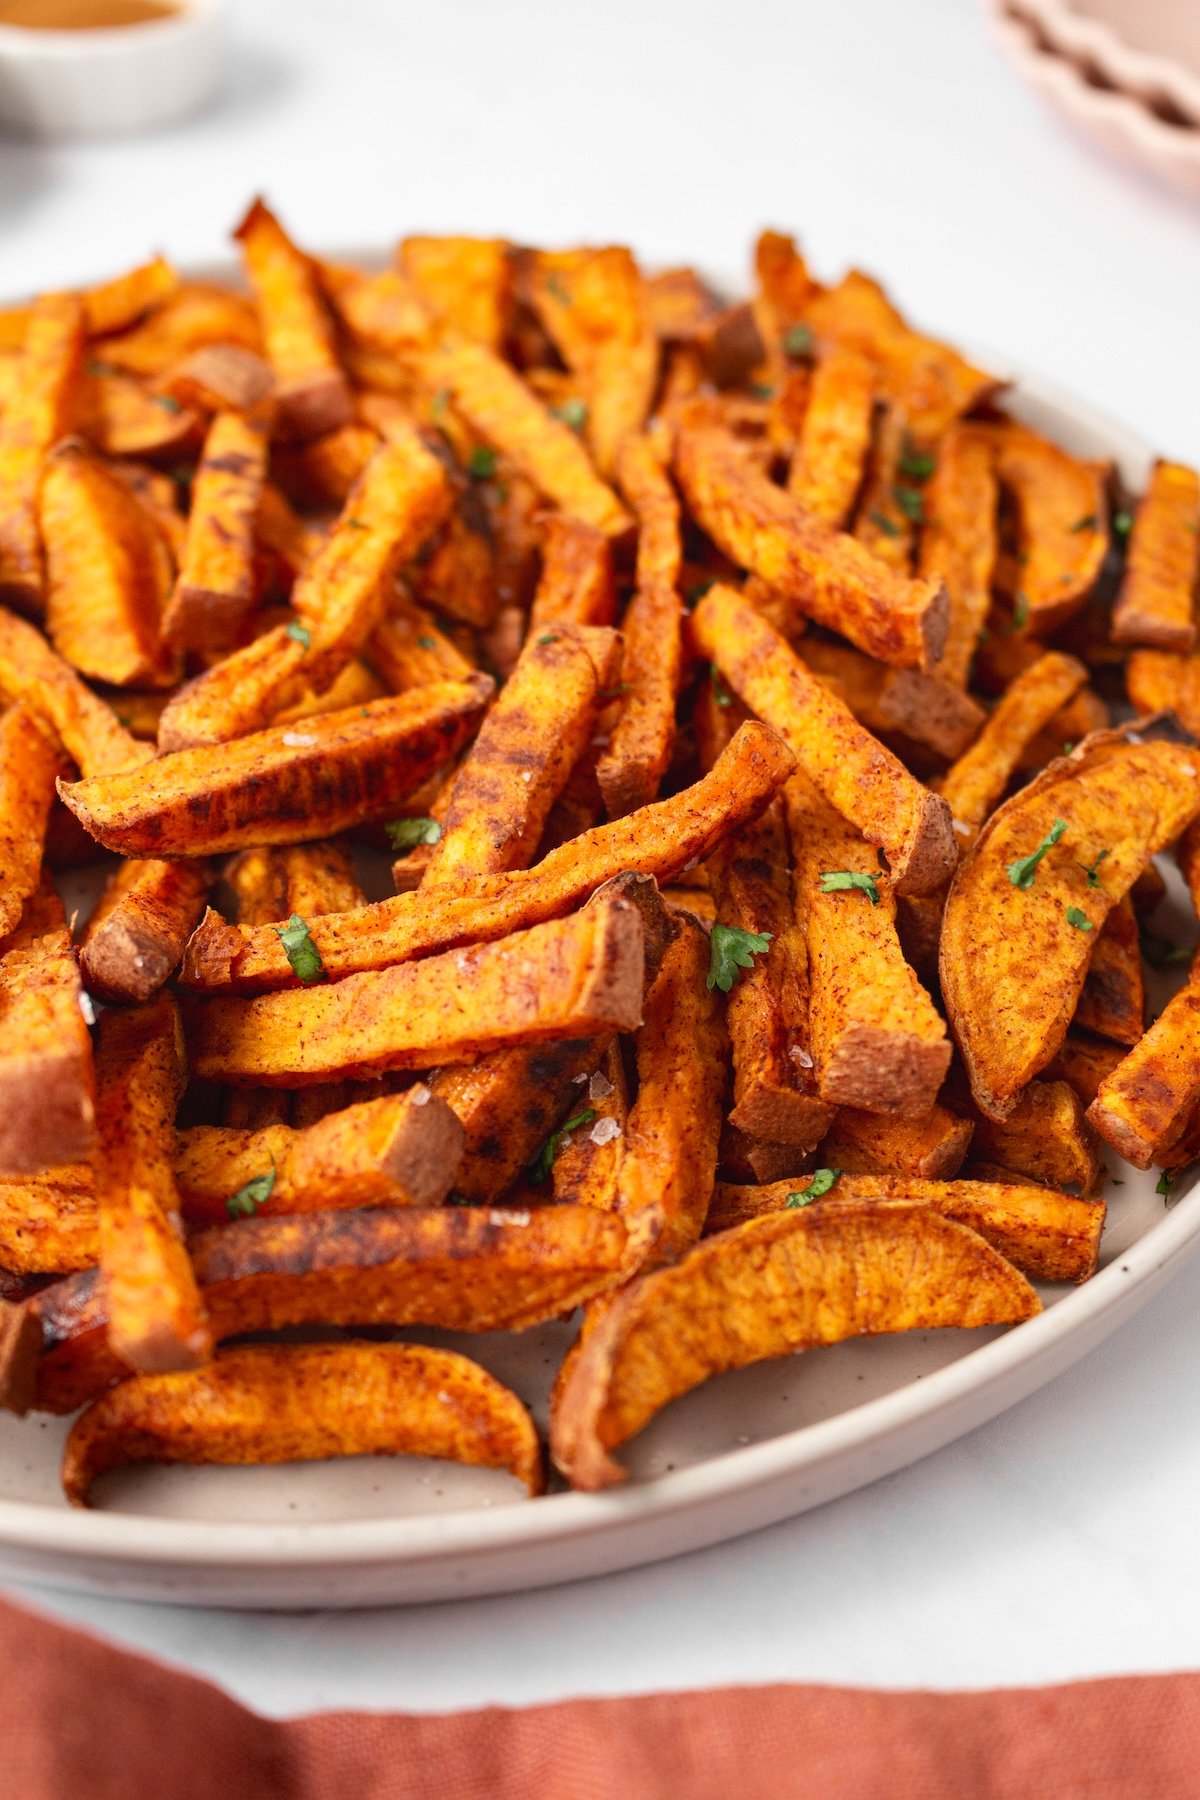
Homemade baked sweet potato fries are one of those recipes that you need in your arsenal. Crispy on the outside, soft and sweet on the inside, and made with just 3 ingredients – sweet potatoes, a drizzle of olive oil and salt. These are so good, they sometimes don’t even make it to the dinner table — everyone grabs them straight off the baking sheet!
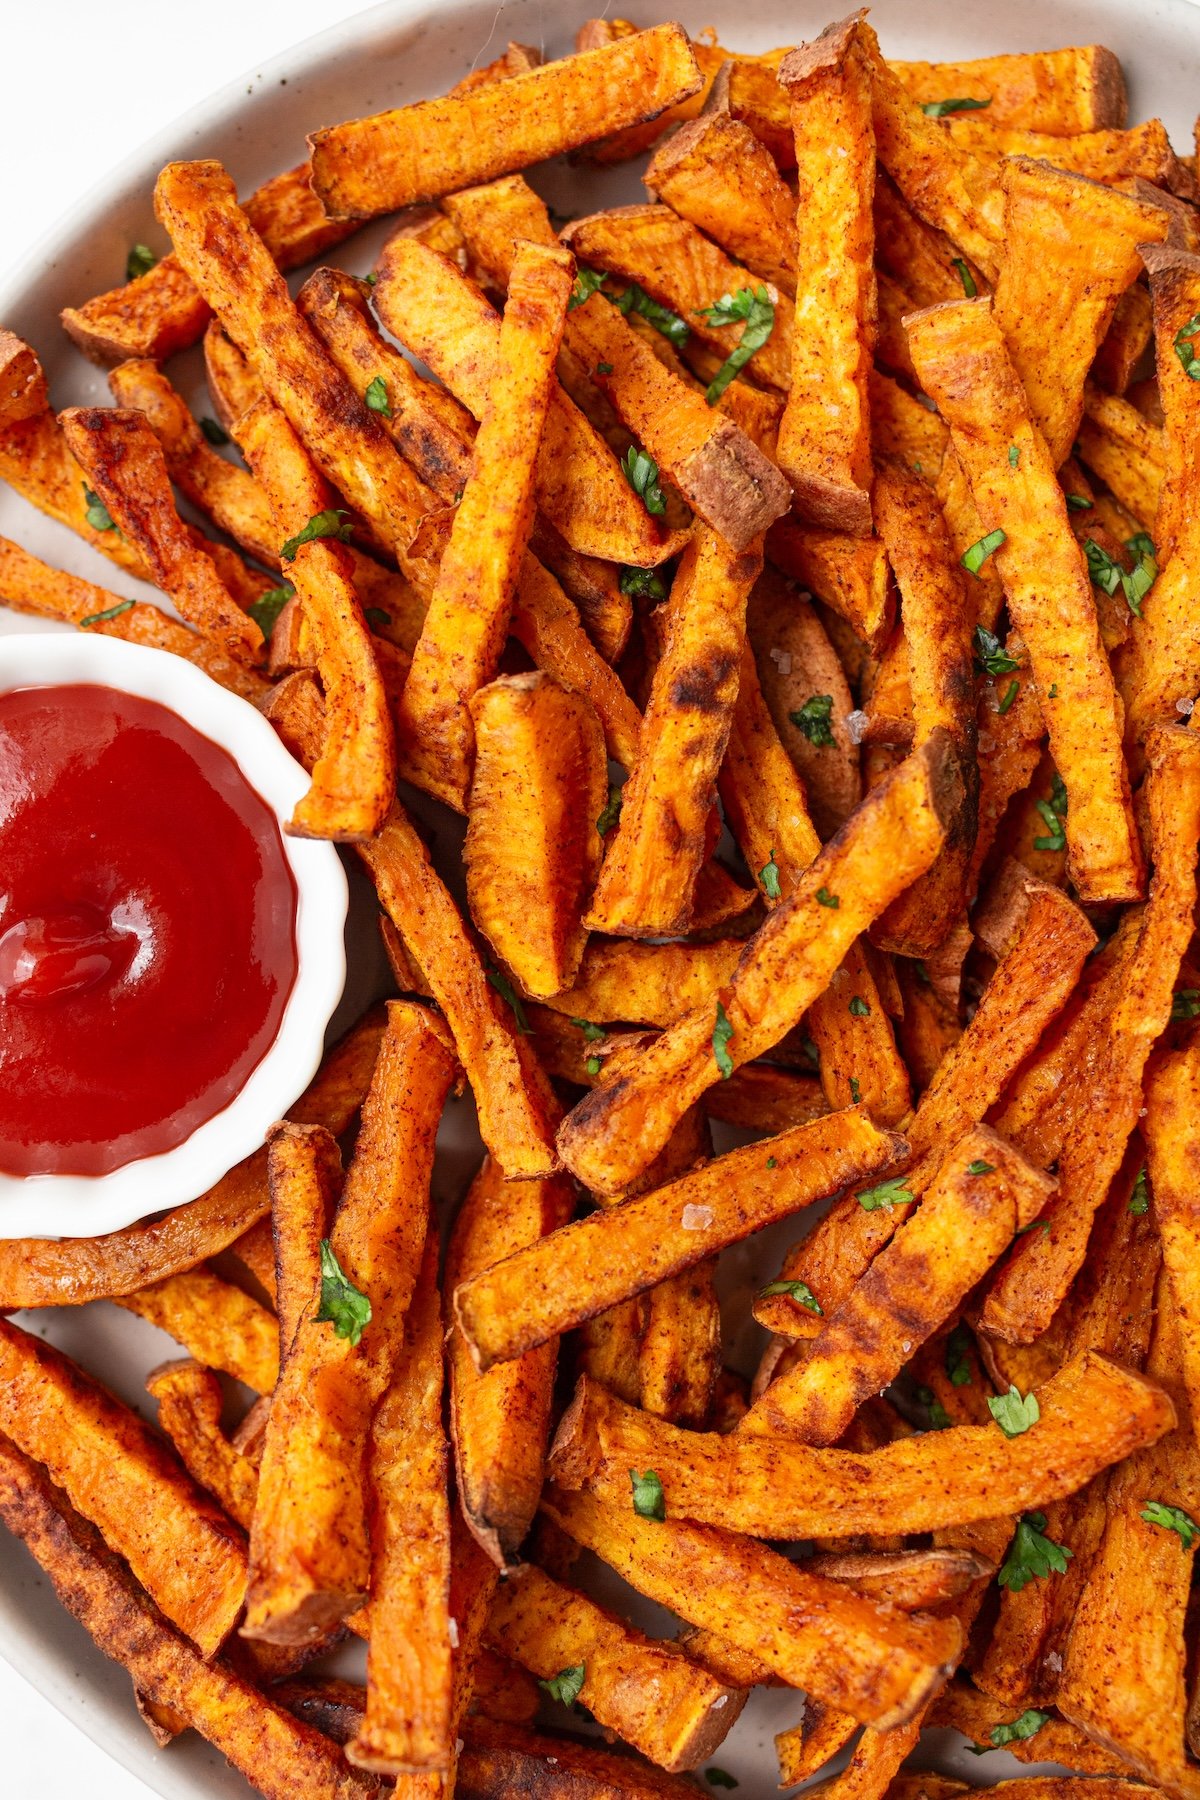
Table of Contents
Why You’ll Love This Recipe
Sweet potatoes have become one of those foods I truly rely on every single week. If I don’t have them stocked in my kitchen, I’m in a bind! Just this weekend I bought 8 big ones from the farmers market – four to bake for snacking through the week, and the other four to turn into Potacos and these Sweet Potato Fries. Here’s why you’ll love these baked sweet potato fries:
- Incredibly simple – Just a few ingredients and basic kitchen tools. Anyone can perfect these!
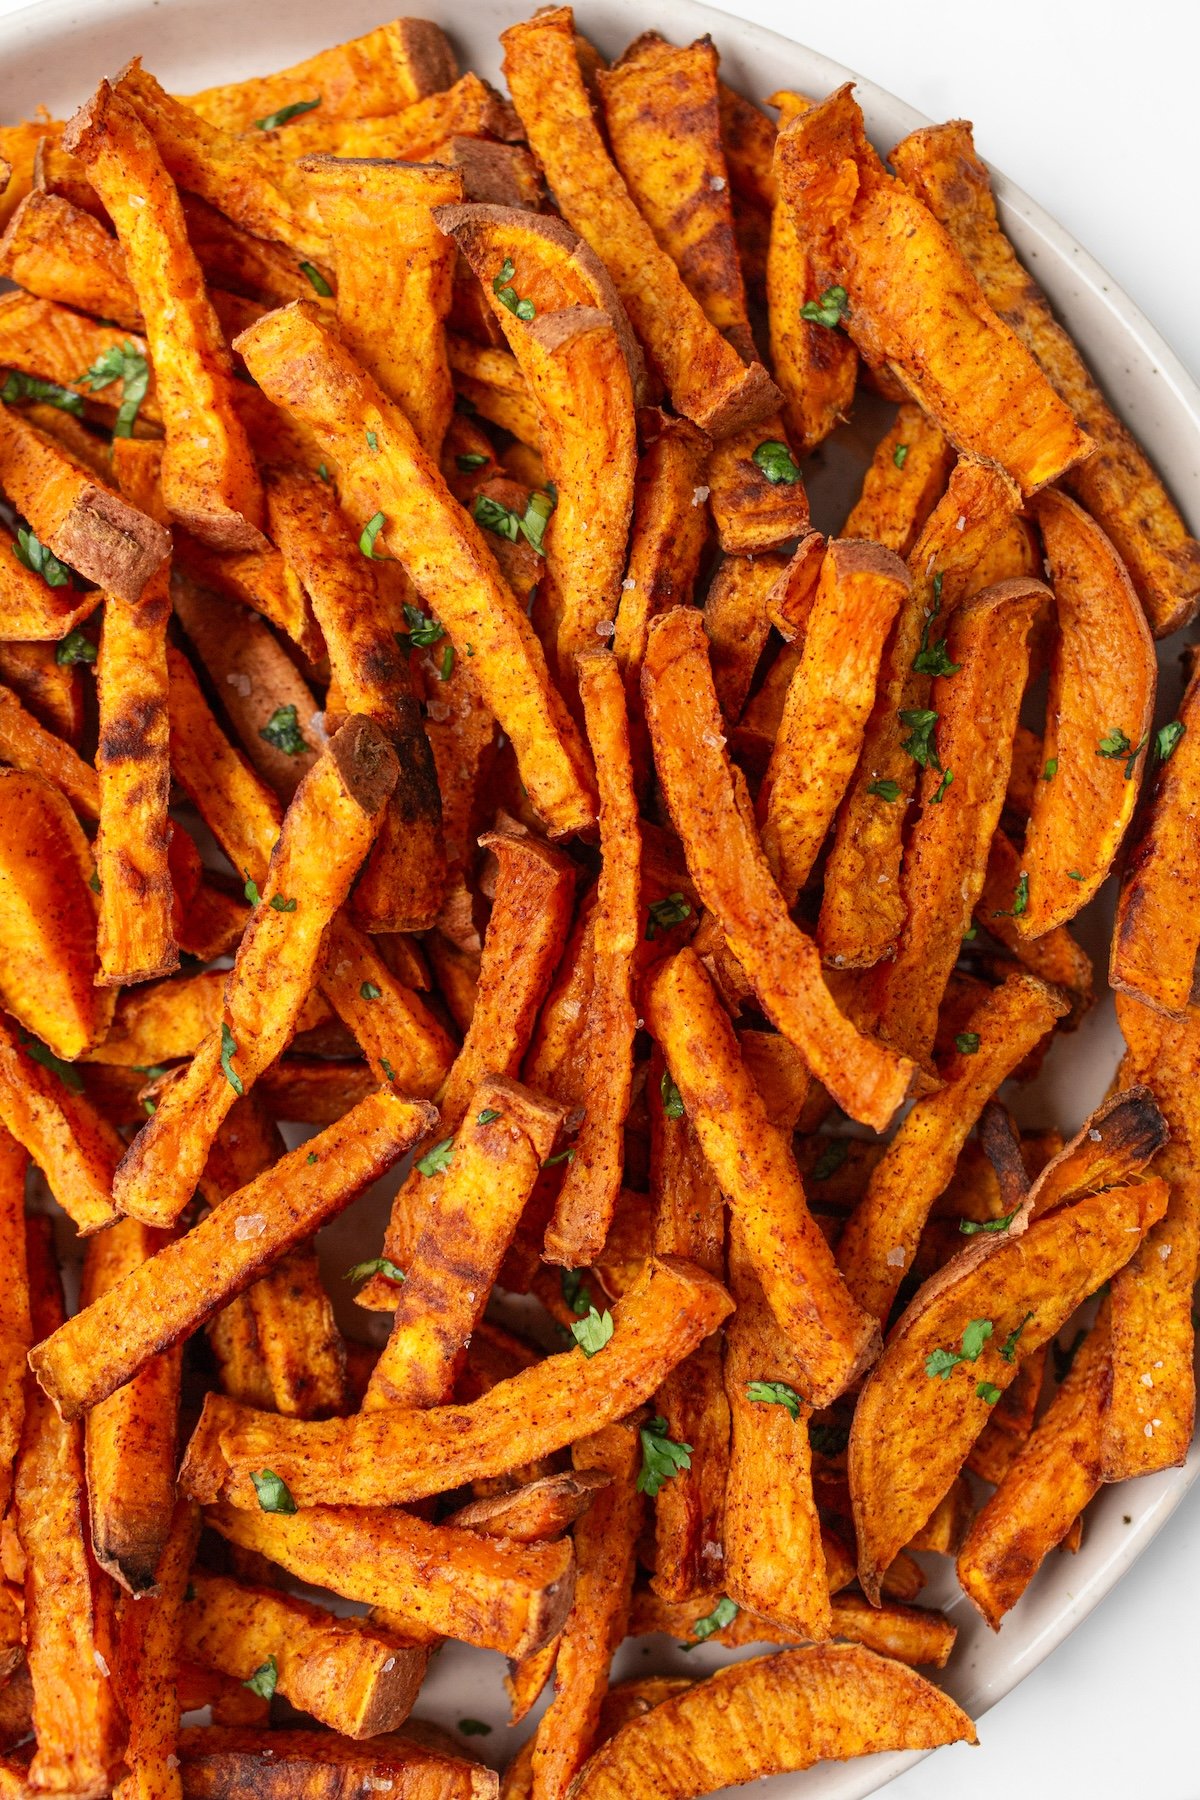
- Crispy and delicious – The perfect balance of crispy edges and tender insides
- Kid-approved – My kids devour these straight off the baking sheet. They’re perfect alongside Easy Chicken Nuggets or Crispy Fish Fingers for an easy kid-friendly weeknight dinner.
- Versatile – Serve them as a side with The Best Turkey Burger or No Work Chicken, or even for breakfast with Crispy Fried Eggs
- Great for all ages – Soft enough for babies and toddlers learning to eat finger foods, yet crispy enough to satisfy the whole family.
This is my go-to savory version. (If you’re craving something sweeter, try my Cinnamon Sweet Potato Fries – they’re like sweet potato pie in fry form!)
The Ingredients
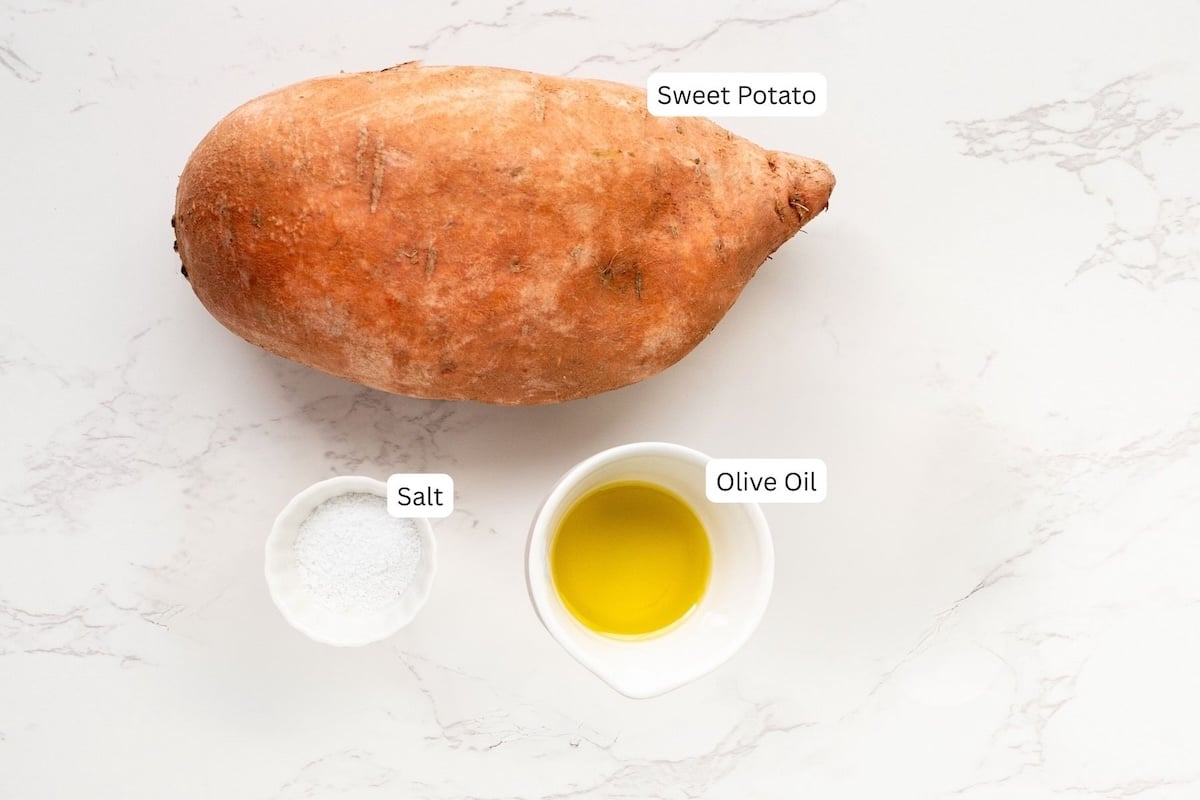
- Sweet potato – Look for firm sweet potatoes without soft spots
- Olive oil – Or your preferred cooking oil. This helps the fries get crispy and golden.
- Salt – Just a pinch to bring out the flavor of the sweet potato
That’s it! The beauty of this recipe is its simplicity. The natural sweetness of the potato shines through.
Variations and Substitutions
- Sweet Potatoes vs. Yams: Either works great! True sweet potatoes (orange flesh) tend to be sweeter, while yams have a more neutral flavor.
- Oil Options: Olive oil is my favorite, but avocado oil or melted coconut oil work wonderfully too.
- Optional Seasonings: Feel free to add a pinch of garlic powder, paprika or any seasoning you love after baking if desired.
Step by Step Instructions

- Cut the Fries. Preheat the oven to 425°F. To cut into fries, first, cut the sweet potato in half lengthwise. Place each half cut-side down on the cutting board. Cut each half lengthwise into ½-inch thick slices (like planks). Stack 2-3 planks at a time and cut them lengthwise again into 1/2-inch thick strips. These are your fries! Aim for pieces that are about 2-3 inches long and roughly the width of your finger. The key is keeping them all similar in size so they cook evenly. (For wedges instead of fries, cut each half into 6-8 long wedges.)
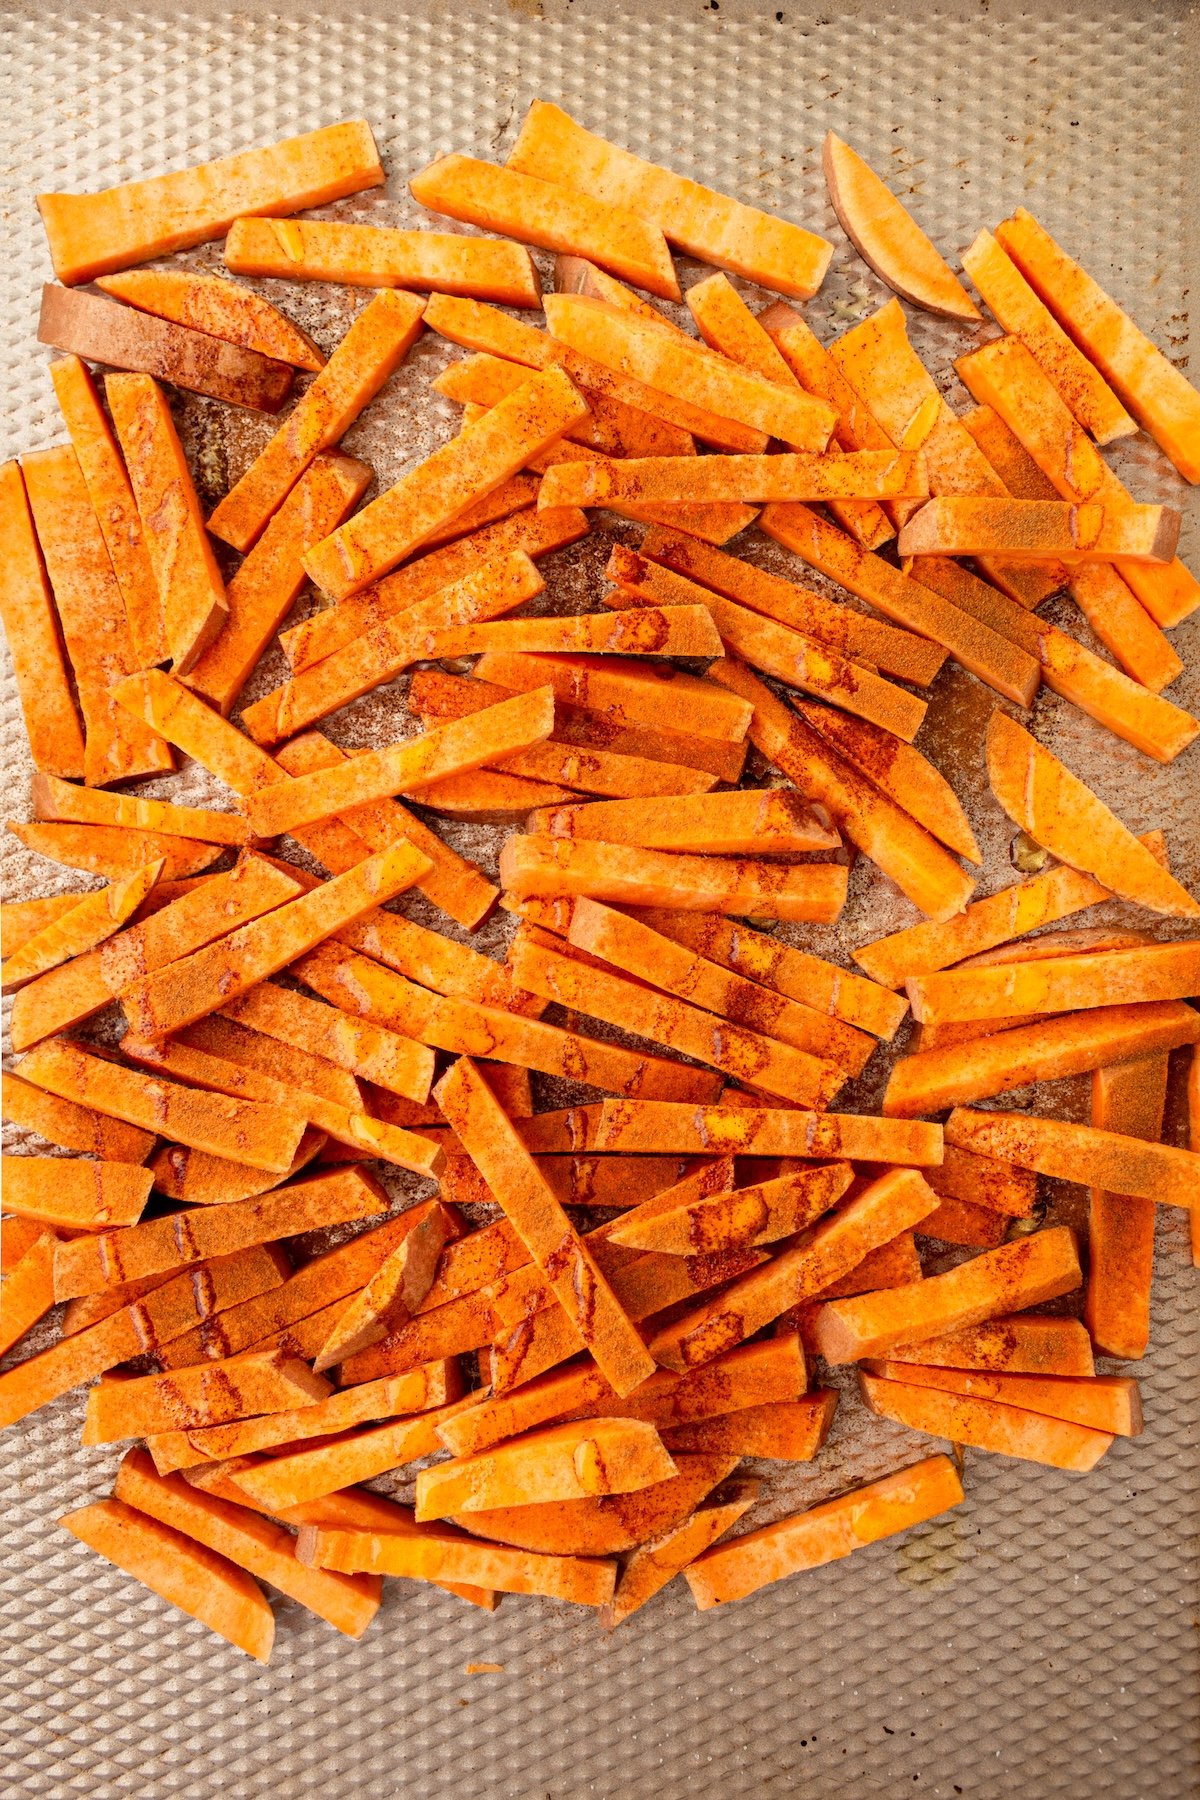
- Coat with Oil. Place cut fries on a large baking sheet. Drizzle with olive oil, then use your hands (or tongs) to toss everything together until each fry is lightly coated with oil.
- First Bake. Place the baking sheet on the middle rack of your preheated oven. Bake for 15 minutes.
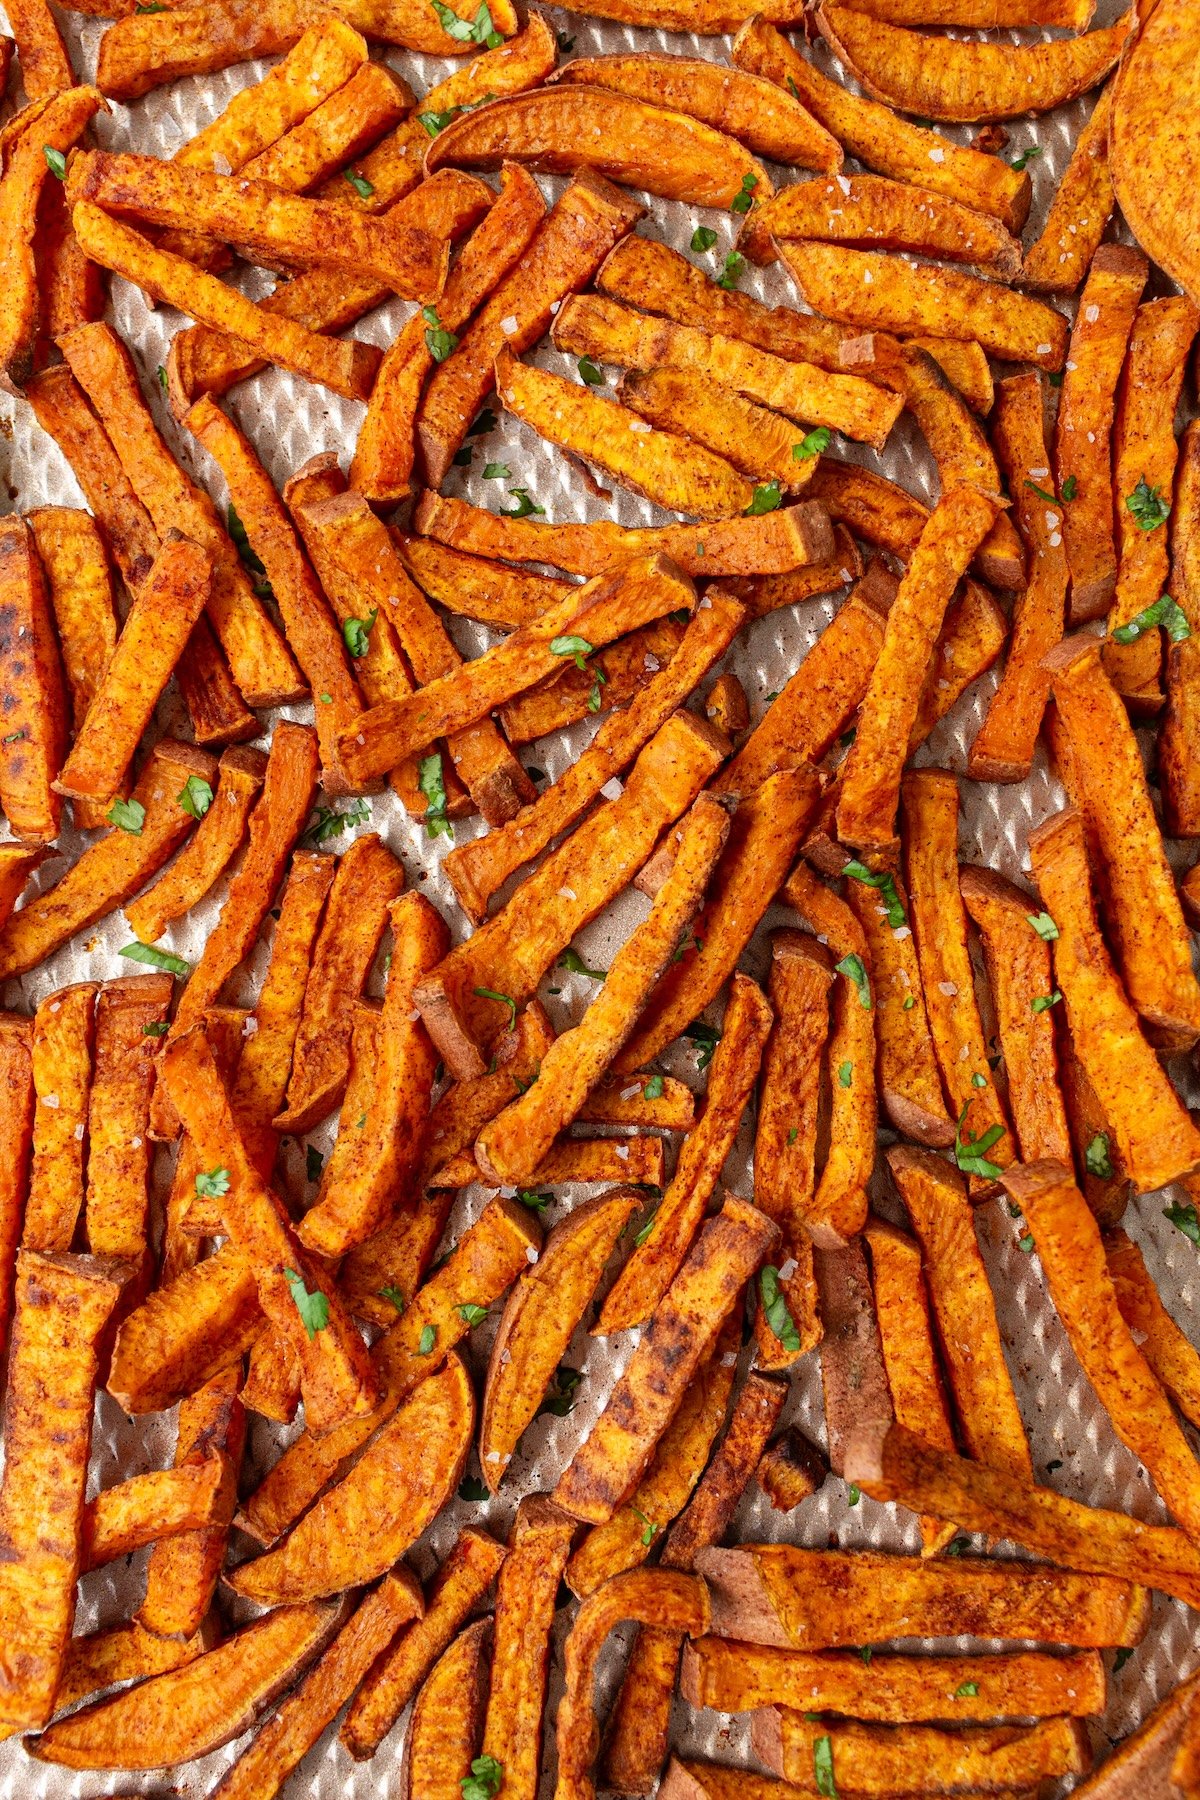
- Flip and Finish Baking. With a spatula, flip the fries. Return the pan to the oven and bake for another 15-20 minutes, or until the fries are golden brown on the edges and tender when you pierce them with a fork. (Watch them closely during these final minutes. They go from golden to burnt quick!).
- Cool and Serve. Remove from the oven and sprinkle with salt. Let the fries cool on the baking sheet for 2-3 minutes. This helps them crisp up even more. Serve immediately while they’re at their crispiest!
Tips for Extra Crispy Sweet Potato Fries
Getting that perfect crispy-on-the-outside, tender-on-the-inside texture is all about technique:
- Cut uniformly – Similar-sized fries cook evenly.
- Don’t overcrowd – Give each fry space to breathe. Use two baking sheets if needed.
- Use parchment paper – Prevents sticking and promotes even browning.
- Higher heat is better – 425°F is the sweet spot.
- Flip halfway through – This ensures crispy edges all around.
- Watch them closely – Those last few minutes are crucial; they can burn fast!
Storage and Freezing Instructions
Storing Leftovers: Store cooled fries in an airtight container in the refrigerator for up to 3 days. Reheat in a 400°F oven for 5-7 minutes to crisp them back up (microwaving makes them soggy).
Freezing Instructions:
- After cutting the raw fries, simmer them in lightly salted water until just tender.
- Drain well and spray a sheet pan with non-stick cooking spray.
- Spread the partially cooked potatoes in a single layer and freeze until solid.
- Transfer to freezer bags or containers for up to 3 months.
- When ready to cook, bake from frozen adding 5-10 minutes to the cooking time.
Sweet Potato Fries for Babies and Toddlers
These baked fries are perfect finger food for babies with a few teeth! When I made these for my son Kenya when he was 10 months old, he absolutely gobbled them up. The soft texture is easy for little ones to gum or chew, and the natural sweetness appeals to young taste buds.
Baby-Friendly Tips:
- Cut into thicker wedges for easier gripping.
- Bake until very tender for younger babies.
- Skip added salt for babies under 12 months.
- Let cool completely before serving to avoid burns.
FAQs
Usually from overcrowding the pan or using too low a temperature. Make sure fries aren’t touching and your oven is fully preheated to 425°F.
The secret is high heat (425°F), a single layer with space between fries, and flipping halfway through. Don’t skip the oil – it’s essential for crispy edges!
Yes! Air fry at 400°F for 12-15 minutes, shaking the basket halfway through. They’ll be even crispier!
Nope! The skin is edible and gets wonderfully crispy in the oven. Plus, it saves you time and adds extra nutrients. Just give them a good scrub before cutting.
Nope! While some recipes call for soaking fries in water or tossing them with cornstarch for extra crispiness, I’ve found you really don’t need those extra steps. High heat (425°F), proper spacing on the pan, and a good flip halfway through are all you need for perfectly crispy fries. Keep it simple!
More Sweet Potato Recipes


These crispy baked sweet potato fries have been a family favorite in our house for years, and I hope they become one in yours too! Whether you’re serving them as a quick weeknight side or packing them in lunchboxes, they’re always a hit.
If you try this recipe, I’d love to hear how it turned out! Please leave a comment and rating below – it helps other families find this recipe and lets me know what you think.
Want more Weelicious? Subscribe to my newsletter and follow me on Instagram, Facebook, and TikTok for all the newest recipes!
Would you like to save this?

Crispy Baked Sweet Potato Fries
Ingredients
- 1 large sweet potato
- 1 tablespoon olive oil
- 1 teaspoon kosher salt
Instructions
- Preheat your oven to 425°F. While it's heating, wash and scrub your sweet potato (no need to peel – the skin gets crispy and delicious!). Pat it dry with a towel.
- To cut the fries, place the sweet potato on a cutting board. Cut it in half lengthwise. Place each half cut-side down on the board. Cut each half lengthwise into ½-inch thick slices (like planks). Stack 2-3 planks at a time and cut them lengthwise again into ½-inch thick strips. These are your fries! Aim for pieces that are about 2-3 inches long and roughly the width of your finger. The key is keeping them all similar in size so they cook evenly. (For wedges instead of fries, cut each half into 6-8 long wedges.)
- Place all the cut fries on a large baking sheet. Drizzle the olive oil over them, then use your hands (or tongs) to toss everything together until each fry is lightly coated with oil. This coating is what makes them crispy!
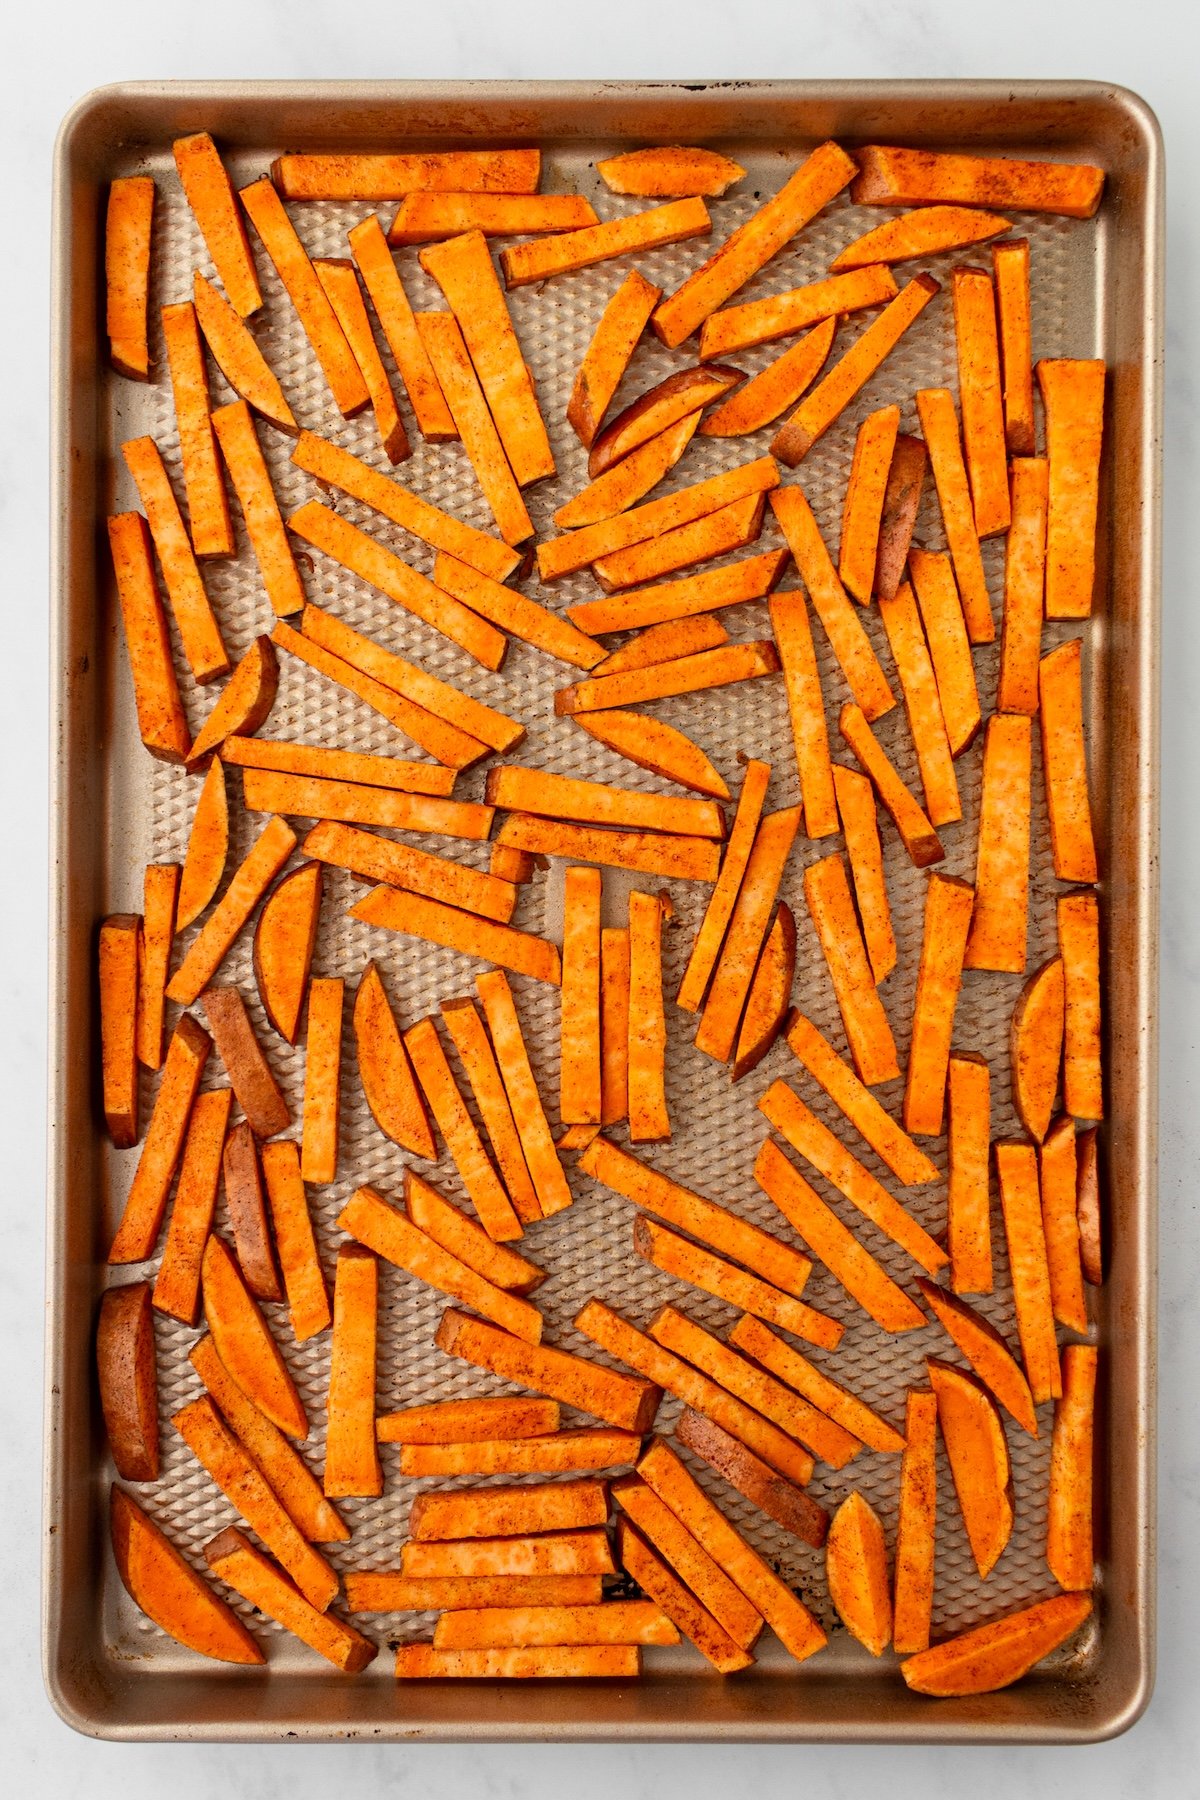
- Arrange the fries in a single layer on the baking sheet, making sure they're not touching or overlapping. If they're crowded, they'll steam instead of crisp up. Use a second baking sheet if needed – it's worth it!
- Place the baking sheet on the middle rack of your preheated oven. Bake for 15 minutes.
- With a spatula, flip/toss the potatoes, and continue to bake another 15-20 minutes or until they have a golden color. Sweet potatoes can go from perfectly golden to burnt in just a couple of minutes, so keep an eye on them!
- Remove from the oven and let the fries cool on the baking sheet for 2-3 minutes. This helps them crisp up even more. Serve immediately while they're at their crispiest!


Super crispy! And perfect with just a bit of salt just like Catherine suggests. Thanks for another easy recipe!
Glad you loved these!
Great recipes
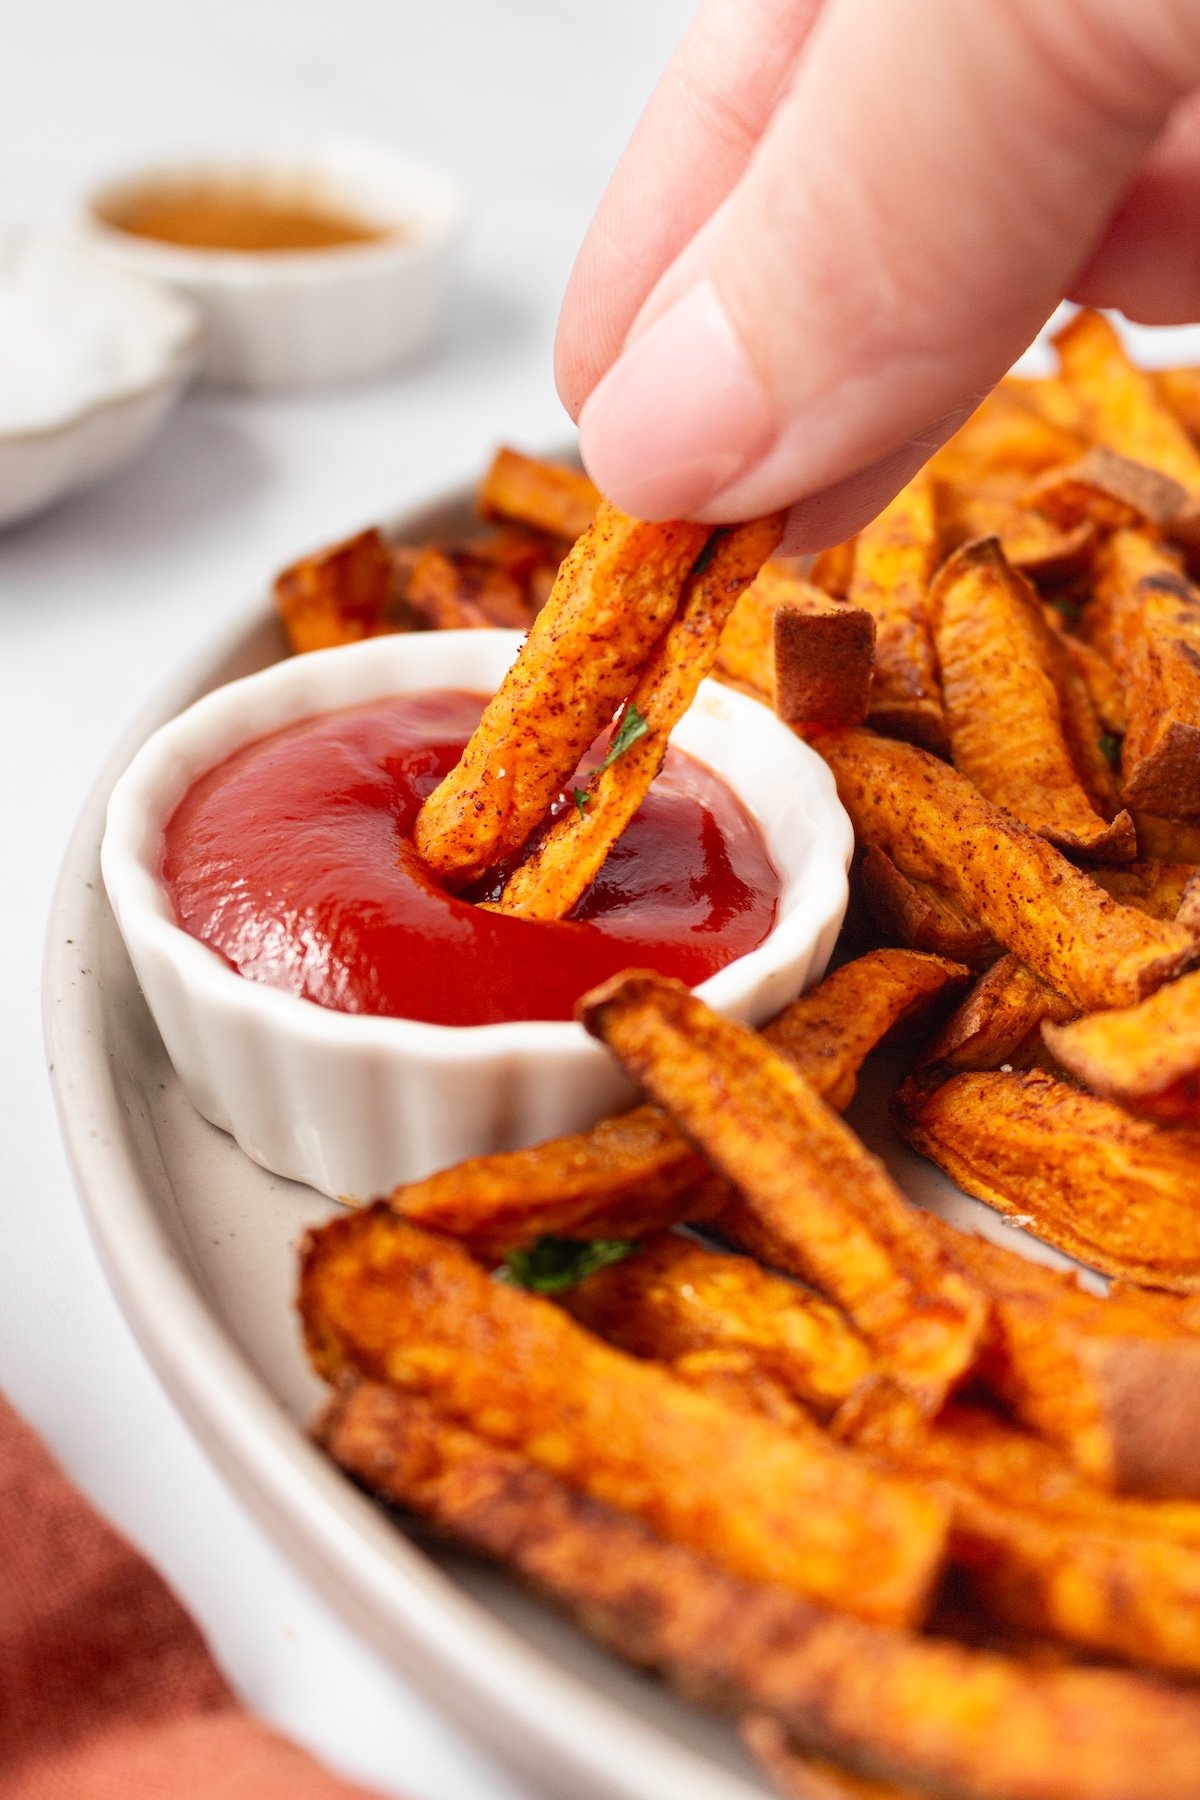
I didn’t even make these for my kids, just me! They were extra delicious with a ranch/BBQ sauce mixture- less healthy, but oh so delicious
YUM!
This is an awesome website! My 10-month old recently decided he was over purees. I tried these Sweet Potato “Fries” with him and he gobbled them up. I also had quite a few 😛 Can’t wait to try more recipes.
They’re addictive! We have to stop ourselves from eating them straight off the sheet pan or none will make it to dinner!
I have been making baked sweet potato fries in our house too. Basically the same recipe but I add a little cinnamon. We all love them! Love your site!
Yes! Cinnamon is a great addition. Thanks for the kind words 🙂
just tried these today, be really careful to not burn them…i know it said in the recipe but i ended up burning the ends a bit! really good, its like candy to your kids, theyre so sweet, they dont even know there eating something good
Glad you kept an eye on them. Every oven is different, so it’s challenging to give a guaranteed amount of time to bake them.
Thanks for this fabulous website! Question: Can I make these sweet potato fries with yams?
Either works great! Sweet potatoes, with the orange flesh, tend to be sweeter, while yams have a more neutral flavor.