
This post may contain affiliate links. Please read our disclosure policy.
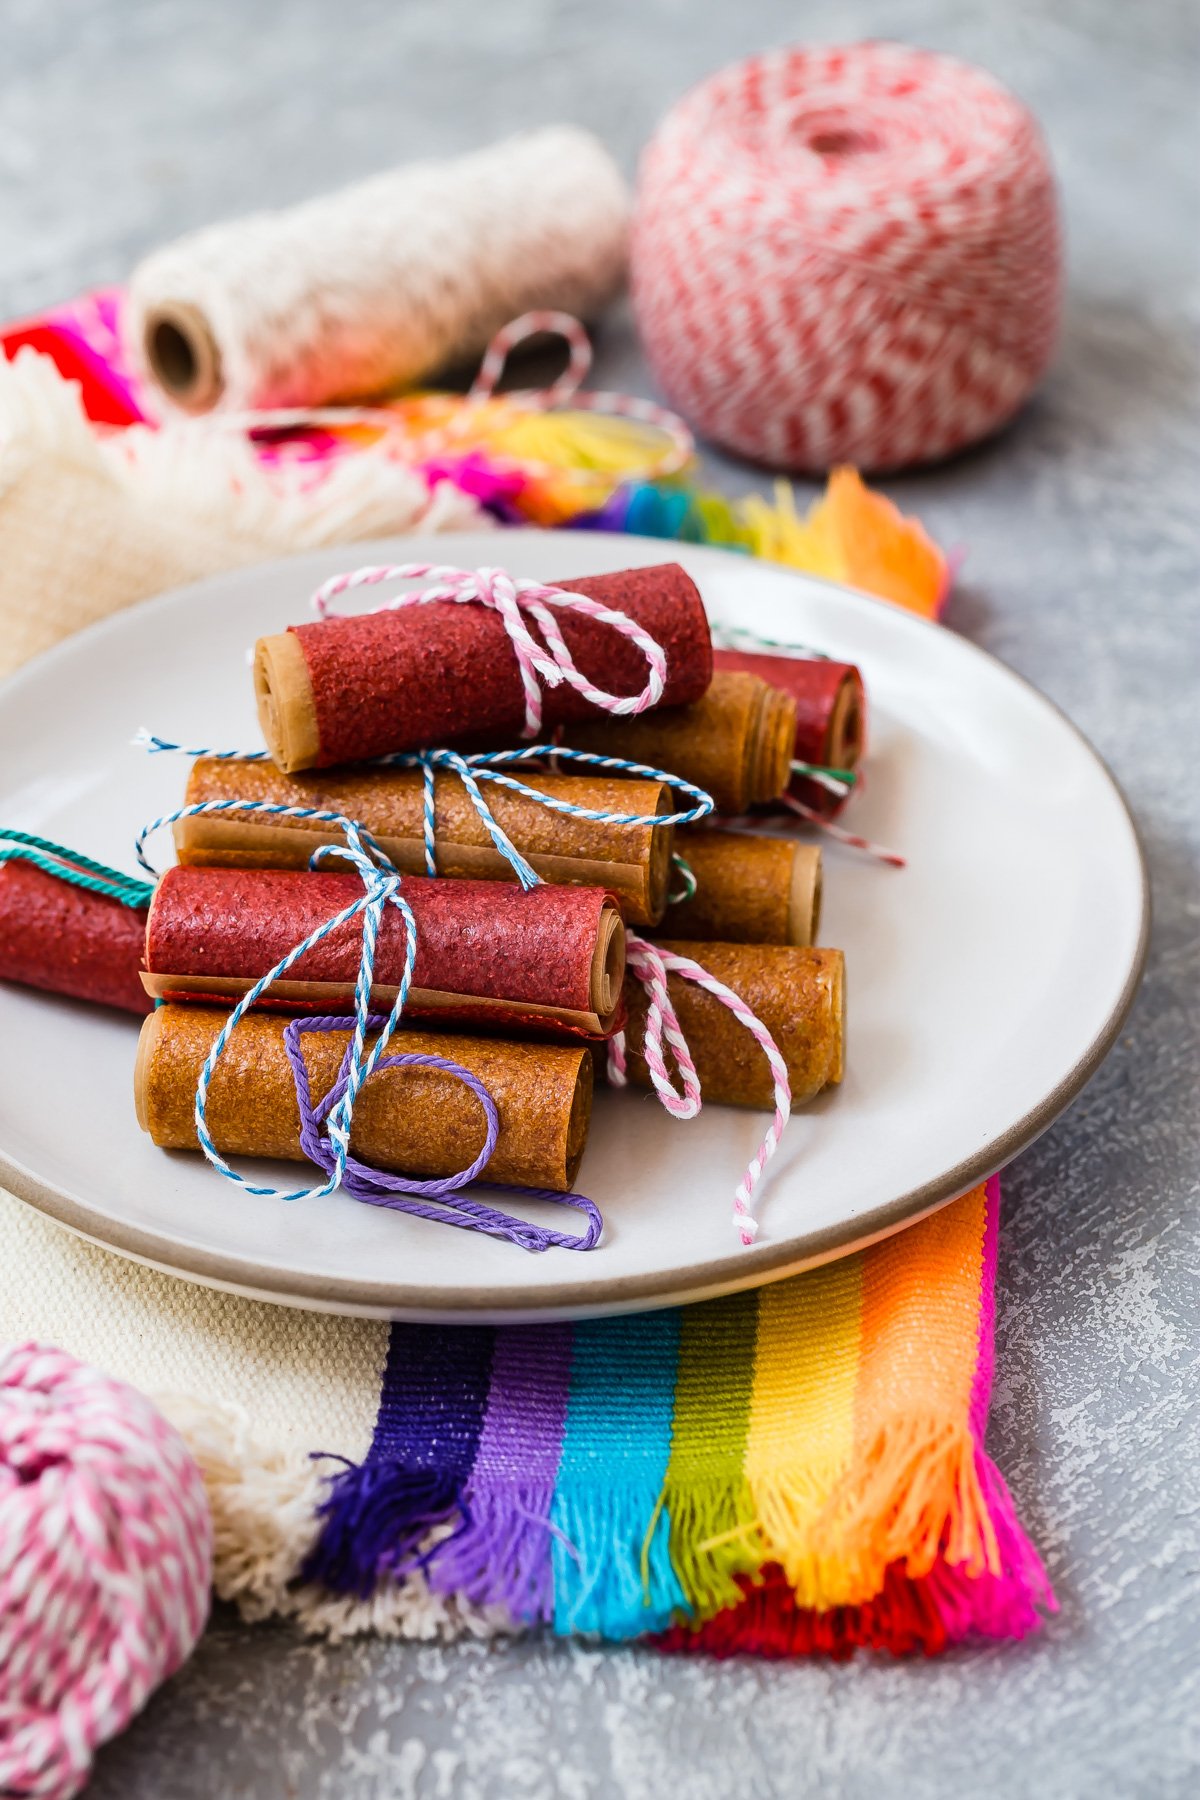
Homemade Strawberry Fruit Leather (aka healthier fruit roll ups!) is a total kid-favorite, and it’s so easy to make in your oven! Just strawberries (and maybe a little honey) turn into a chewy, sweet snack that’s perfect for lunchboxes, road trips, or anytime you want something fun and fruity.
Why I Love This Recipe
- Easy homemade fruit leather: This strawberry fruit leather recipe is super simple to make and the perfect healthy snack. All you need is a blender and your oven!
- Healthy, kid-approved snack: Made with fresh strawberries and a touch of natural sweetener (if needed), it’s a wholesome treat kids ask for! Like homemade fruit roll ups, but way better for them!
- Great way to use up extra fruit: Making fruit leather is a delicious way to save ripening fruit that might go to waste. You can mix and match to make tons of different flavor combos!
- No dehydrator? No problem!: This recipe uses your oven, so no fancy gear needed, just your trusty kitchen basics. With that said, if you have a dehydrator, feel free to use my Strawberry Fruit Leather – Dehydrator Method recipe instead.
The Ingredients
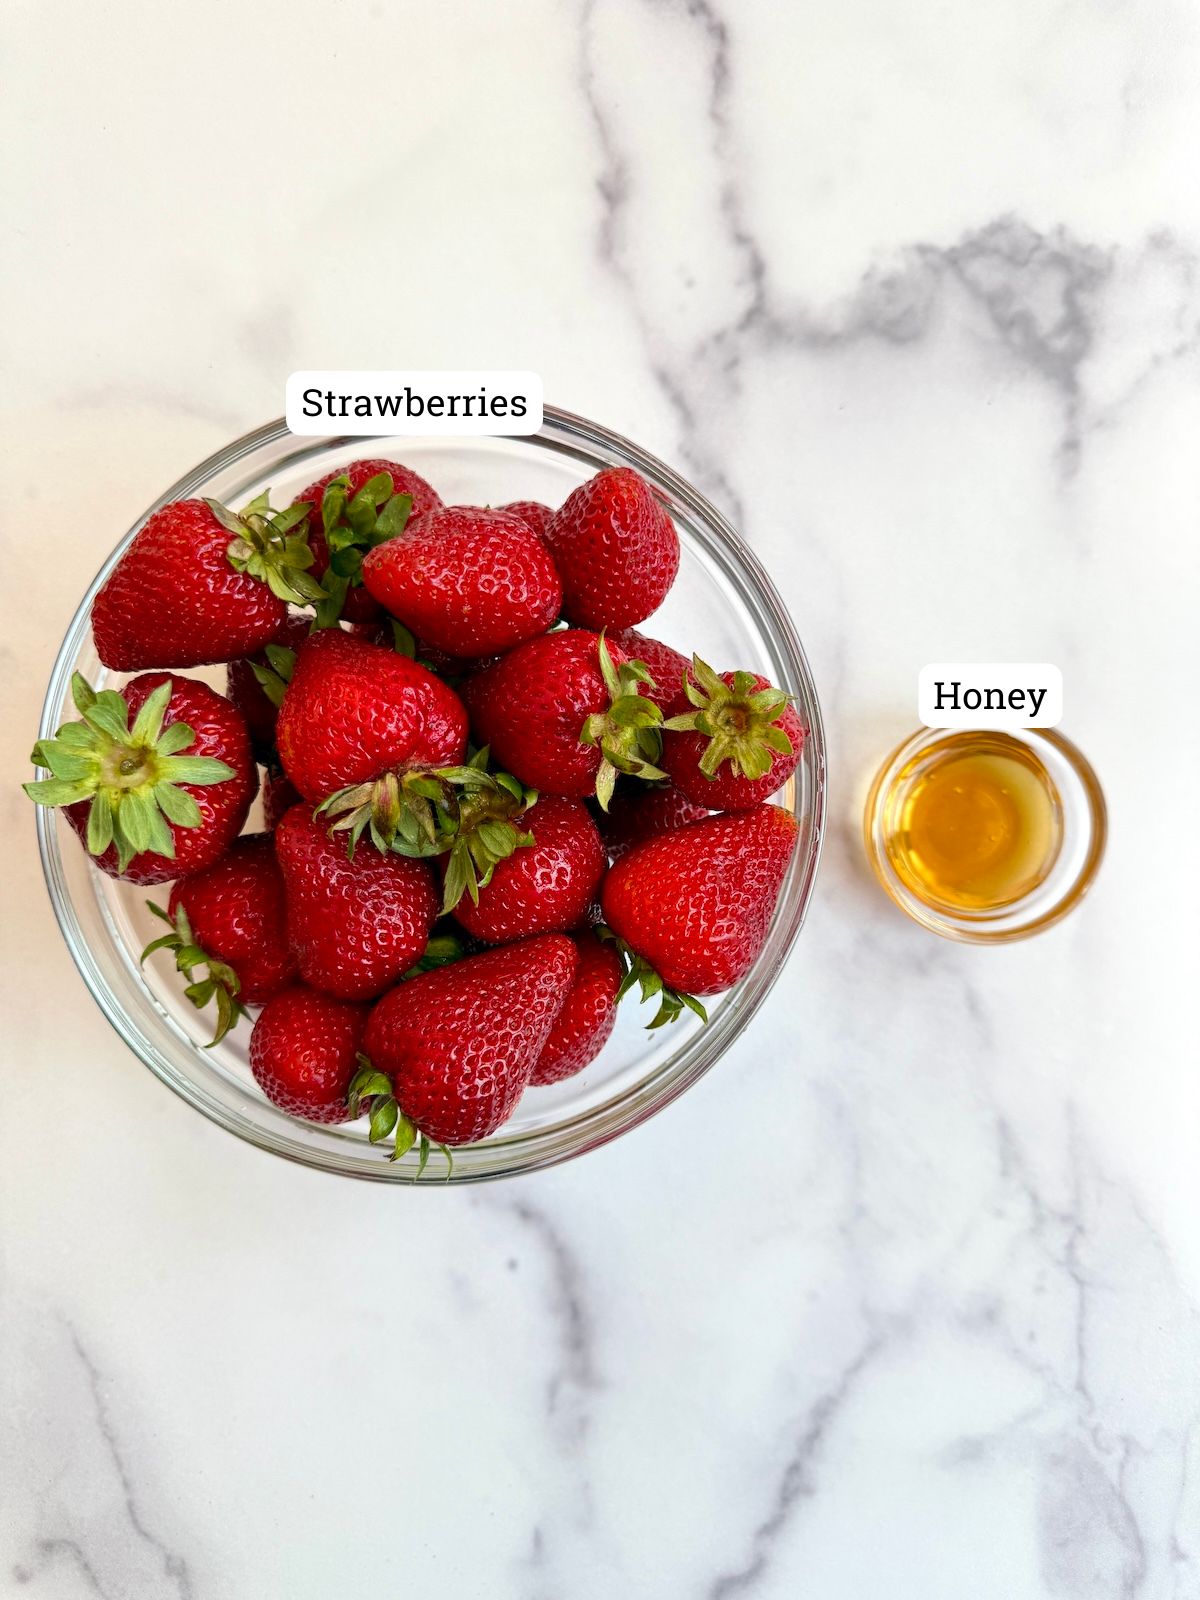
You only need one ingredient to make fruit leather. Two if your berries need sweetening.
- Strawberries: Fresh, ripe strawberries are best. Give them a rinse and remove the stems.
- Honey or agave (optional): Just a tablespoon to bring out the natural sweetness if your berries are tart.
Variations and Substitutions
- Other fruits: This recipe works great with raspberries, peaches, mangoes, or blueberries. You can also combine fruits! Strawberry and peach or strawberry and mango are especially tasty.
- Frozen berries: Totally fine! Just thaw and drain excess liquid before blending.
- Sweeteners: Maple syrup works too, or leave it out entirely if your fruit is sweet enough.
How to Make Strawberry Fruit Leather in the Oven
This process is easy but does require a little patience. The key is low heat and even spreading.
Would you like to save this?
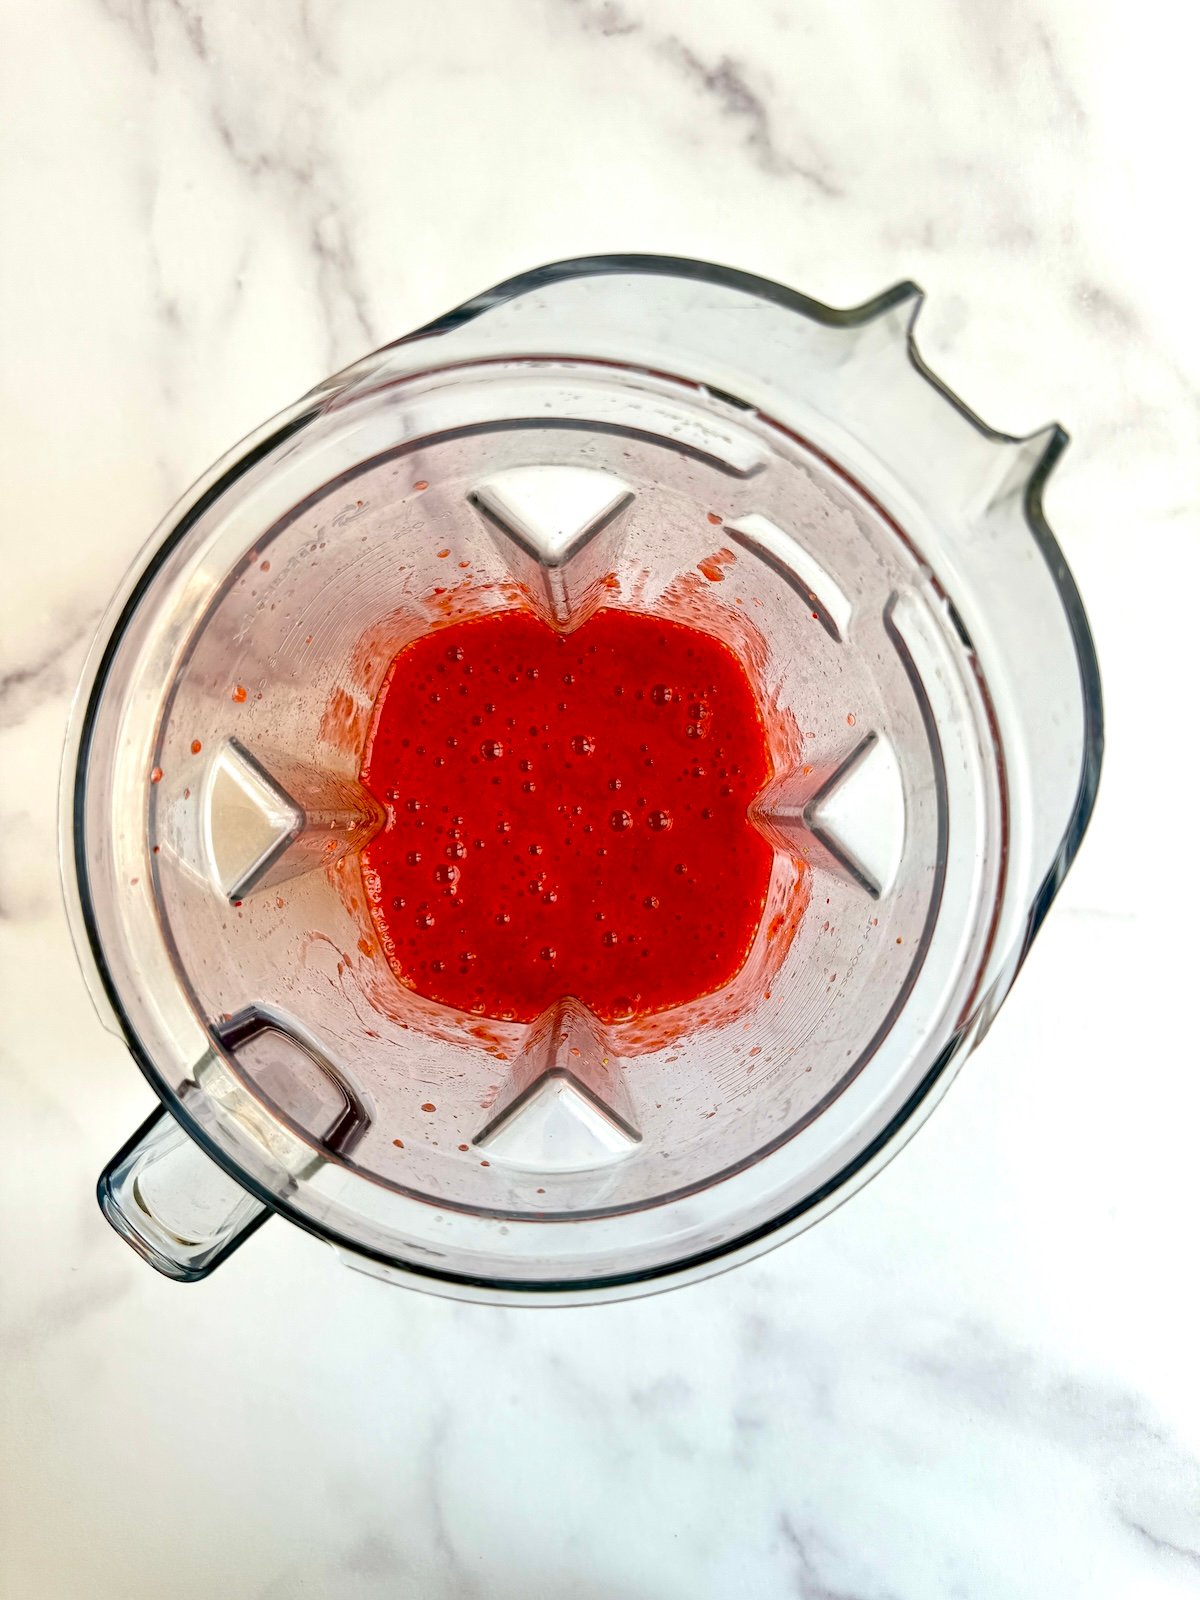
Step 1: Preheat your oven to 225°F. Blend the strawberries until completely smooth. Taste the mixture and add honey or agave if needed.

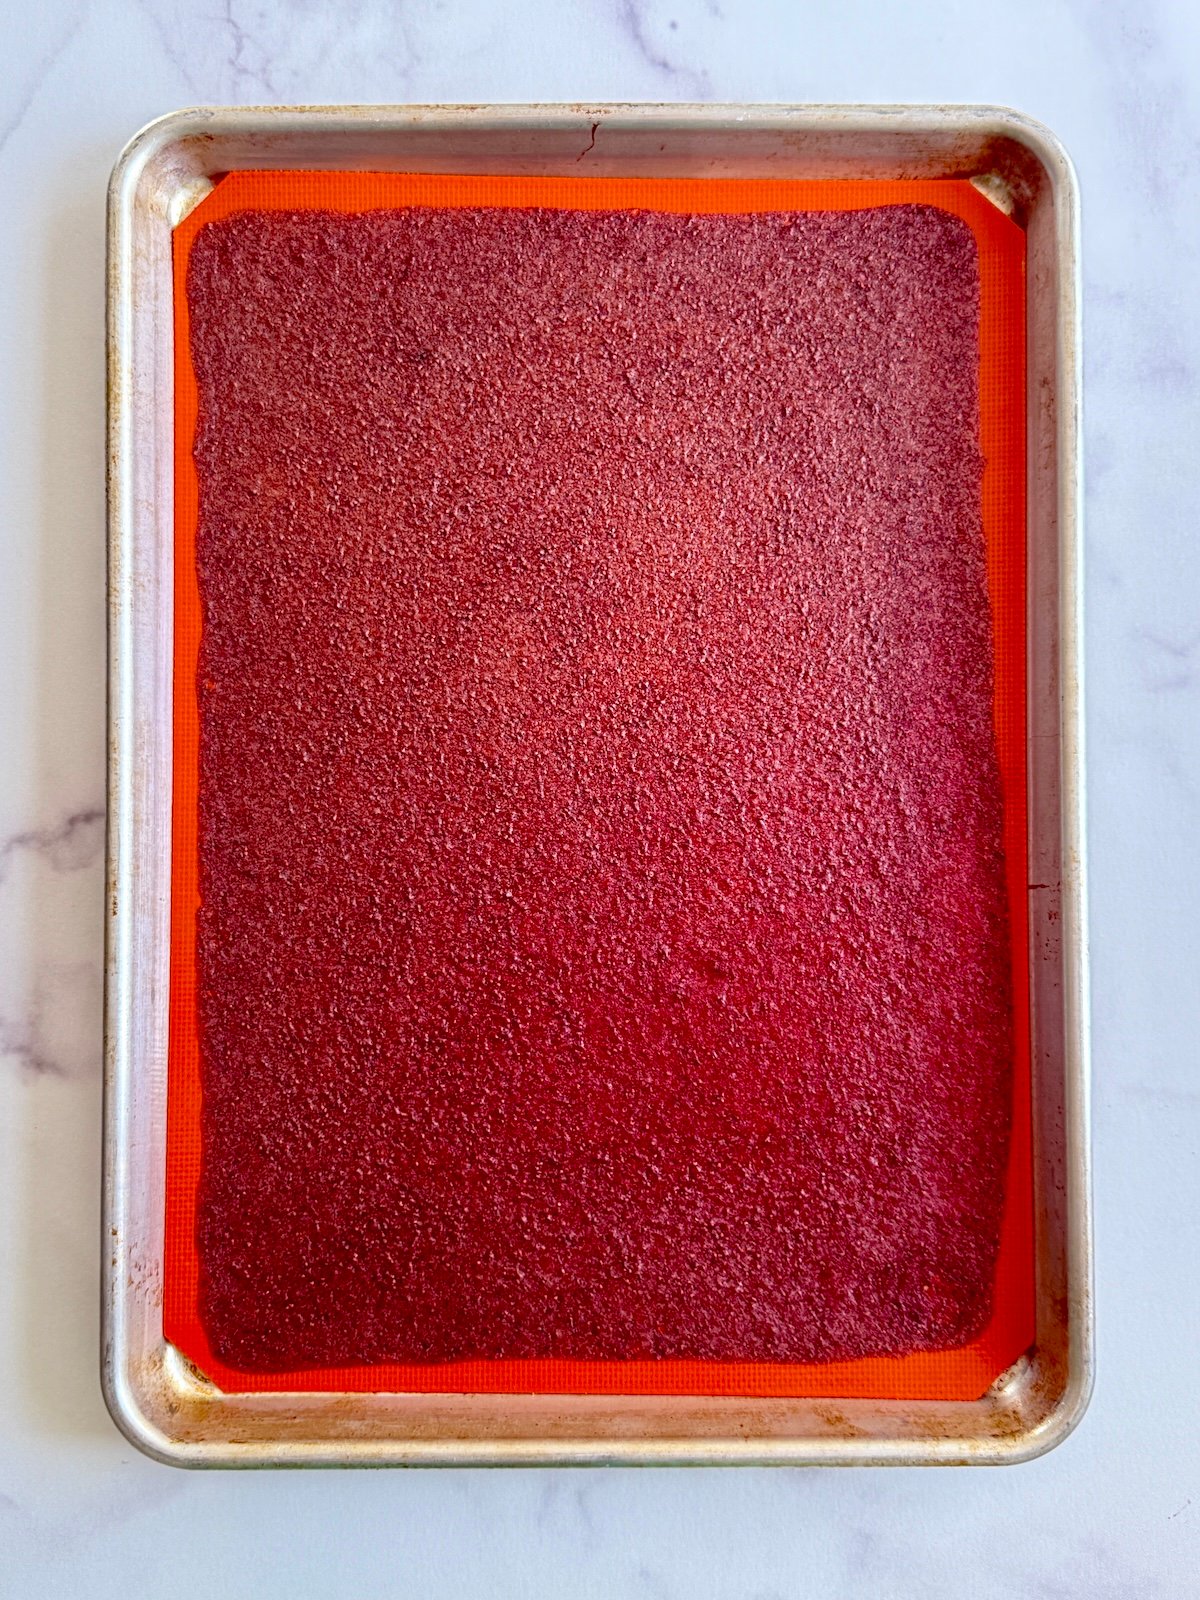
Step 2: Pour the puree onto a baking sheet lined with a Silpat. Use a spoon or offset spatula to spread the mixture into a smooth, even layer (not too thick or too thin). This might take some experimenting to get just right!
Step 3: Bake for 2–3 hours, or until the fruit leather is dry to the touch and no longer sticky. Bake time will vary depending on your oven and the thickness of the mixture. Keep an eye on it! Check for doneness every 15 minutes or so for the last hour of cooking.
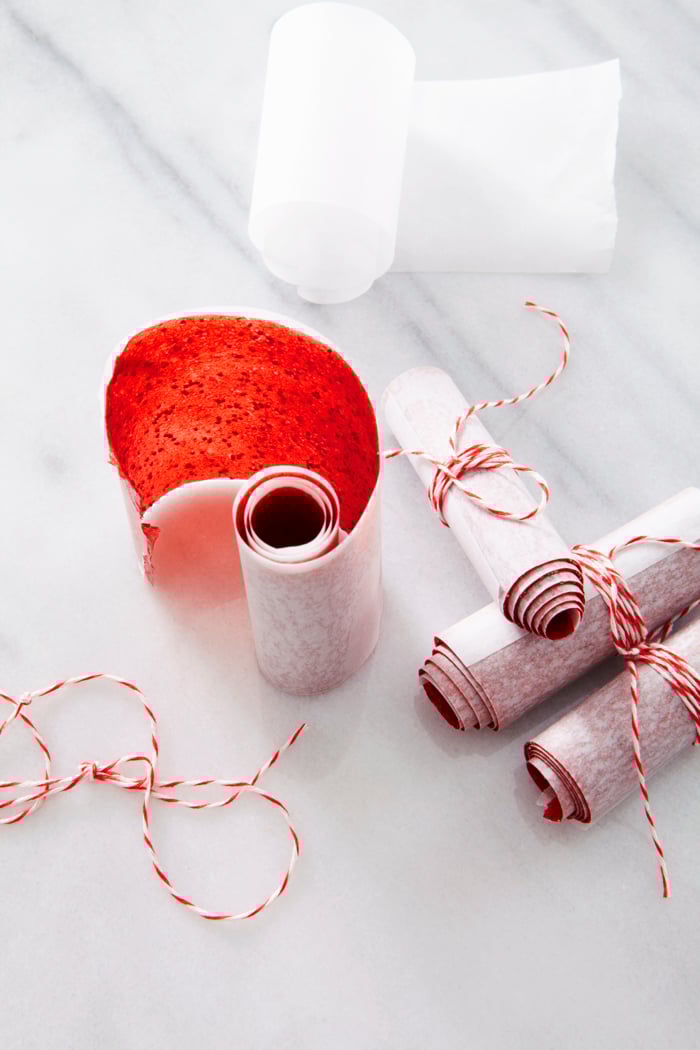
Step 4: The fruit leather will feel firm out of the oven, but it softens as it sits. Two hours is good, overnight is better. Once softened, peel it off the Silpat, lay it on parchment (optional), cut into strips, and roll them up. The parchment keeps them from sticking and makes them easy to grab and go.
Tips and Tricks
- Use a silicone baking mat. A Silpat helps the fruit leather release cleanly. It’s really the key to perfect fruit leather! Parchment works, but the texture may not be as smooth and it can cook less even.
- Spread evenly! Uneven puree leads to overcooked edges or sticky centers. A thin, consistent layer is key. I aim for about 1/4 inch thick.
- Check early. Start checking at the 2-hour mark. Every oven is different, and a few minutes can make a big difference!
- Let it rest. It will feel stiff right out of the oven, but give it time to soften. I’ve had the best texture when letting it sit overnight.
- Roll with parchment. Once cooled, place it on top of parchment before cutting into strips and rolling. This keeps them from sticking and makes them perfect for on-the-go snacking.
- Have a dehydrator? If you make fruit leather often, it might be worth investing in one. I use mine all the time! It makes the process even easier. Check out my recipe for Strawberry Fruit Leather in the Dehydrator if you’ve got one at home.

FAQs
Yes, you can use frozen strawberries to make fruit leather. Just thaw them completely and drain off any excess liquid before blending.
Fruit leather is done when it’s dry to the touch and no longer sticky. It should peel away cleanly from the edges of the baking mat.
You can use parchment paper instead of a Silpat, but a silicone baking mat gives more even results and prevents sticking better. I would highly recommend investing in one!
Fruit leather turns hard or brittle if it’s spread too thin or baked too long. Try baking a thicker layer and checking it earlier next time.
More Kid-Friendly Strawberry Recipes


This strawberry fruit leather is one of those recipes that’s as fun to make as it is to eat! It’s a great way to use up fresh fruit, skip the store-bought stuff, and keep a healthy snack on hand that everyone actually loves. If you make this recipe, I’d love to hear what you think! Leave a comment and rating below!
Want more Weelicious? Subscribe to my newsletter and follow me on Instagram, Facebook, and TikTok for all the newest recipes!
Strawberry Fruit Leather – Oven Method
Ingredients
- 3 cups strawberries, stems removed
- 1 tablespoon honey or agave (optional)
Instructions
- Preheat your oven to 225°F.
- Place the strawberries in a blender and blend until completely smooth. Taste the puree and, if needed, add honey or agave to sweeten. If your berries are super sweet, you can skip the sweetener.
- Pour the puree onto a baking sheet lined with a Silpat or other silicone baking mat. Use a spoon or spatula to spread the mixture into a smooth, even layer (not too thick or too thin). This might take some experimenting to get just right!
- Bake for 2–3 hours, or until the fruit leather is dry to the touch and no longer sticky. Bake time will vary depending on your oven and the thickness of the mixture. Start checking on it after the 2 hour mark every 15 minutes or so!
- The fruit leather will feel firm when it first comes out of the oven. Let it sit at room temperature to soften for at least 2 hours (overnight works even better).
- Once softened, peel the fruit leather off the Silpat. Place it on top of a sheet of parchment paper, then cut it into strips. Roll up each strip with the parchment paper. This helps keep them from sticking and makes them easy to grab and go.
Notes
- Use a silicone baking mat. A Silpat helps the fruit leather release cleanly. It’s really the key to perfect fruit leather! Parchment works, but the texture may not be as smooth and it can cook less even.
- Spread evenly! Uneven puree leads to overcooked edges or sticky centers. A thin, consistent layer is key. I aim for about 1/4 inch thick.
- Check early. Start checking at the 2-hour mark. Every oven is different, and a few minutes can make a big difference!
- Let it rest. It will feel stiff right out of the oven, but give it time to soften. I’ve had the best texture when letting it sit overnight.
- Roll with parchment. Once cooled, place it on top of parchment before cutting into strips and rolling. This keeps them from sticking and makes them perfect for on-the-go snacking.
- Have a dehydrator? If you make fruit leather often, it might be worth investing in one. I use mine all the time! It makes the process even easier. Check out my recipe for Strawberry Fruit Leather in the Dehydrator if you’ve got one at home.


How are they stored and how long are they good for? Glass jar, fridge? Thanks
You can store them in glass or a zipper bag. They’re good for a long time, at least 4 months at room temperature. No need to refrigerate.
What would be an ideal size pan to use for this amount of fruit?
A full size sheet pan works best for this. Thanks for asking!
Best recipe ever! SO GOOD! Worked great and only took about 3 hrs!
i Lke strawberry -wee fruit leather above receipe
Because oranges are so juicy, you may have better luck using apples (which make great leather because of their natural pectin) and a bit of carrot (for nice color) as the puree, and then flavoring it with lots of finely grated orange peel. I imagine the taste will be like orange marmalade. Yum! 😀
Hi Catherine – My granddaughter is a very picky eater! I am just getting her to try new things and she is 11. lol! She has asked if you have a recipe for orange fruit leather.
I tried today.turned out perfect! U have to check it after 2hours! I check it every 10mins
Love love love can’t wait to try!
Join
[…] you want to eat peaches for every meal there’s nothing you can really do with them except….make fruit leather! If you think my kids like eating peaches, you should just see how excited they get for this […]
can’t wait to try this.
[…] che tagliava a strisce e in modo divertente e inusuale proponeva ai suoi bambini, andate a vederlo qui se volete. Ma le fragole ora proprio non è stagione così ho provato un altro tipo di frutta […]
Thanks for responding Melissa! I plan on trying ur method out with frozen strawberrys in a min… I refuse to waste n e more fresh fruit on this 🙂 I’ll let u know how it goes **fingers crossed**
Lauren, Theresa, and Bonnie, try lowering the oven temp and leave it in the oven for a few hours longer. I had the same issues until I set my oven to 170 degrees and left the fruit in the oven for about 6-8 hrs. It worked great! Bonnie, it’s supposed to look like a dark red, and it might come out crispy but just let it sit out for awhile and it will Soften up nicely. Hope this helps…
Hmm, I just tried this and did a full 2 hours. When it came out, it’s brown…like brownies, lol. Im thinking it’s burnt? Im not sure what it’s supposed to look like.
lauren i had the same problem the edges turn out burnt n crispy and the middle is soft n mushy i have wasted three batches n tons of strawberries!! help or advise please my son loves fruit strips and i would love to make these for him
I tried making this 3 times. 3 times it failed. Bad. I think I might save up for a food dehydrator