
This post may contain affiliate links. Please read our disclosure policy.
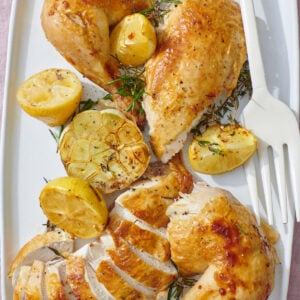
Few dishes bring the same cozy comfort as a perfectly roasted chicken. Whether you’re new to cooking or a total pro, this easy recipe gives you crispy skin, juicy meat, and that classic homemade flavor every single time.
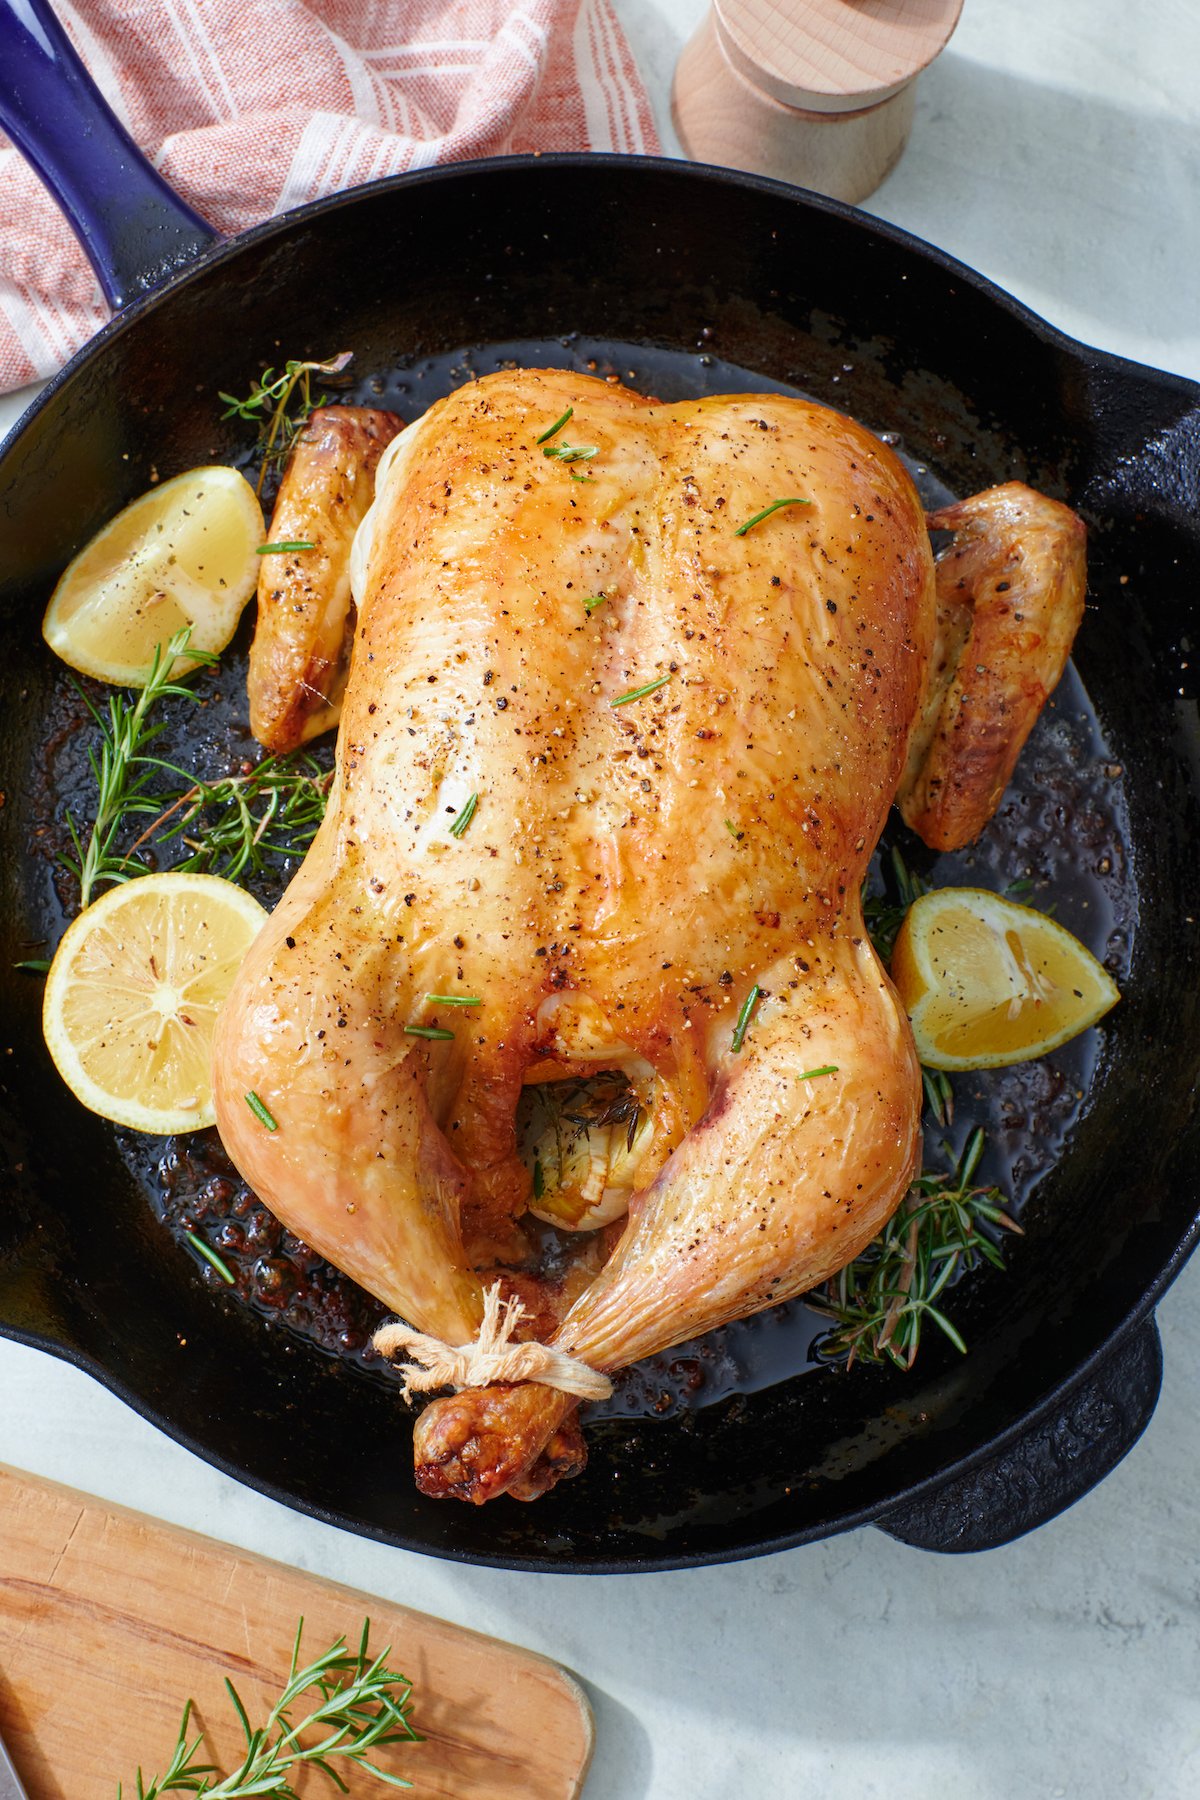
Table of Contents
Why I Love This Recipe
- Effortless Excellence: This easy roast chicken recipe delivers gourmet flavor without the fuss. Crispy skin, juicy meat, and that homemade goodness every time!
- Versatility Galore: Enjoy it fresh out of the oven or reinvent the leftovers in dishes like Mu Shu Chicken or Asian Chicken Soup. Here are even more Leftover Roast Chicken Recipes!
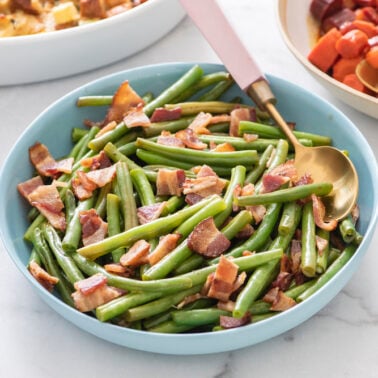
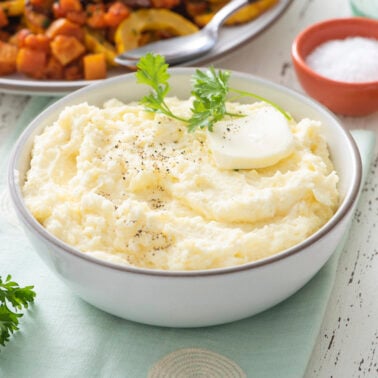
- Comfort Food Love: It’s classic comfort food that feels like a warm hug, especially when served with Buttermilk Bacon Whipped Potatoes and Roasted Brussels Sprouts.
- Impressive Yet Easy: Hosting guests? A beautifully roasted chicken looks impressive but couldn’t be simpler to make.
- Healthy and Delicious: Packed with protein and full of flavor, it’s a wholesome option that doesn’t skimp on taste.
The Ingredients
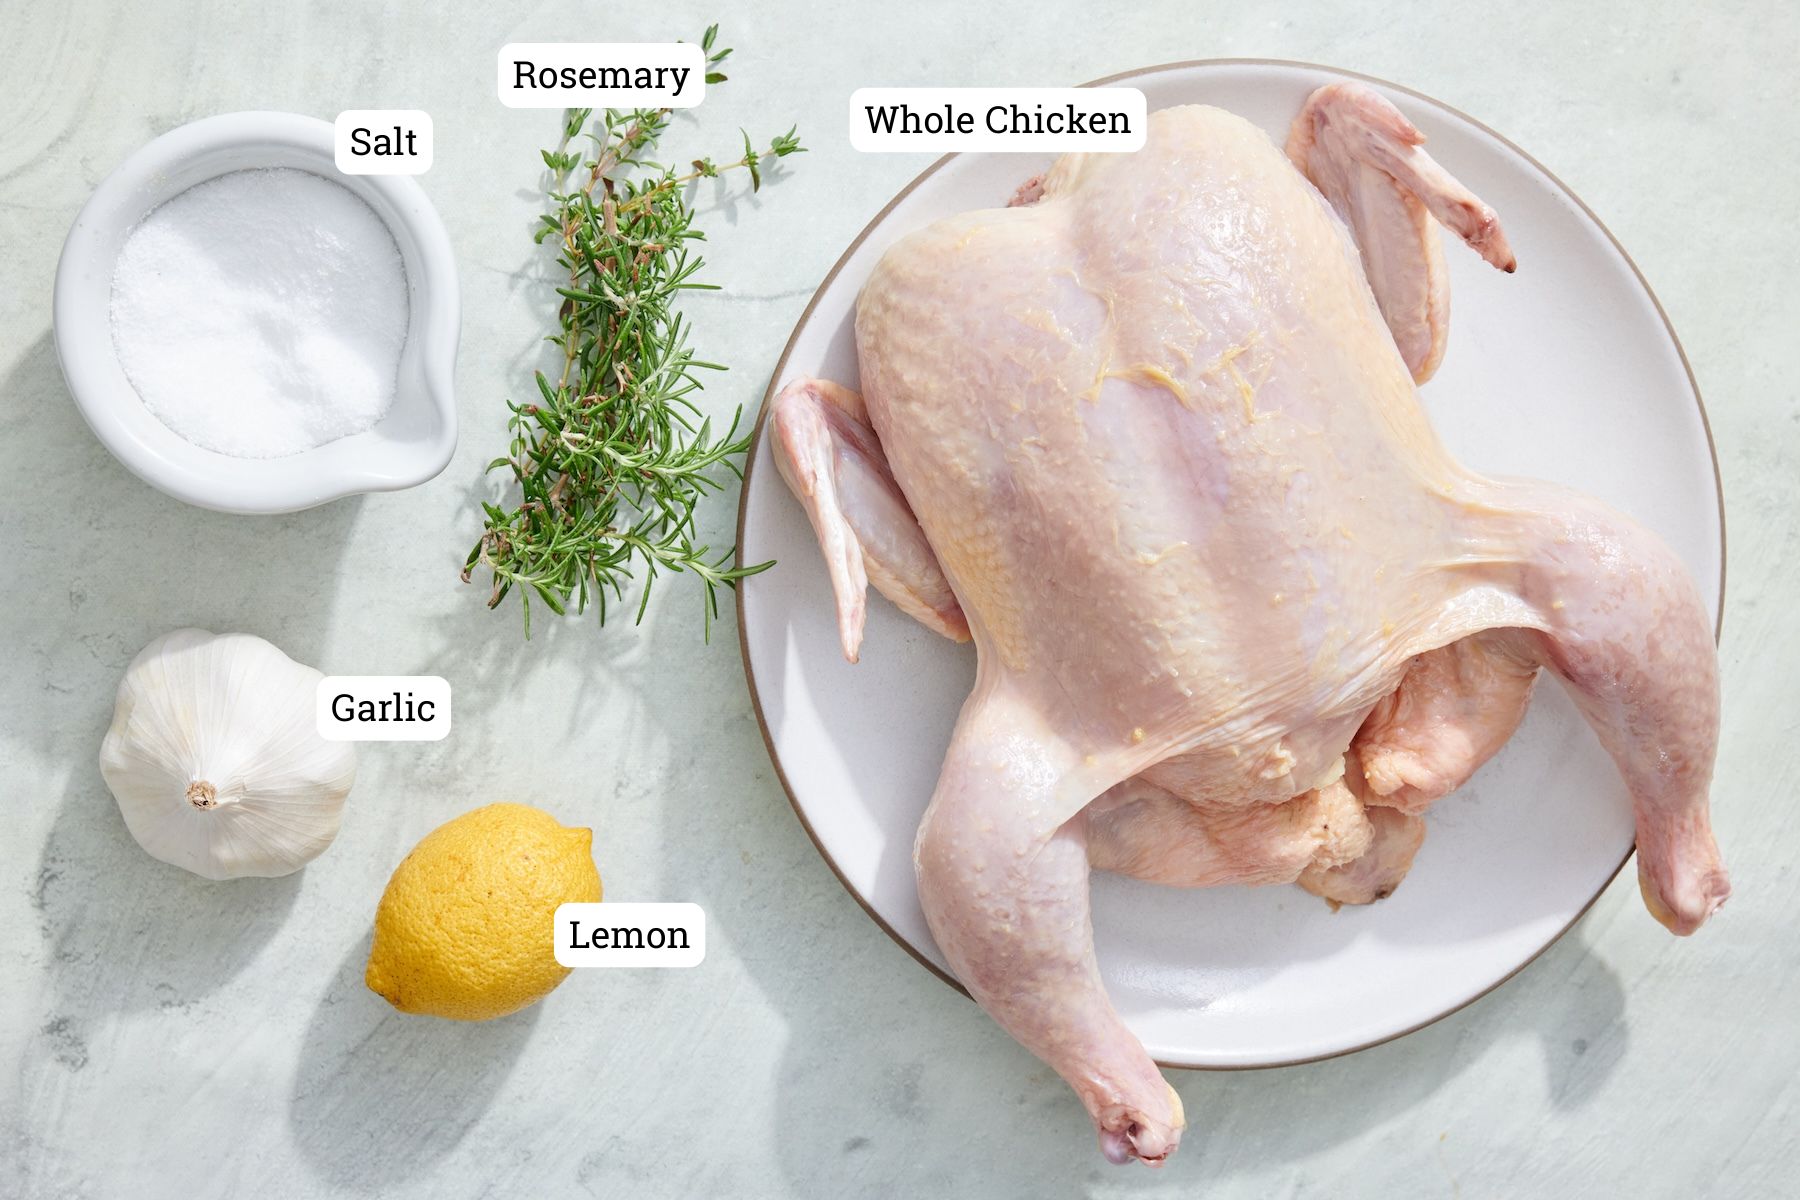
- Whole chicken (about 4–5 pounds): The heart of this recipe! A medium-sized chicken cooks evenly and stays perfectly juicy.
- Olive oil: Helps the skin crisp up beautifully while keeping the meat tender. You’ll rub it all over the chicken before roasting.
- Kosher salt: Don’t be shy here. Seasoning generously inside and out is the secret to deep, flavorful meat and that crave-worthy crispy skin.
- Fresh herbs (thyme, rosemary, or your favorite blend): These go right inside the chicken for amazing aroma and flavor. Mix and match with what you have on hand. Sage, oregano, or parsley all work, too.
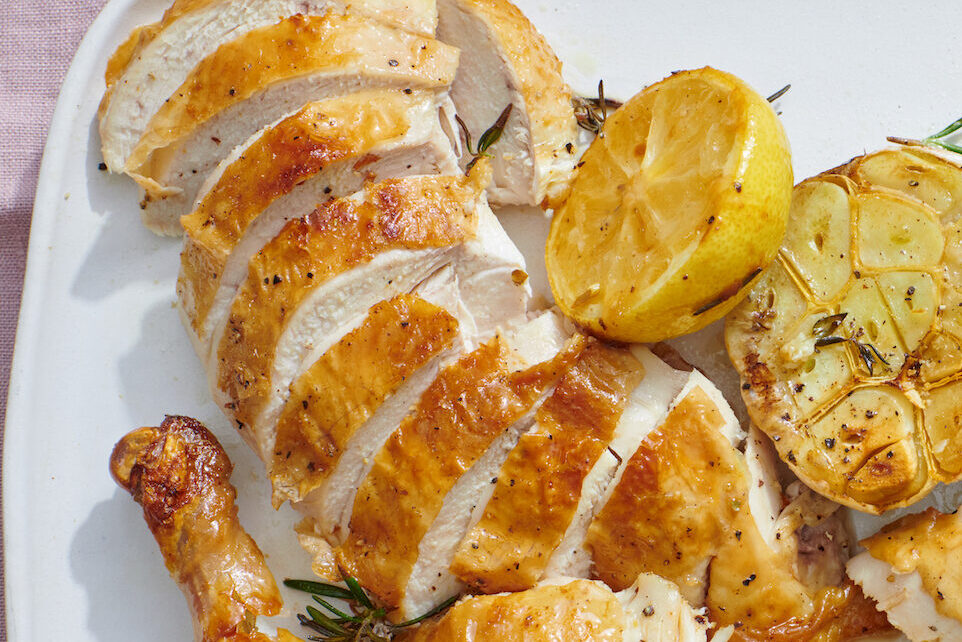
- Lemon: Adds a fresh, citrusy brightness that balances the rich, savory chicken. You’ll stuff it inside the cavity along with the herbs.
- Garlic: Whole cloves roast right alongside the chicken, infusing everything with delicious flavor.
How to Make a Perfect Roast Chicken
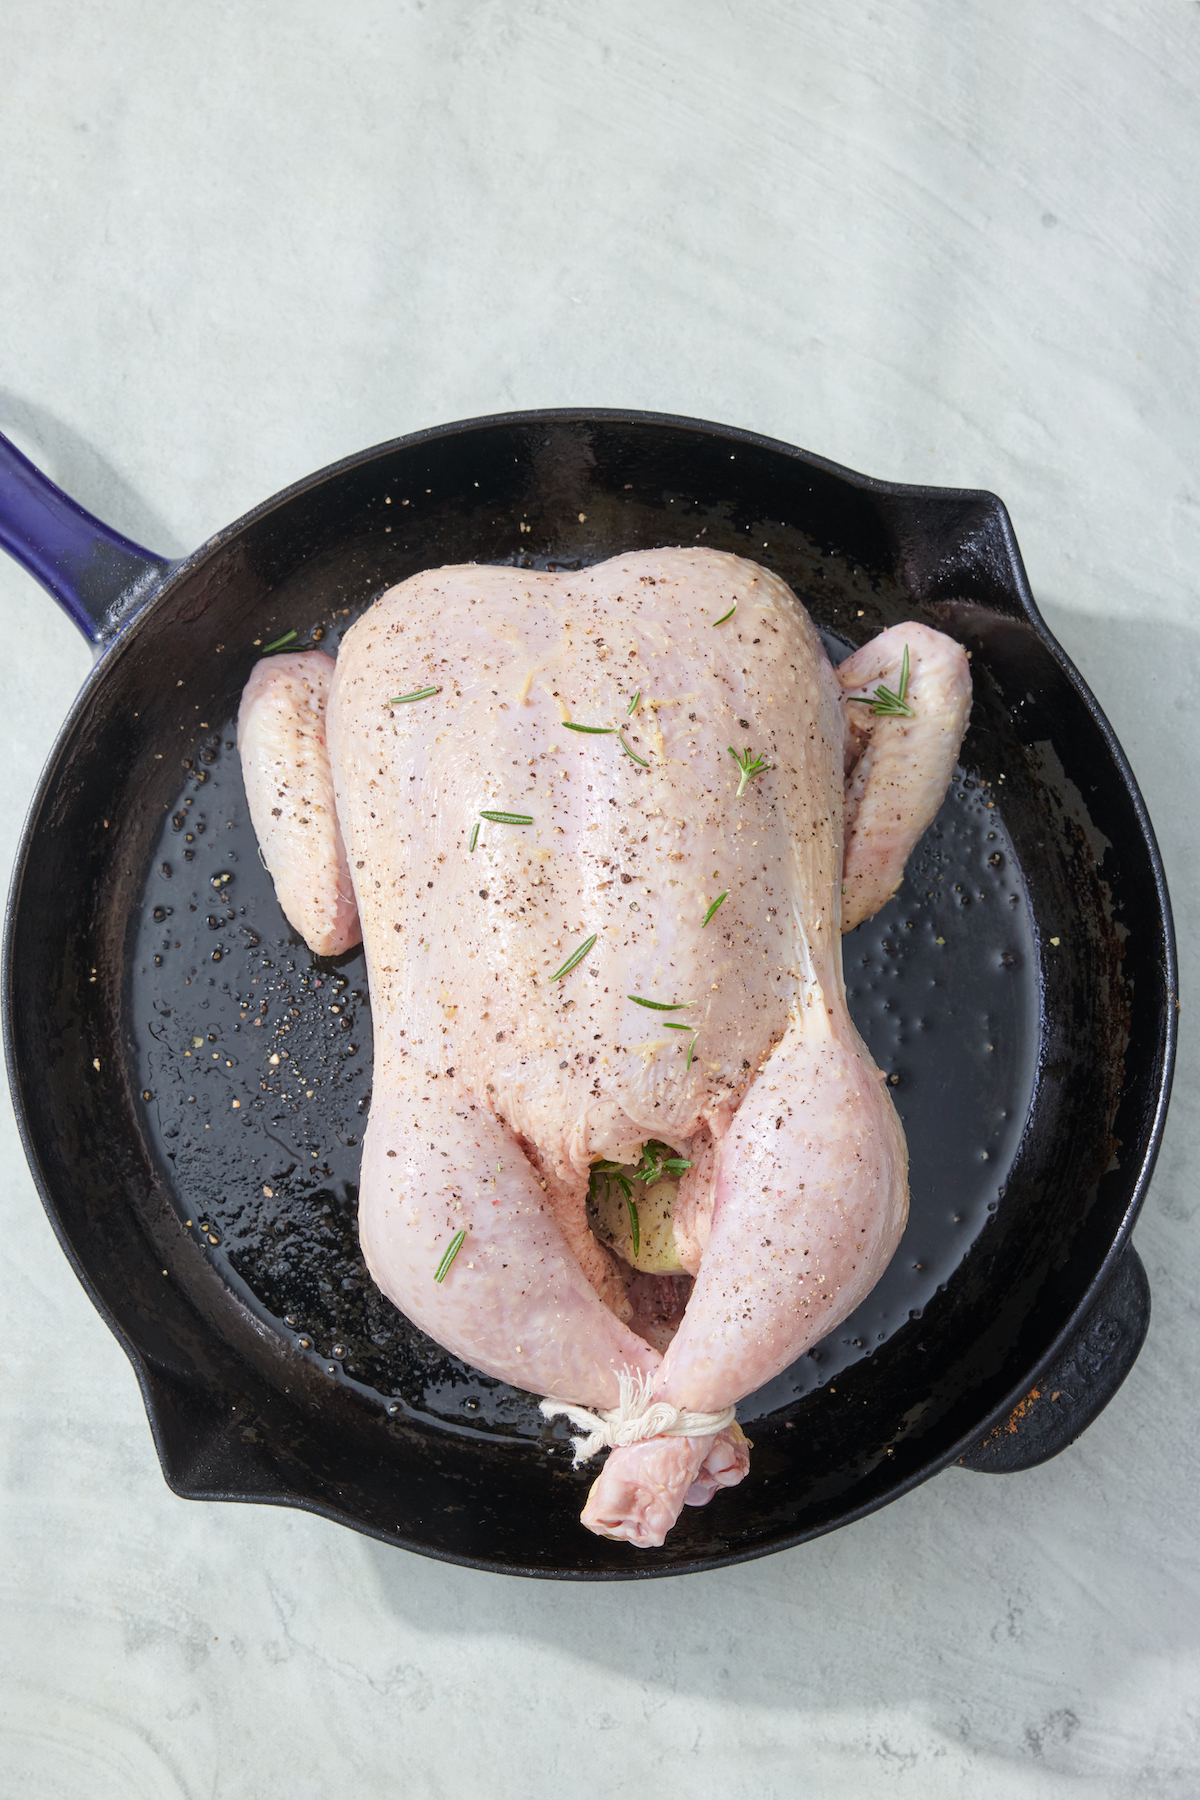
- Prep the chicken: Pat the chicken dry (inside and out), removing as much moisture as possible. Rub chicken all over with olive oil, season inside and out with salt.
- Add aromatics: Place chicken in a 9-inch skillet with an oven-proof handle, cast iron skillet or sheet tray lined with foil. Stuff chicken with herbs, lemon and garlic and tie legs together. Heat oven to 450°F.
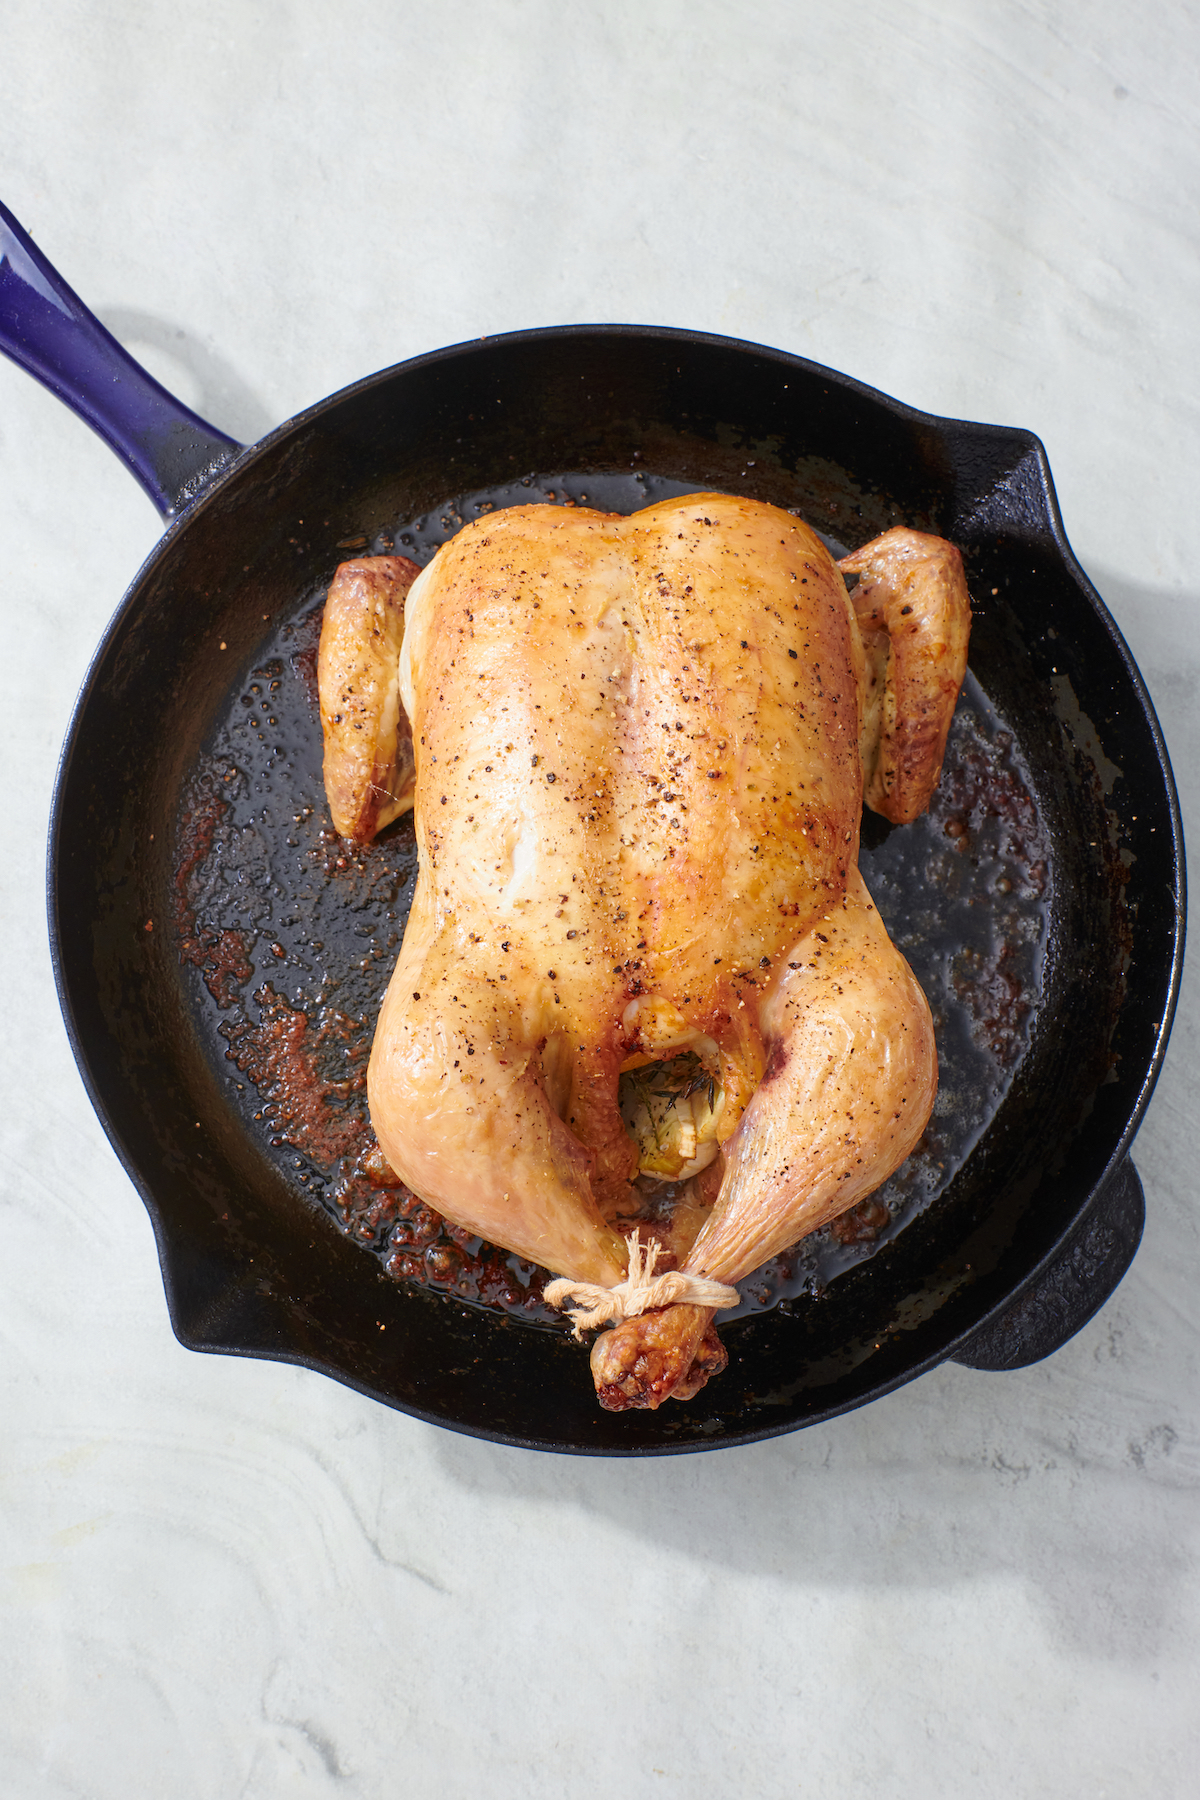
- Bake at high heat: Place chicken in oven and bake for 15-20 minutes.
- Finish at lower temperature: Lower temperature to 350°F and continue to bake for 45-50 minutes or until internal temp reads 160°F.
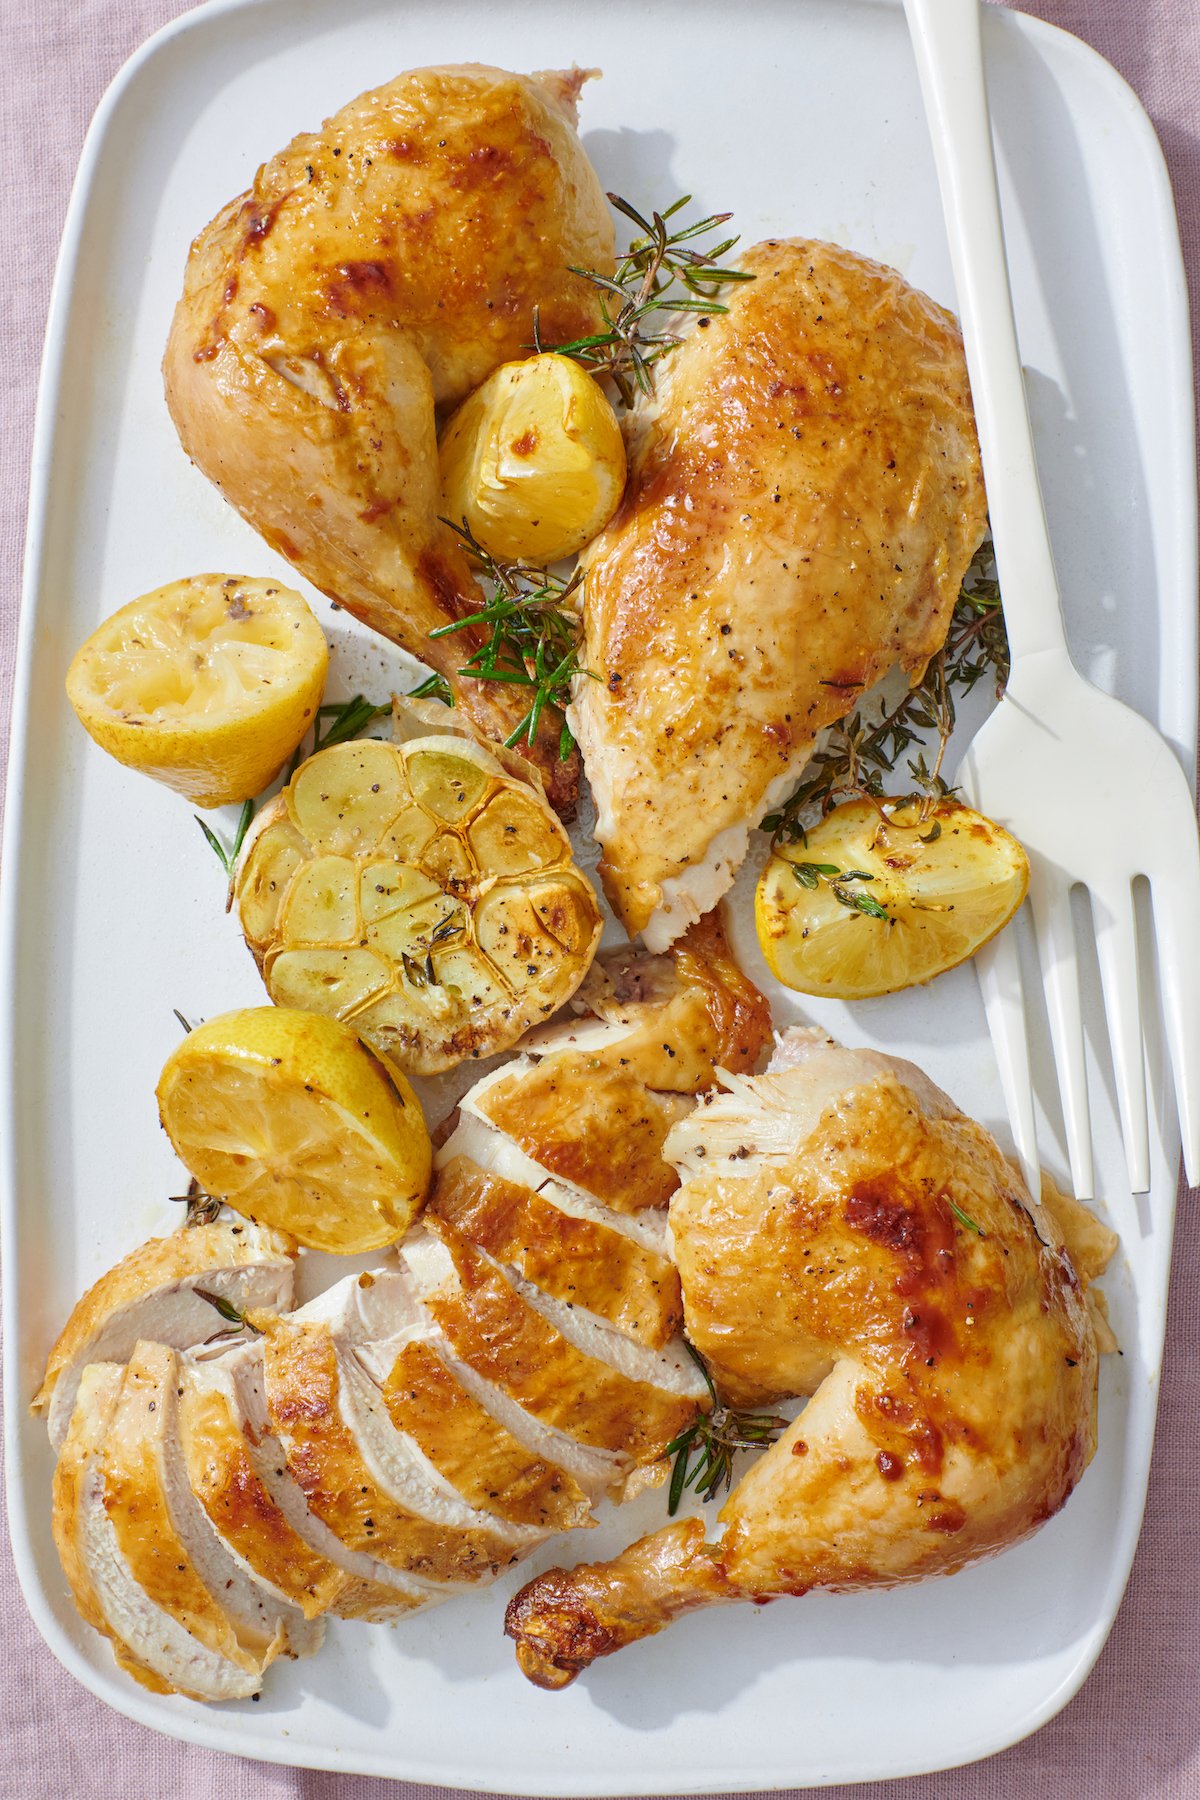
- Remove from oven and allow chicken to cool for 10 minutes and serve.
Tips and Tricks
- Pick the Perfect Bird: Choose a fresh, good-quality chicken. Organic or air-chilled if you can. A 3-4 pound bird cooks evenly and stays juicy.
- Crispy Skin Magic: For that golden, crispy skin everyone loves, start roasting at 450°F, then lower the heat to finish cooking.
- Convection Oven: Use the convection setting on your oven if you have one, reducing the second bake time to 25-30 minutes.
- Brine if you have time: If you have time, you can brine the bird for extra juiciness. In step 1, cover the bird (inside and out) with salt then refrigerate, uncovered, for 3-24 hours.
- Skillet: If you don’t have a skillet with an oven-proof handle, use a baking dish just larger than your chicken.
Recipes for Leftover Roast Chicken
My favorite thing to do with roast chicken is to make double for meal prep and have the leftovers to use throughout the week in other recipes! Here are some great ones for leftover roast chicken:
FAQs
Roast your chicken uncovered to get that perfectly golden, crispy skin. If it starts browning too quickly, you can loosely tent it with foil for the last 10 to 15 minutes.
The internal temperature should reach 160°F in the thickest part of the thigh. The temperature will rise slightly as it rests, ensuring tender, fully cooked chicken.
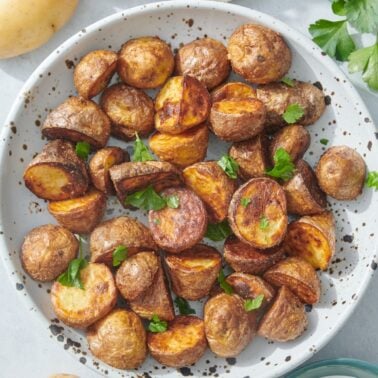
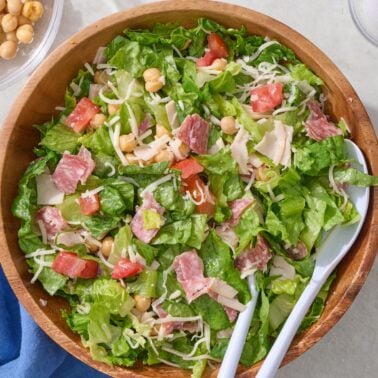
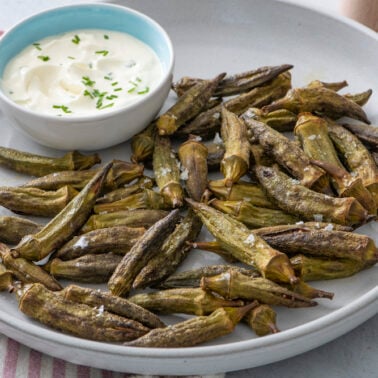
Side Dishes to Serve with Roast Chicken

So, if you’re looking for a meal that’s equal parts delicious and delightful and makes great leftovers, roast chicken is your answer! Let me know if you have any questions in the comments and leave a review below!
Want more Weelicious? Subscribe to my newsletter and follow me on Instagram, Facebook, and TikTok for all the newest recipes!
Would you like to save this?
Perfect Roast Chicken
Ingredients
- 1 whole chicken (about 4 pounds)
- 1 tablespoon olive oil
- 3 teaspoons kosher salt
- 3-4 sprigs thyme, rosemary or fresh herb of choice
- 1 lemon, cut in half
- 4-5 cloves garlic, peeled and smashed (or one head of garlic cut in half)
Instructions
- Pat the chicken dry (inside and out), removing as much moisture as possible.
- Rub chicken all over with olive oil, season inside and out with salt.
- Place chicken in a 9-inch skillet with an oven-proof handle, cast iron skillet or sheet tray lined with foil.
- Heat oven to 450°F.
- Stuff chicken with herbs, lemon and garlic and tie legs together.
- Place chicken in oven and bake for 15 minutes. Lower temperature to 350°F and continue to bake for 45-50 minutes or until internal temp reads 160°F.
- Remove from oven and allow chicken to cool for 10 minutes and serve.


Great roast chicken! The salt was the key, brining it to give it moisture. I will definitely make this again and use the flavorful pan jus to make gravy!
I also had a problem with the chicken smoking up my entire house. It tasted great, but I don’t think my family can handle the mass quantities of smoke and watering eyes that it caused! Did anyone ever figure out a solution to this problem, as it sounds like a few others have had it, too? Do you think it would it help to vent the oven like I do when I use the broiler?
Made this tonight, and after reading the reviews, I was totally prepared to have my kitchen smoked out – but lucky for me, it never did! I didn’t use thyme or lemon (not a favourite in our house) so I just melted butter and poured it over the top, salt and pepper and threw a few garlic cloves inside the chicken. Turned out great. I made a nice pan gravy with the juices and little bits that were leftover from roasting. Thanks for another great recipe!