Easy Family Recipes for Breakfast, Lunch, and Dinner


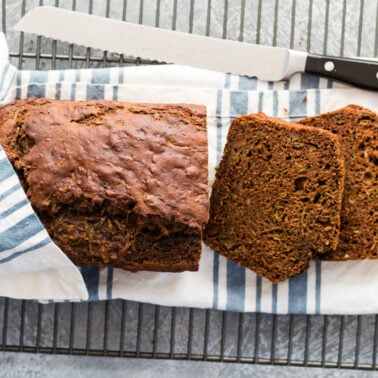
Quick and Easy Dinners


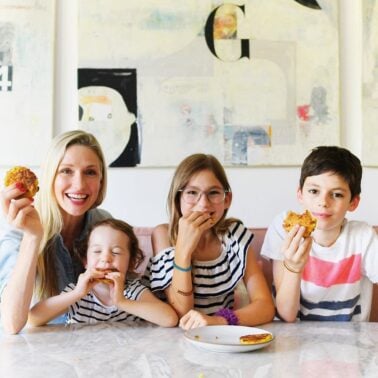
Hi, I’m Catherine!
I’m a mom of three, a professional chef, cookbook author, entrepreneur, and appear regularly on Food Network. I created Weelicious 17 years ago with a mission: make kids great eaters from day one and bring families together through food. Every recipe on Weelicious is designed to be easy to make, enjoyed by the whole family, and save you time and money. I’m looking forward to cooking with you!
Meal Plans


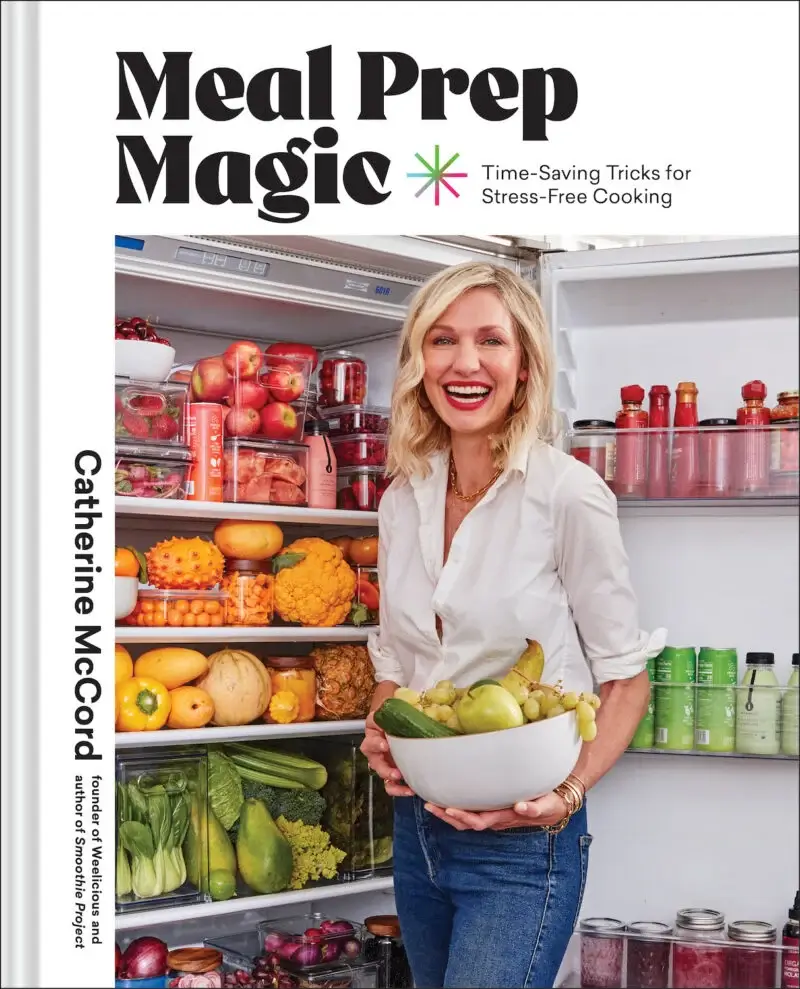
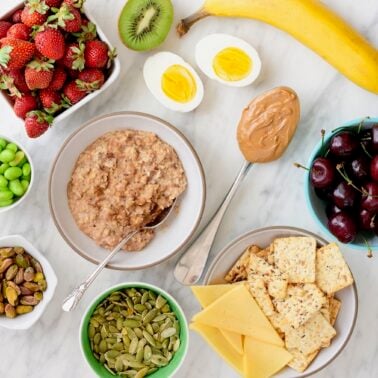
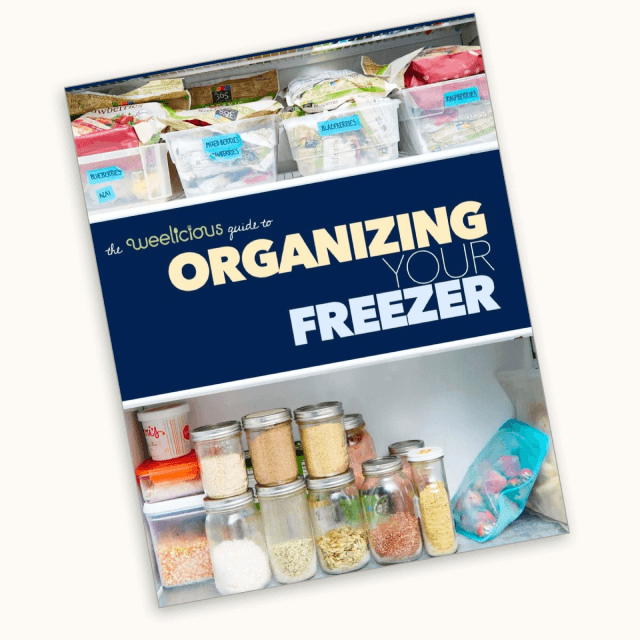
Meal Prep Magic
I believe that success in the kitchen comes down to two things—organization and meal prep—and I’ll show you how to master both in Meal Prep Magic. Eat healthy meals you love, while saving time, money, and your sanity.
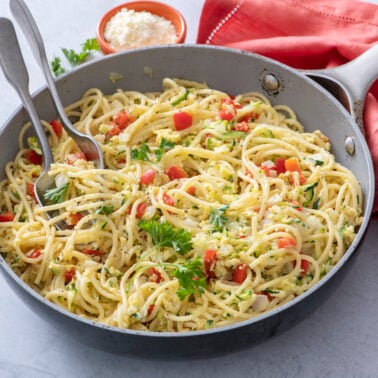
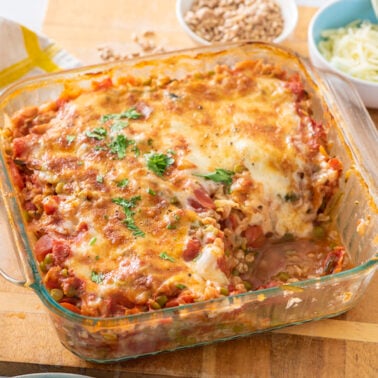
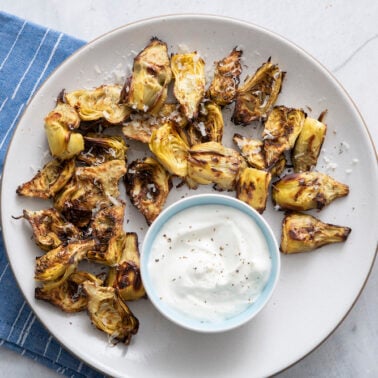
Easy Vegetarian Entrees
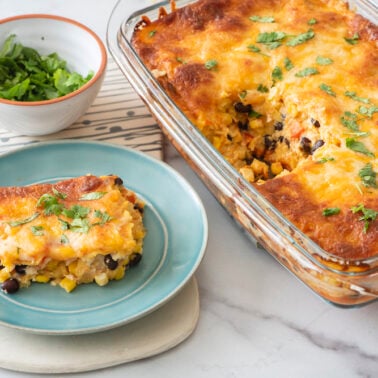
Most Popular

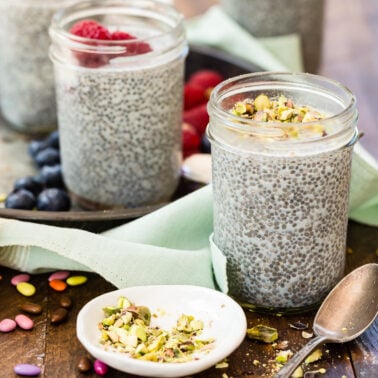

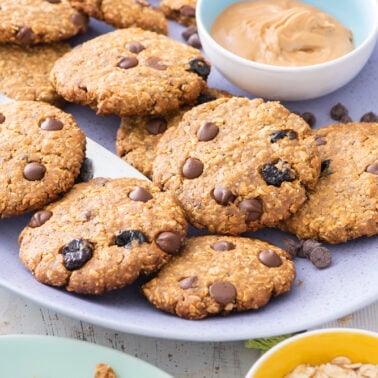
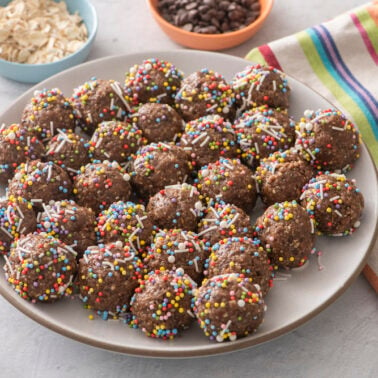
Healthy Desserts

As Seen In