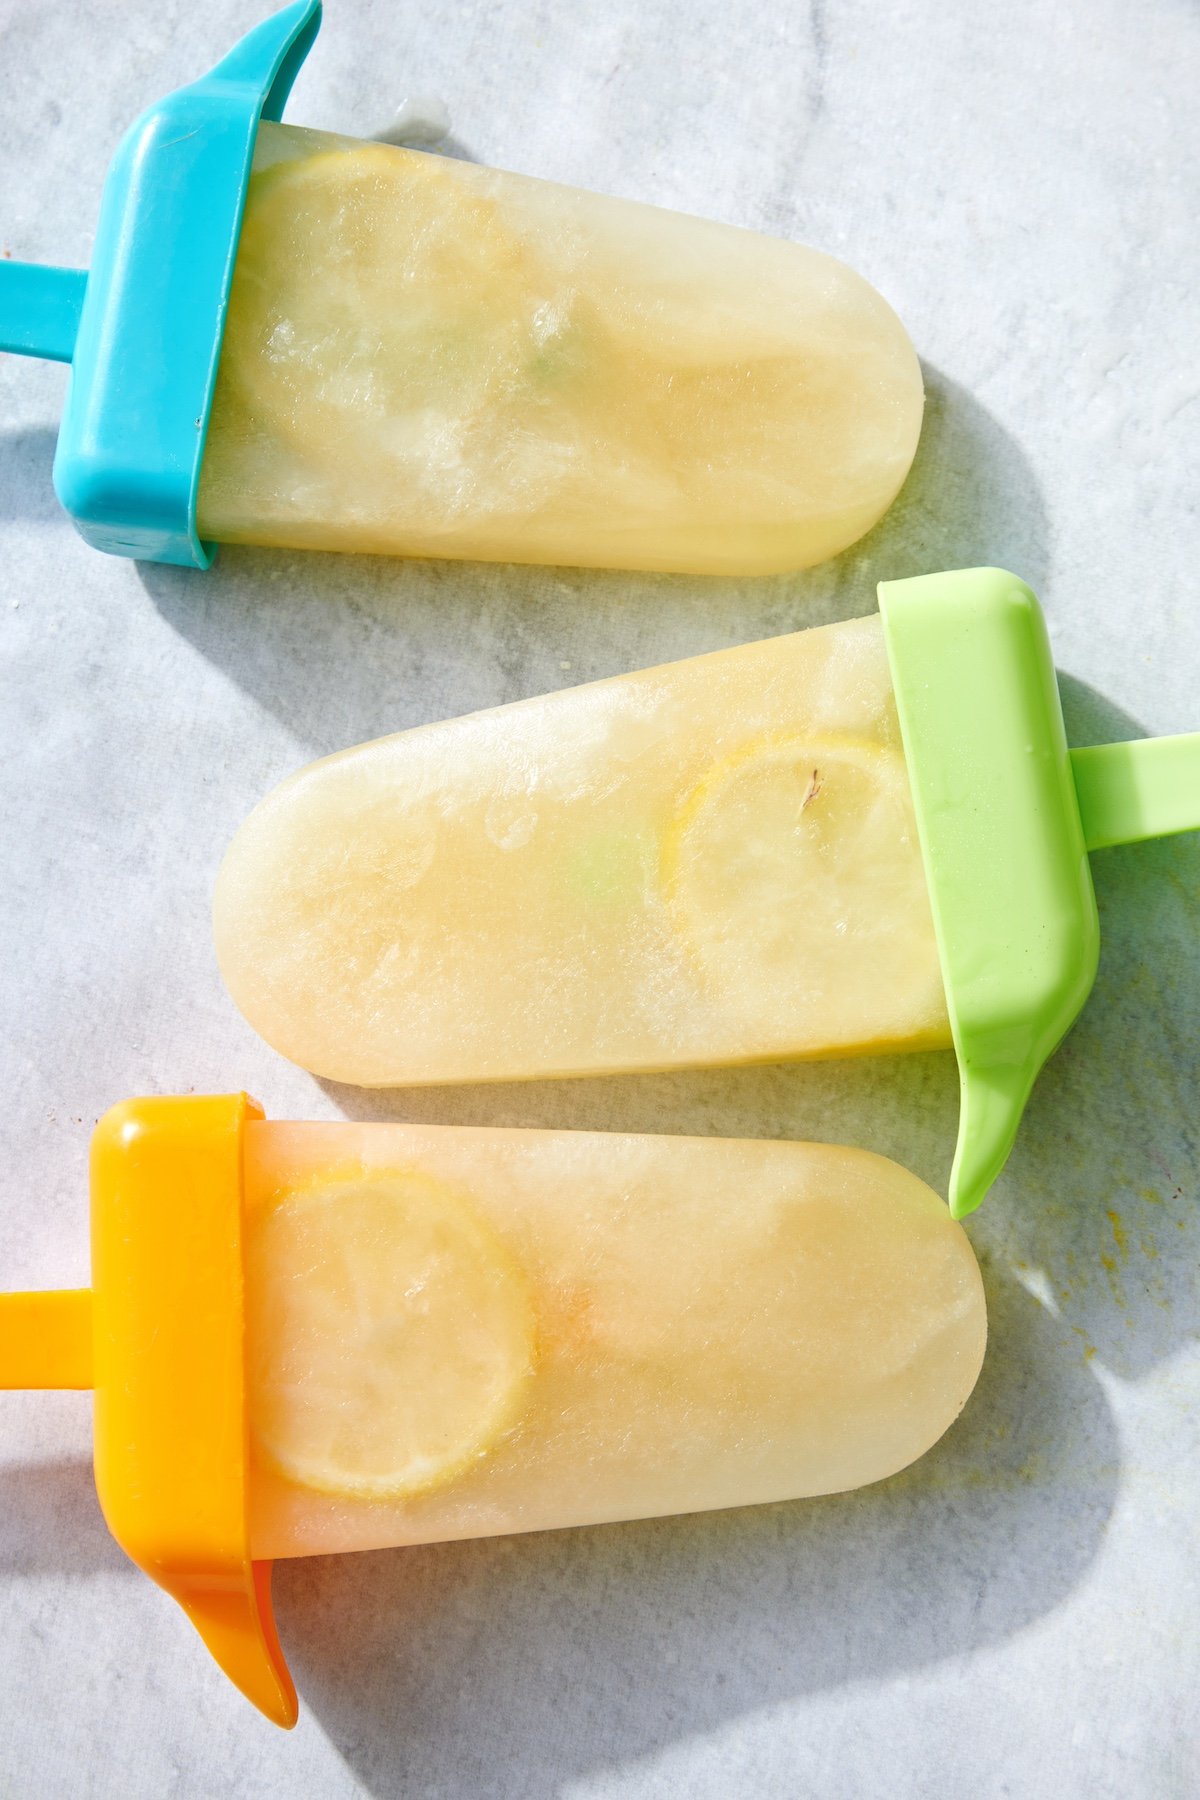
These Homemade Electrolyte Popsicles are my go-to not only on hot days or for a post-workout pick-me-up, but also when the kids are feeling run down and need a hydration and immunity boost. They’re packed with natural electrolytes from coconut water, a hint of sweetness from honey, and a bright, zesty pop of lemon for immune support.
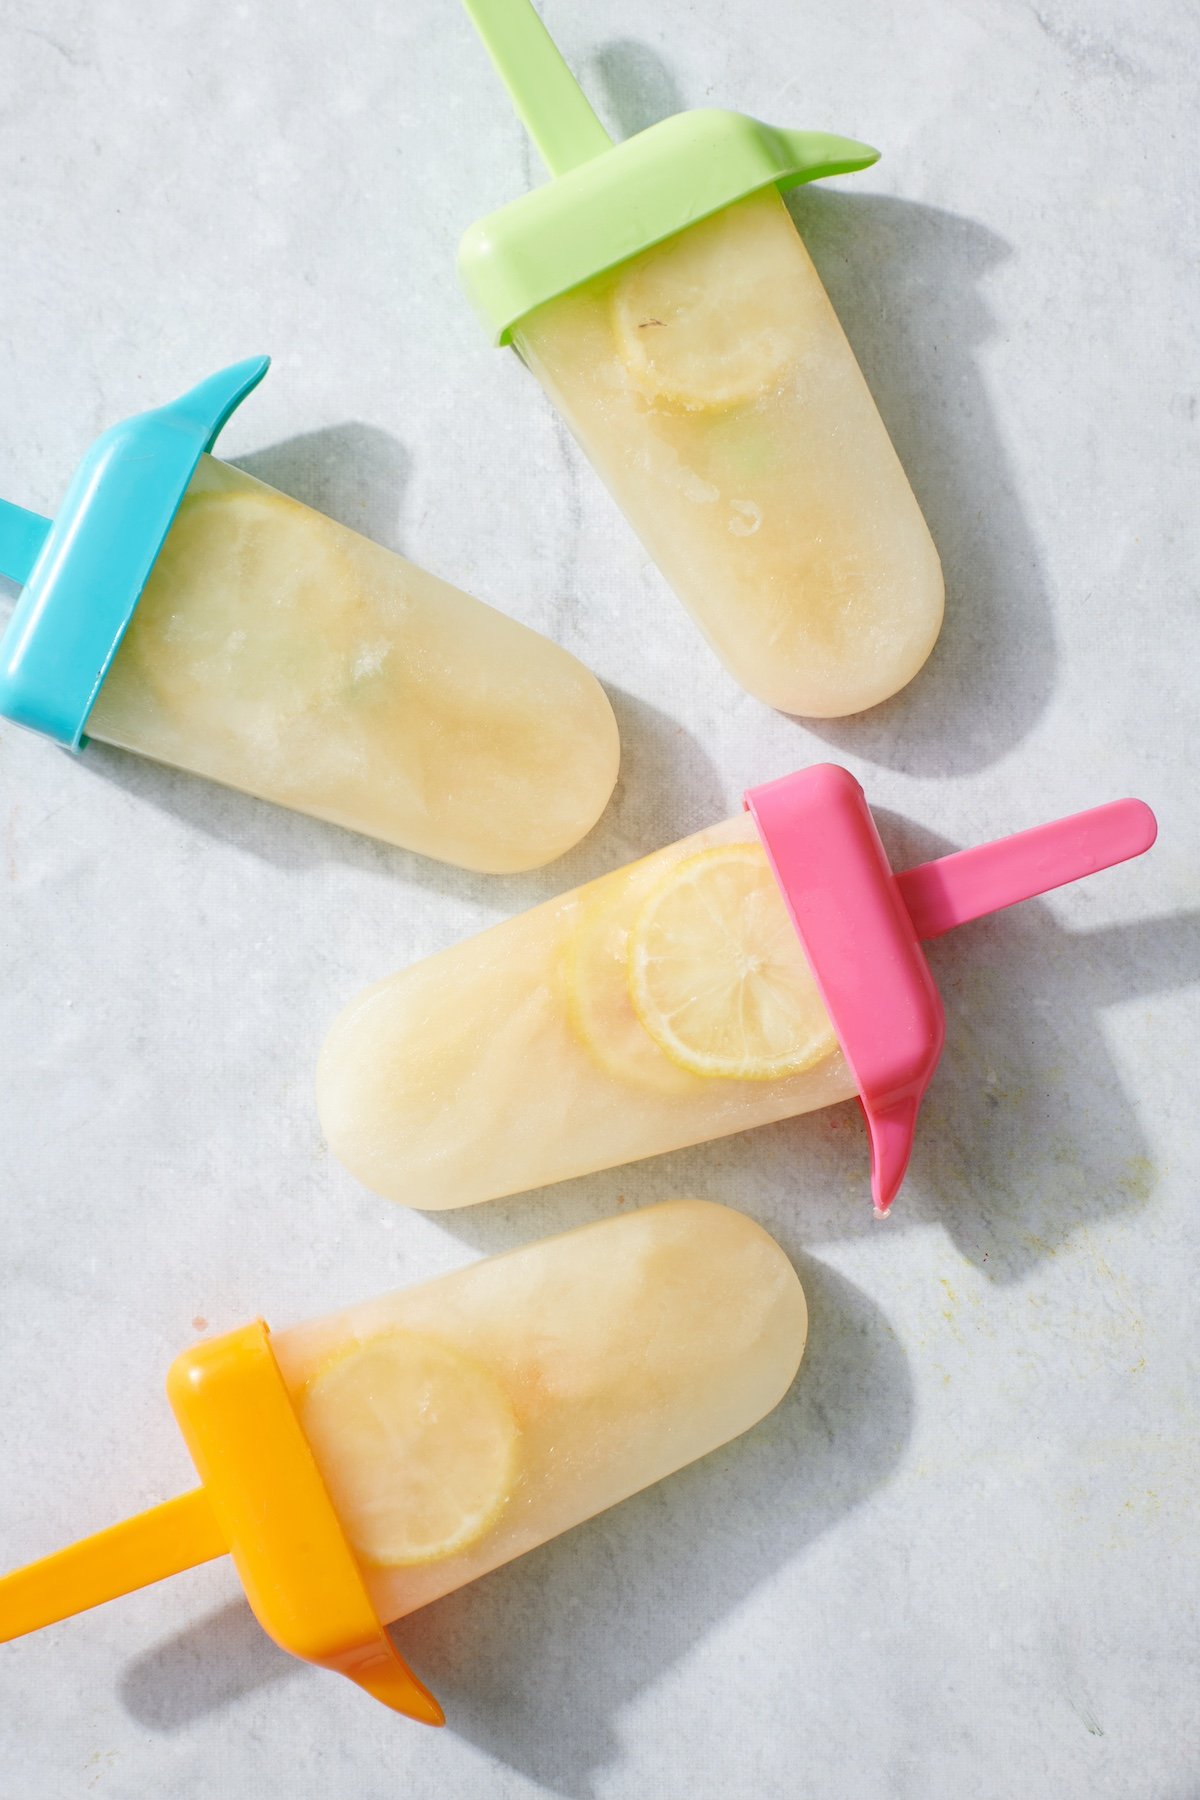
Table of Contents
Why I Love This Recipe
- Super Hydrating: Coconut water is filled with electrolytes naturally making these homemade electrolyte popsicles perfect for helping to replenish lost fluids and minerals.
- Immune Boosting: Lemon juice is loaded with vitamin C, giving your immune system some extra love. Looking for more Immune Boosting Recipes? Try Immune Boosting Very Berry Smoothie, Chicken Noodle Soup or Carrot Ginger Soup.
- Naturally Sweetened: Just a touch of honey brings the perfect balance without added sugars. And you can control how much or how little you add.
- Kid-Approved: These popsicles are an easy way to keep your little ones hydrated when they’ve been running around all day in the hot sun. They’re also a great natural cold remedy or for when kids are sick and need to stay hydrated while not eating much.
The Ingredients
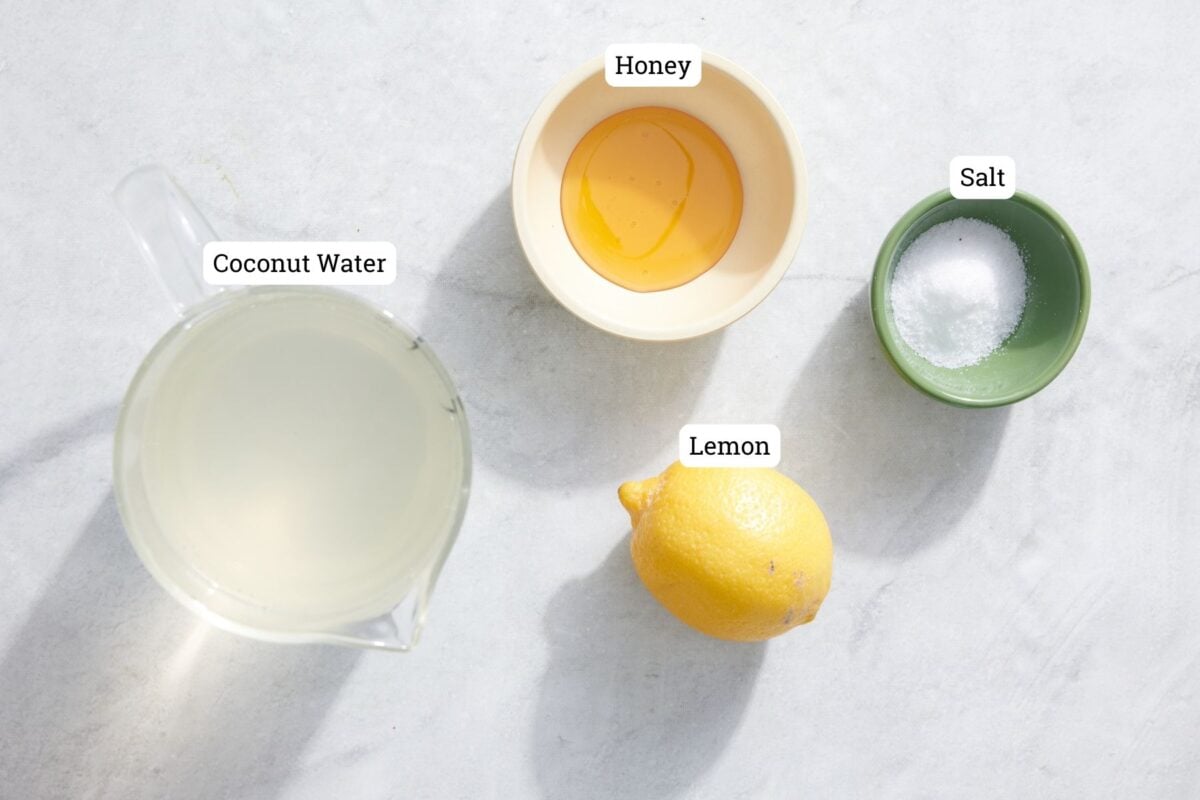
- Coconut Water: The ultimate natural hydrator! Coconut water is packed with potassium and electrolytes to replenish your body and keep you feeling energized.
- Fresh Lemon Juice: Bright and zesty, lemon juice is loaded with vitamin C and adds a tangy kick that balances the sweetness perfectly.
- Honey: A touch of natural sweetness that’s easy to adjust to your taste. Plus, honey has soothing properties.
- Sea Salt: Just a pinch enhances the flavors and provides a little extra mineral support for hydration.
How to Make Homemade Electrolyte Popsicles
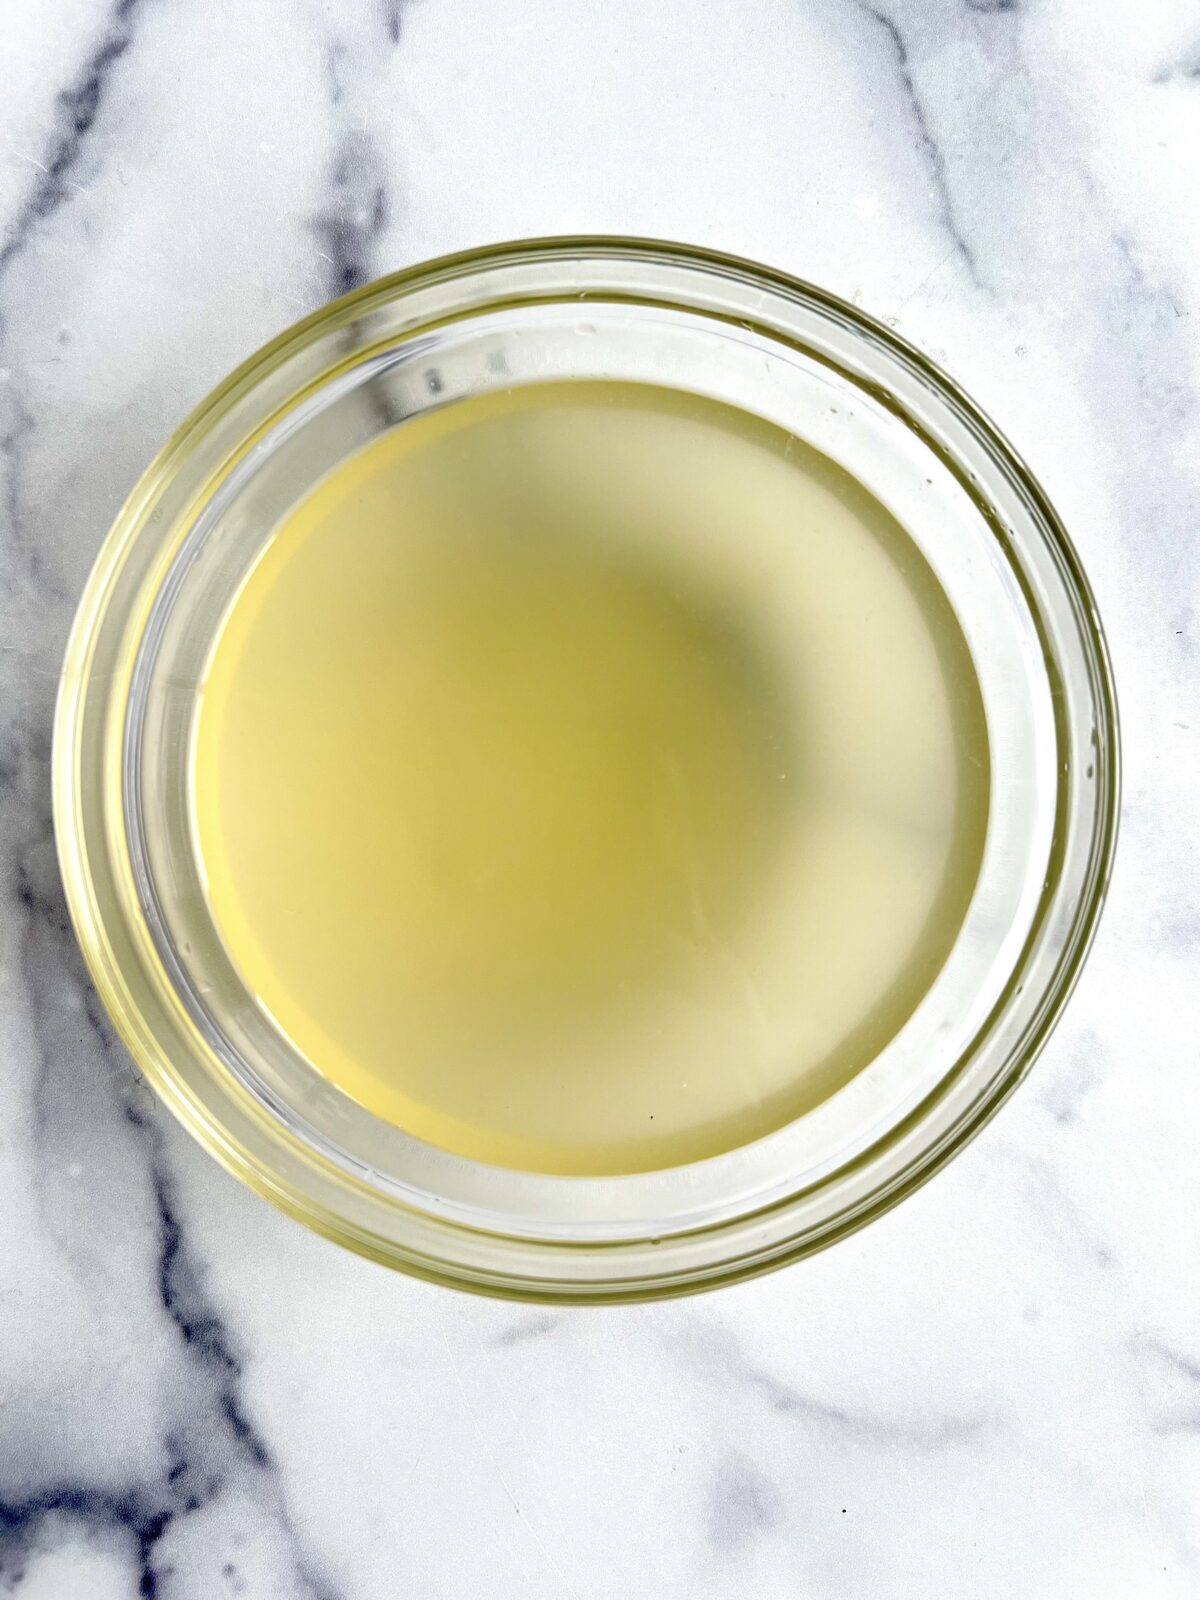
Step 1: Whisk ingredients in a mixing bowl until smooth. Taste and adjust honey to preferred sweetness.
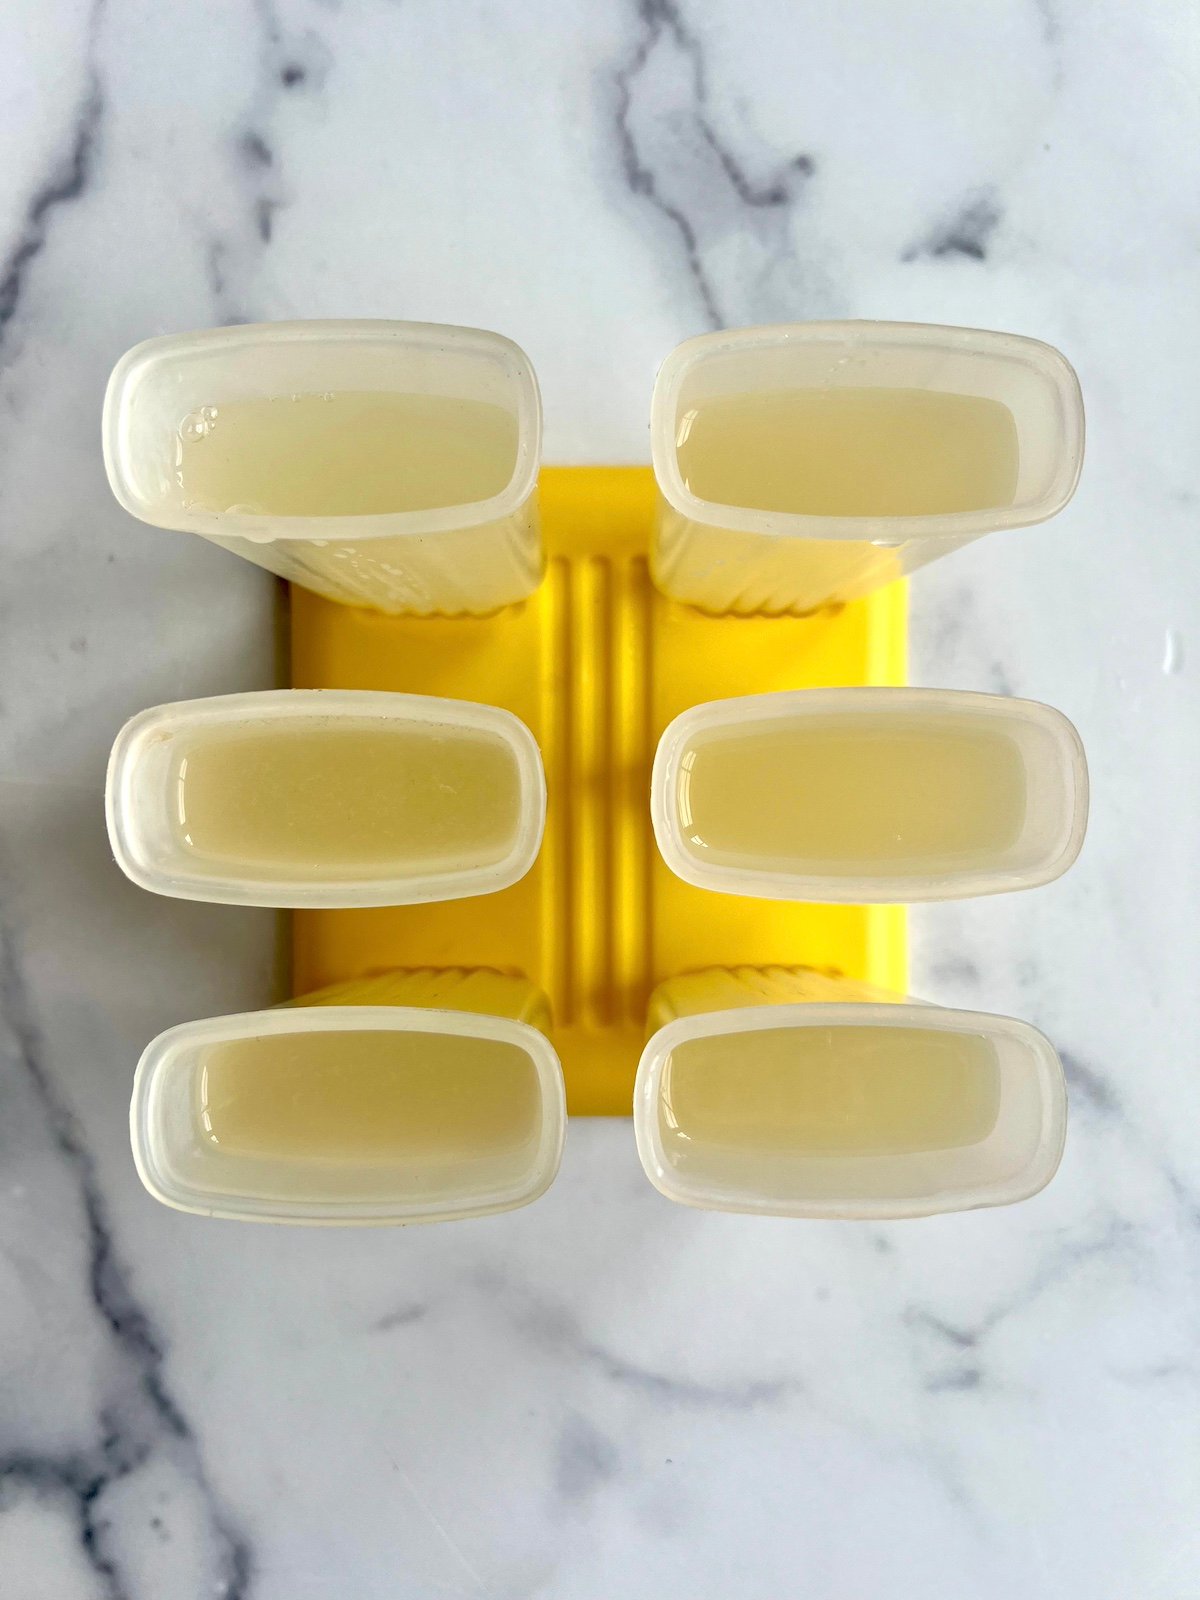
Step 2: Carefully pour the mixture into ice pop molds, leaving a little space at the top for expansion.
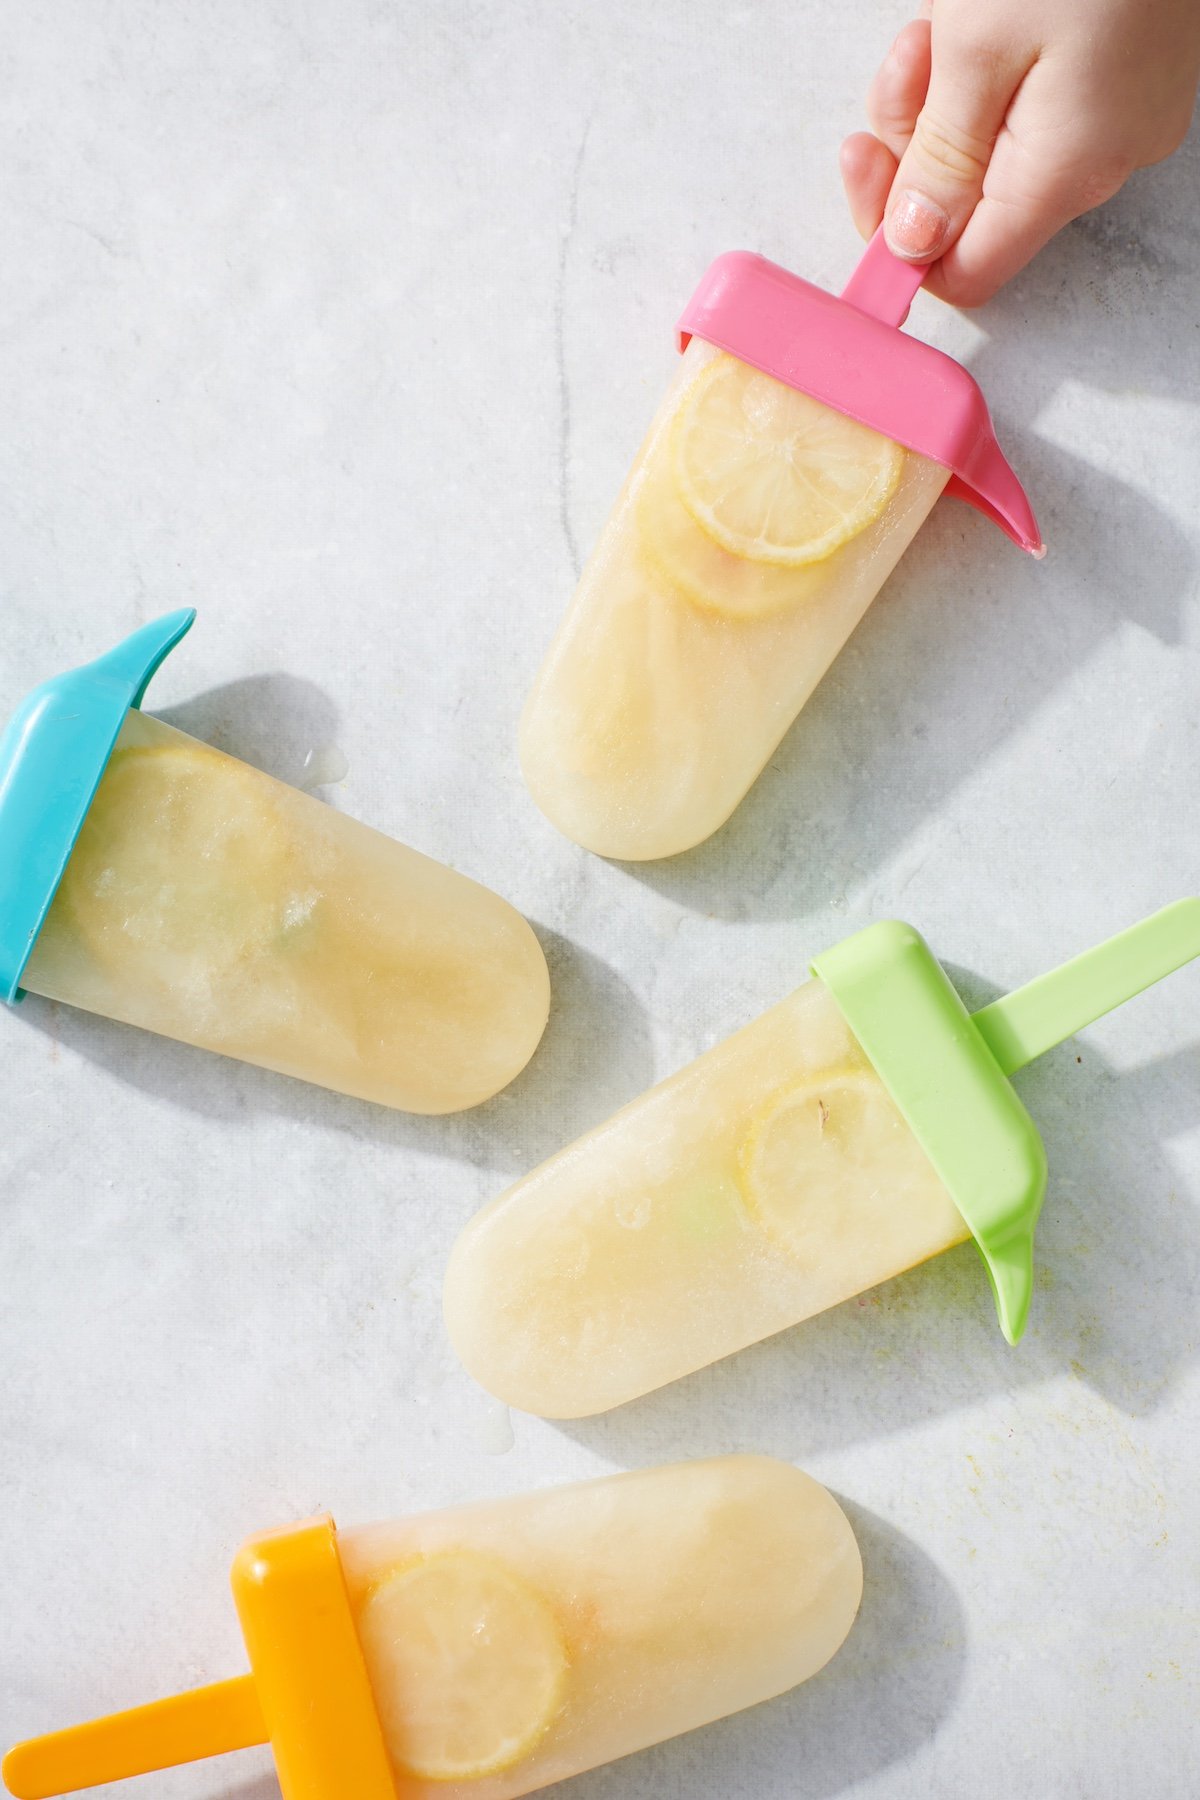
Step 3: Put the molds in the freezer for at least 6 hours. When ready to enjoy, run molds under warm water for 30 seconds or until ice pops are easy to release.
Tips and Tricks
- Add Other Ingredients: Feel free to add other good-for-you ingredients to these Homemade Electrolyte Popsicles like a touch of grated ginger or even swap the lemon for orange juice.
- Extra Fun for Kids: Add slices of fruit or edible flowers to the molds before freezing for a colorful touch. You can also use fun popsicle molds! I love these star-shaped ones and these push pops!
- Portable Hydration: These are perfect for stashing in a cooler for a beach day or park outing, surrounded by ice packs of course.
FAQs
Homemade popsicles will keep in the freezer for 2-3 months at least. Just make sure they’re stored in an airtight container or wrapped tightly to prevent freezer burn.
The easiest trick is to run the molds under warm water for about 30 seconds. This helps release the popsicles without any tugging or breaking.
Homemade popsicles typically need 6 hours to freeze fully. For best results I recommend freezing overnight.
More Homemade Popsicle Recipes for Kids
These Homemade Electrolyte Popsicles will be a staple in your freezer. They deliver hydration, flavor, and fun all in one! Plus, they’re super easy to make and kids love them. Let me know what you think by leaving a comment and rating below!
Want more Weelicious? Subscribe to my newsletter and follow me on Instagram, Facebook, and TikTok for all the newest recipes!
Homemade Electrolyte Popsicles
Equipment
Ingredients
Instructions
- Whisk ingredients in a mixing bowl until smooth. Taste and adjust honey to preferred sweetness.
- Carefully pour the mixture into ice pop molds, leaving a little space at the top for expansion.
- Put the molds in the freezer for at least 6 hours.
- When ready to enjoy, run molds under warm water for 30 seconds or until ice pops are easy to release.
Notes
-
- Add Other Ingredients: Feel free to add other good-for-you ingredients to these homemade Electrolyte Popsicles like a touch of grated ginger or even swap the lemon for orange juice.
-
- Extra Fun for Kids: Add slices of fruit or edible flowers to the molds before freezing for a colorful touch. You can also use fun popsicle molds! I love these star-shaped ones and these push pops!
-
- Portable Hydration: These are perfect for stashing in a cooler for a beach day or park outing, surrounded by ice packs of course.
