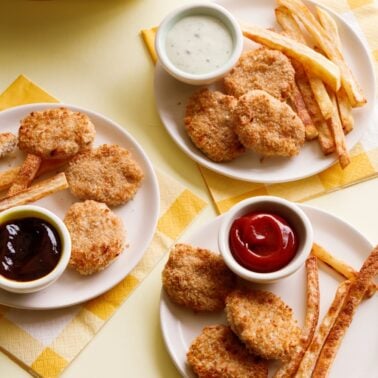
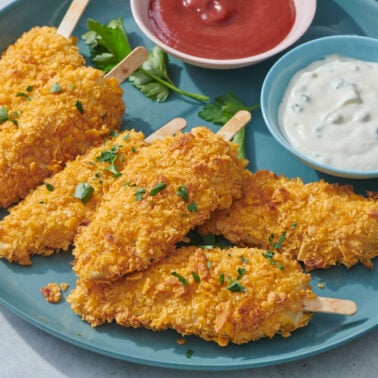
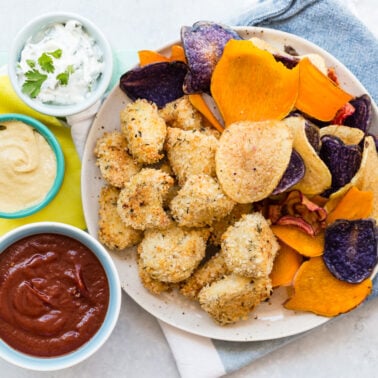
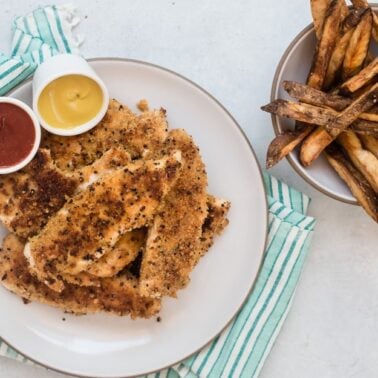
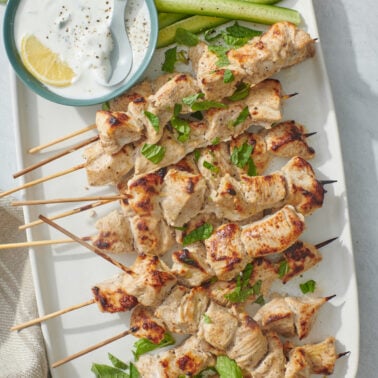
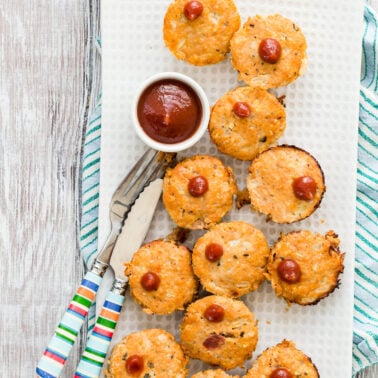
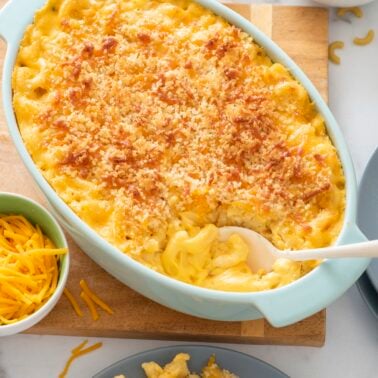
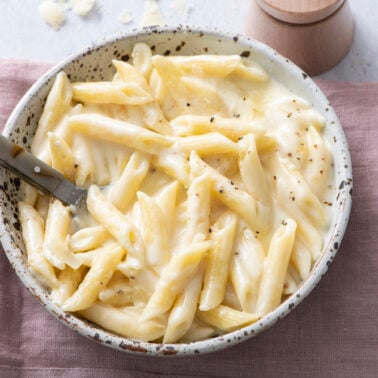
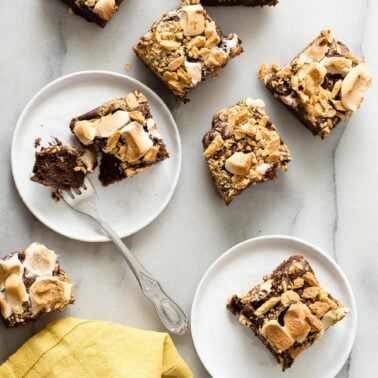
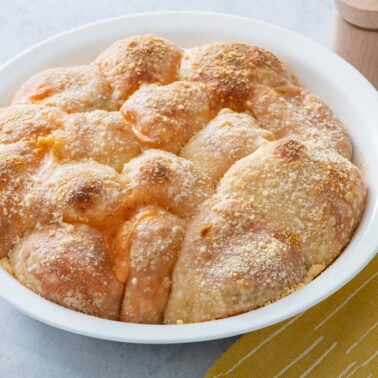
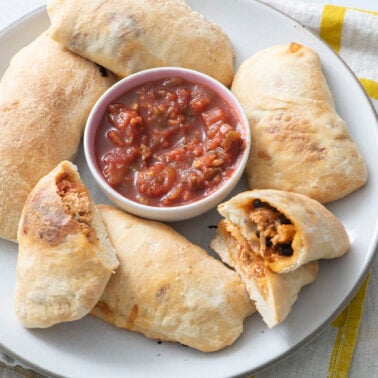
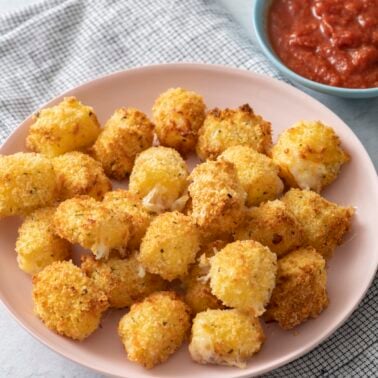
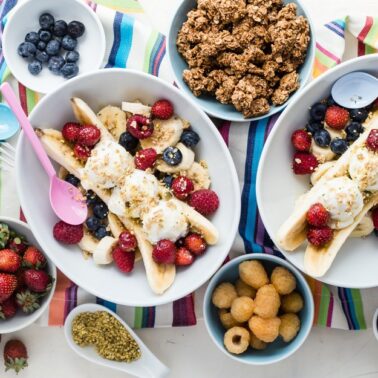
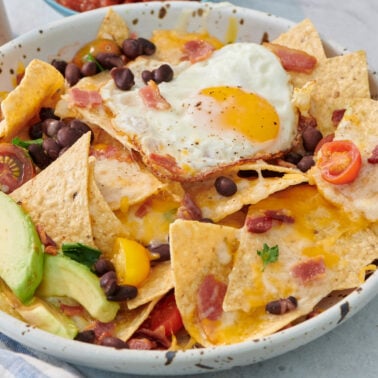
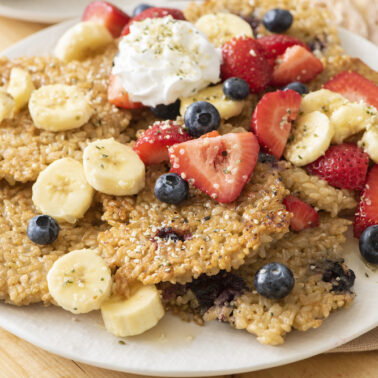
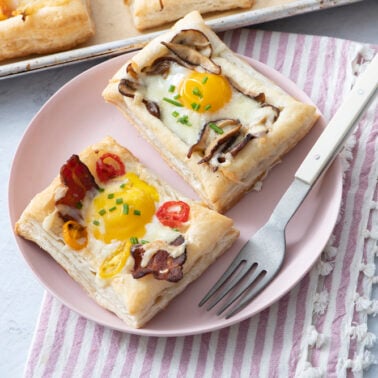
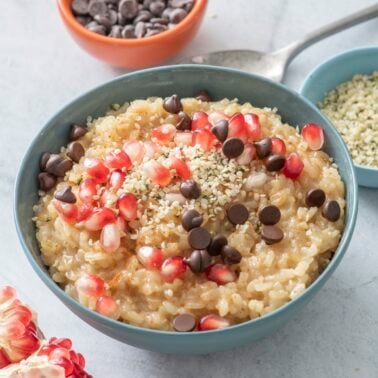
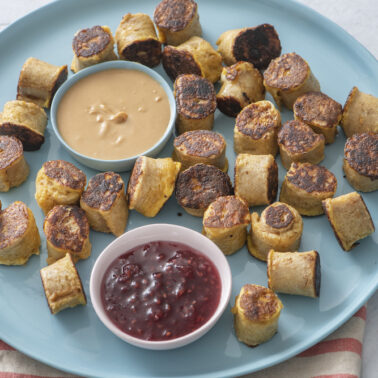
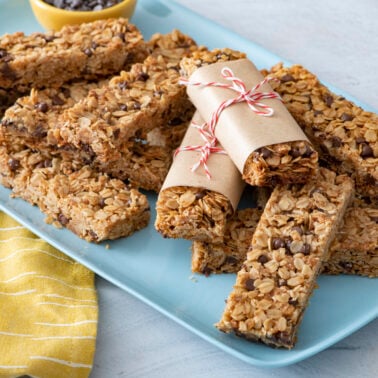
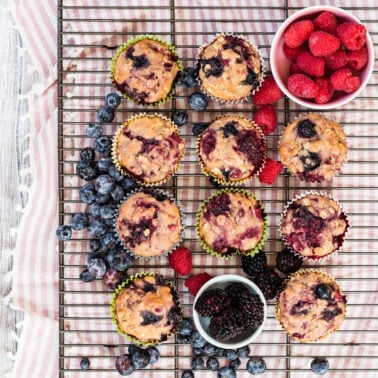
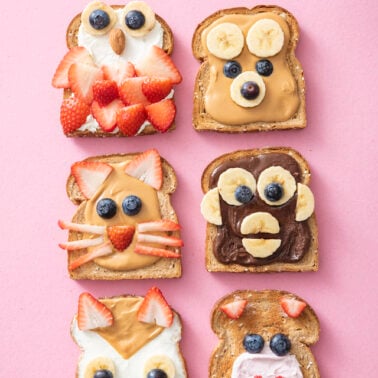
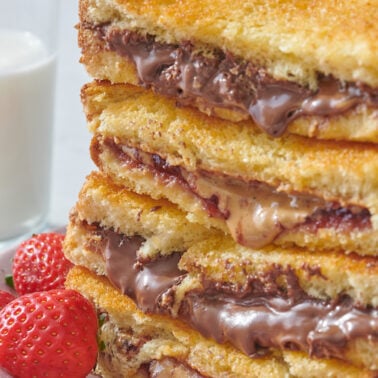
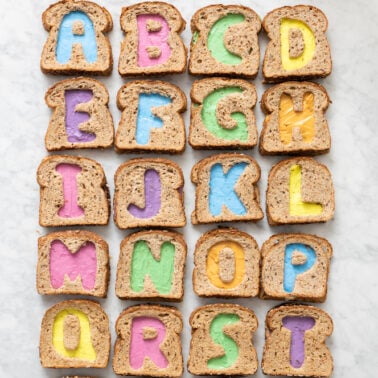
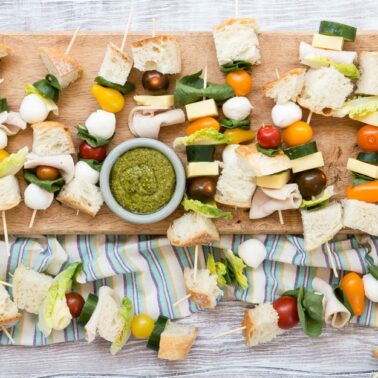
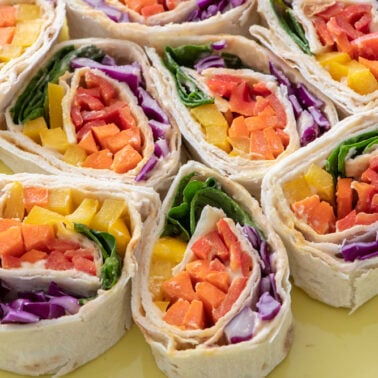
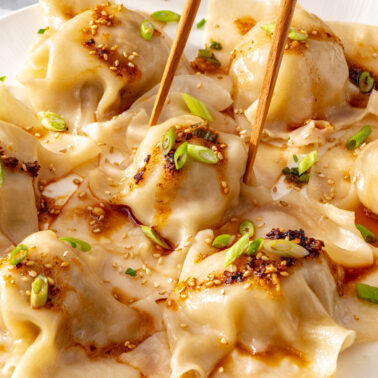
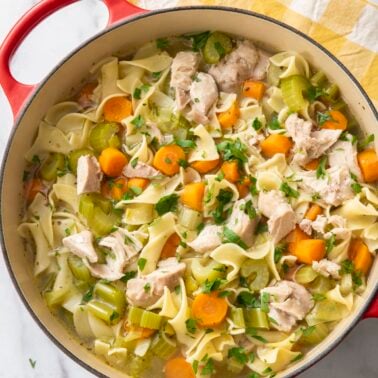
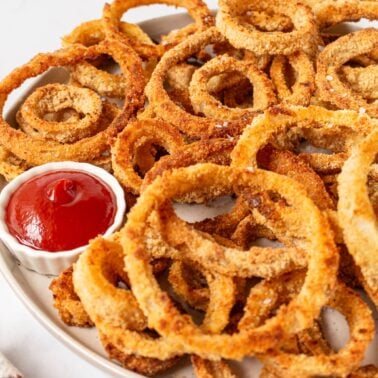
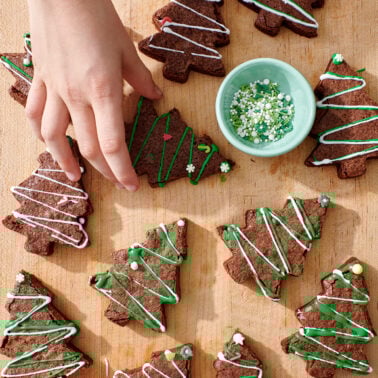
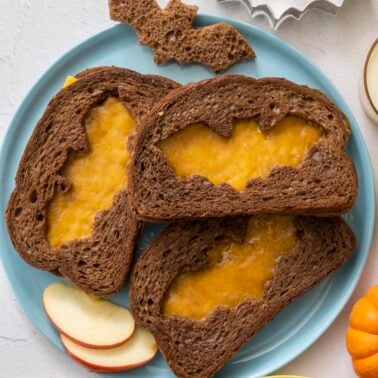
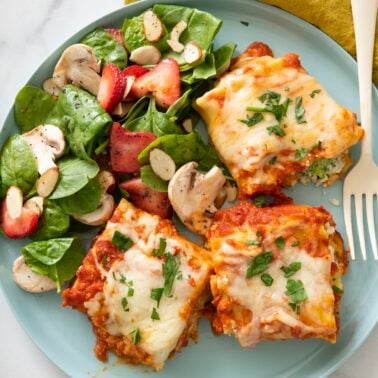
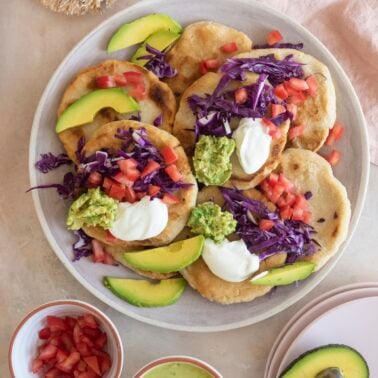
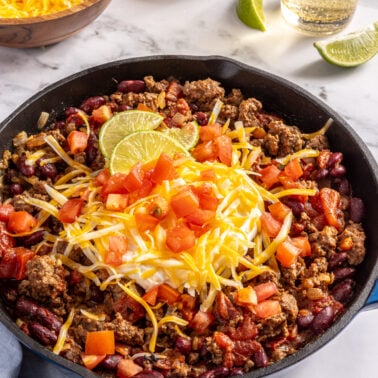
Archive for the ‘Big Kids Recipes’ Category
Wednesday, March 17th, 2010

One of the greatest challenges when it comes to making kids snacks or desserts is coming up with recipes that are actually both healthy and something kids WANT to eat. As a parent, you want what they eat to have nutritional value, but still also have eye and taste appeal. From the moment Kenya saw these Chewy Granola Balls, I knew I fulfilled both criteria.
Loaded with whole grains, protein and fruit, these granola balls have just the right amount of sweetness and a crunchy, chewy texture that kids seem to love. I brought a batch of them to my informal “focus group” of classmates at Kenya’s school and play groups and I didn’t have enough to fulfill the demand for seconds. I’m sure I don’t have to tell you, when the crowd is happy, so is mommy!
Chewy Granola Balls (Makes about 30 Balls)
1/2 Cup Almond Butter
1/2 Cup Rice Syrup
1 Cup Rice Crispys
1 1/2 Cups Wee Granola (or your favorite store bought granola)
1/4 Cup Dried Cranberries, Cherries, Blueberries and/or raisins, chopped
1. Place the almond butter and rice syrup in a small saucepan over low to medium heat and warm for 2 minutes or until it becomes smooth and combined.
2. Place the remaining ingredients in a bowl and stir to combine.
3. Pour the warm almond butter mixture into the bowl with the granola mixture and stir to combine.
4. Roll into 1 inch balls (I used a mini ice cream scooper to scoop out each portion, but you could also use a tablespoon) .
5. Serve.
Tags: , almond butter, balls, blueberries, cranberries, dessert for kids, dried blueberries, dried cranberries, dried fruit, easy kids snacks, easy recipes for children, easy recipes for kids, food balls, granola balls, granola recipes, healthy dessert recipes, healthy snack recipes, healthy snacks, quick dessert recipes, raisins, rice crispies, rice crispy recipes, rice syrup, snacks for kids
Posted in All Recipes, Big Kids Recipes, Dairy Free, Desserts, Snack Treats, Toddler Bites, Vegetarian, vegan | No Comments »
Tuesday, March 16th, 2010

Every Sunday at our local farmer’s market, I buy a whole chicken from the great folks at Healthy Family Farms (we also get our eggs from them). I like to make a Simple Roast Chicken every Sunday, but several weeks ago the farmer that sells the me chickens asked if I had ever tried cooking a whole chicken in a slow cooker. I had not. I listened as she told me just how easy it was to prepare, but I was still in disbelief at how simple her description was. No oil? No butter? No broth? Just a few herbs, lemon and salt? Really?! I immediately went home that afternoon and with practically no effort, prepared a chicken that was about as good as any I had ever tasted. My whole family was wide-eyed as we took our first bites — the chicken was moist, tender and juicy and the consistency is almost like pulled pork because the meat literally falls off the bone.
This recipe is embarrassingly simple and incredibly healthy, but the best part is that it essentially cooks itself. There’s almost no work involved, and I love that I can cook a whole chicken and then keep the meat in the fridge to make Weelicious Mac, Chicken and Cheese Bites, Chicken, Bean and Cheese Quesadillas or Chicken and Rice Burritos throughout the week!
Not only did Kenya, our friends, my hubby and I fall in love, but guess who ate more then her fair share of chicken? That’s right, baby Chloe. She was like a little chicken eatin’ machine, putting piece after piece into her mouth.
If cooking a whole chicken has always seemed daunting to you, try this version. It’s so simple, you’ll have a hard time finding reasons not to. Check out this video if you want to see how we did it.
Chicken in a Crock Pot (Serves 4)
1 4 Lb Whole Chicken
2-3 Thyme Sprigs
1 Lemon, cut in half
Salt (preferably kosher salt)
1. Stuff the chicken with the thyme and lemon halves and sprinkle the outside with salt.
2. Place the chicken in a crock pot (also known as a slow cooker).
3. Place the cover on the crock pot and cook on high for 2 hours (2 1/2 hours for a 5 pound chicken).
4. Using a meat thermometer, make sure the chicken is cooked to 160 degrees (the times on different slow cookers may vary).
5. Allow the chicken to rest for 10 minutes before cutting it into pieces (this allows the juices to redistribute and the chicken to remain extremely juicy).
6. Serve.
*The skin on the chicken won’t be golden because this is more of a steaming method, but the meat will be outrageously moist, tender and juicy.
Tags: , baby food recipes, chicken, chicken in a crock pot, crock pot, crock pot recipes, easy chicken recipes, easy family recipes, family recipes, favorite recipes, garlic, healthy chicken recipes, homemade baby food, lemon, salt, slow cooker, slow cooker recipes, thyme, weelicious
Posted in All Recipes, Big Kids Recipes, Dairy Free, Entrees, Meats and Proteins, Toddler Bites, gluten free | No Comments »
Monday, March 15th, 2010

One of my (many) favorite breakfasts growing up was cheese toast. In our house most mornings, the words “cheese toast” were mentioned as often as “cereal” would be for most other families. Not only was it one of my favorite things to eat, but I also liked to make it myself. Though I didn’t realize it at the time, this was probably one of my very first ventures into cooking. I used to love pulling the whole wheat bread out of the fridge and sprinkling on the cheese, then my mother would place the slices under the broiler for me. In less then 2 minutes I would have a high protein, high carbohydrate breakfast that I would devour.
I don’t know why I haven’t made this recipe for Kenya and Chloe sooner. Watching Kenya sprinkling the cheese on his own slices of bread and popping them into the oven for him made me feel like my mom must have watching me “cook” for the first time. Maybe I never made it with him before now because cheese toast sounded too simple. Then again, kids certainly don’t require complicated when it comes to their taste buds, so this is a perfect breakfast choice! Try it with your little ones.
Cheese Toast (Serve 2)
4 Slices of Bread (I used Mini Pumpernickel Bread, but you can use anything you enjoy)
1/4-1/2 Cup Cheddar Cheese, grated (the amount of cheese depends on the size of the bread)
1. Preheat broiler.
2. Sprinkle about 1 tbsp of cheese (2 tbsp if you’re using a regular slice of bread) on pieces of bread.
3. Place the cheese toasts on a baking sheet and place under the broiler for 1-2 minutes or until cheese is bubbly.
4. Serve.
Tags: , baby food, bread recipes, breakfast for kids, breakfast recipes, cheese, cheese toast, cheese toast recipe, cheesy toast, cooking for kids, cooking with kids, day old bread, easy breakfast recipes, fast breakfast recipes, healthy breakfast recipes, homemade baby food, kids recipes, leftover bread recipes, pumpernickel bread recipes, pumpernickel recipes, recipes for toddlers, toast, toddler recipes
Posted in All Recipes, Big Kids Recipes, Breads, Lunch Ideas, Snack Treats, Toddler Bites, Vegetarian, breakfast | No Comments »
Wednesday, March 10th, 2010

My mother used to make the most delicious zucchini bread. Whenever friends were coming over to our house or she needed a culinary gift, it was one of the most popular recipes in her repertoire. It’s amazing to me that a bread starring a vegetable (technically, zucchini is a fruit, but try convincing your kids of that fact) was so appealing to a kid like myself, but it was. So, if you have a little one who is normally zucchini averse, this bread may turn them around on it for good.
I don’t know why so many people have emailed me recently asking for a healthy zucchini bread recipe, but I’m happy to oblige with a weelicious version. There are a lot of zucchini bread recipes out there loaded with white or brown sugar, so I decided to make mine using agave nectar instead. I also opted to bake them in muffin cups instead of a loaf shape so it’s more kid friendly. Zucchini is a good supplier of potassium and vitamin A and it has a consistency that makes for a deliciously moist bread. When I made a batch for breakfast last week, Kenya turned into a muffin eating machine. It was then that I realized that it wasn’t important if zucchini was a fruit or a vegetable. To him, it was simply delicious.
Zucchini Muffins (12 Muffins or 24 Mini Muffins)
1 Cup All Purpose Flour
1 Cup Whole Wheat Flour
1 Tsp Cinnamon
1/2 Tsp Baking Soda
2 Tsp Baking Powder
1/2 Tsp Salt
2 Eggs, whisked
1 Tsp Vanilla
1/3 Cup Vegetable or Canola Oil
2/3 Cup Agave Nectar
1 1/2 Cups Zucchini, shredded (about 2 small zucchini)
1. Preheat oven to 350 degrees.
2. Place the first 6 ingredients in a large bowl and whisk to combine.
3. Place the remaining ingredients in a separate bowl and whisk to combine.
4. Pour the wet ingredients into the flour mixture and stir just until the ingredients are combined.
5. Pour the zucchini mixture into large or small muffins cups (I like to use a small ice cream scooper to make spooning into the muffin cups easier).
6. Bake 15 minutes for small muffins and 20 minutes for large ones.
7. Cool and serve.
Tags: agave nectar, agave recipes, baby food, cinnamon, cooking for children, cooking for kids, cooking with kids, easy muffin recipes, kid food, kids and cooking, kids twitter, mini muffin recipes, mini muffins, mom recipes, muffin recipes, quick bread recipes, recipes for kids, recipes for moms, salt, toddler recipes, vanilla, weelicious, what is agave, what to feed kids, what to feed toddlers, whole wheat flour, zucchini, zucchini bread, zucchini muffins
Posted in All Recipes, Big Kids Recipes, Breads, Snack Treats, Toddler Bites, Vegetarian, breakfast | No Comments »
Tuesday, March 9th, 2010

One of Kenya’s favorite snack foods is Trader Joe’s “Nothing But Bananas, Flattened”. As the name clearly states, there’s nothing in them except for bananas. As much as I truly adore Trader Joe’s, I wanted to see if I could save a little money and make a similar version to this treat on my own. When I tell you my attempt took no effort or time, I mean it. All I did was slice the bananas, lay them on a cookie sheet and bake for just over an hour. It was so easy and I think they’re even better than the Trader Joe’s version.
But, don’t take my word for it. Let your family do a taste test and see for yourself. When Kenya saw these come out of the oven, he proceeded to eat the entire tray’s worth. Good thing I had more bananas on hand to make another batch!
P.S. This is a great teething snack for babies.
Banana Flats (Makes Approx. 12 Strips)
2 Bananas
1. Preheat oven to 250 degrees.
2. Slice the bananas lengthwise into 1/8 inch strips.
3. Place the banana strips on a Silpat or parchment lined baking sheet and cook for 1 hour and 15 minutes.
4. Cool and serve.
Tags: , baby food, baby food teethers, banana, banana leather recipes, banana recipes, bananas, dehydrated bananas, easy fruit recipes, fruit leather, fruit recipes for kids, fruit roll up recipes, healthy recipes, healthy recipes for kids, homemade baby food, organic recipes, vegan recipes, vegan recipes for kids, vegetarian recipes for kids
Posted in All Recipes, Big Kids Recipes, Dairy Free, Fruits, Toddler Bites, Vegetarian, gluten free, vegan | No Comments »
Monday, March 8th, 2010

We’re big on making smoothies in our house. Frankly, I don’t know many kids that object to tossing foods in a blender and then getting to press the “on” button to pulverize them. As I’ve said time and again, if you want to get your kids to eat food that’s good for them, get them involved in the preparation process. Making smoothies is one of the most perfect, fun and simple opportunities to do just that.
Recently, Kenya and I have been switching things up a bit in the drink department and making lassis instead of smoothies. A lassi is a Southeast Asian yogurt-based drink containing milk, honey and/or spices. It’s technically not a smoothie, but you’ll never know that from the way it tastes. I thought that adding cumin (a traditional lassi ingredient) might be a bit too bold for this recipe, so I opted instead for a bit of lime zest and loved the refreshing result.
So, power up the blender, grab your little one and have a great time preparing a uniquely delicious and nutritious treat for the whole family.
Tropical Lassi (Makes 3-4 Servings)
1 Cup Blueberries (fresh or frozen)
1 Cup Mango, chopped (fresh or frozen)
1 Tsp Lime Zest
1/2 Cup Yogurt
1 Cup Milk (you can use rice, almond, soy or cow’s milk)
1 Tbsp Honey
12 Raw Almonds
1 Large Handful of Ice
1. Place all the ingredients in a blender on high and puree for 1 minute or until smooth.
2. Serve.
Tags: , almond, almonds, baby food, blueberries, breakfast recipes, breakfast smoothies, children's recipes, cooking for kids, cooking with kids, fruit smoothie recipes, homemade baby food, honey, kid recipes, kids recipes, lassi, lime zest, low fast smoothies, mango, milk, protein smoothies, recipes for children, rice milk, smoothie, smoothies, tropical lassi, tropical smoothie, weelicious, what is a lassi, yogurt
Posted in All Recipes, Big Kids Recipes, Drinks, Snack Treats, Toddler Bites, Vegetarian, breakfast, gluten free | No Comments »
Friday, March 5th, 2010
A breakfast smoothie? That’s so 2009. This year you have to try a Tropical Lassi! Packed with mango, blueberries, yogurt, almonds and lime zest, it’s a treat your kids will love making AND drinking with you.
Tags: almond, almond milk, almonds, blueberries, blueberry, breakfast smoothies, cooking videos for children, fruit smoothie recipes, fruit smoothies, greek yogurt, kids, kids cooking videos, lime zest, mango, mangos, protein drink recipes, protein shake recipes, protein shakes, rice milk, smoothie, south eastern asia, tropical lassi, Videos, videos for kids, weelicious, what's a lassi, yogurt
Posted in All Recipes, Big Kids Recipes, Dairy, Drinks, Vegetarian, breakfast, gluten free | No Comments »
Thursday, March 4th, 2010

The day that Chloe started eating solid foods, I was over the moon. I really love the baby food puree stage, but I find it so much more gratifying making Chloe foods that she can enjoy alongside the rest of the family. I believe that when a baby sees that the food on the plate in front of her is the same as the food mommy and daddy are eating, it serves as a powerful connection to the group for them.
Beans are an amazing first solid food for babies to try because they’re soft, easy to chew, packed with protein and full of flavor. They’re also great for baby’s developing dexterity as he/she learns to pick up the beans and feed him/herself.
In our house we eat black beans like they’re going out of style. Inexpensive, healthy and easy to store in the fridge, we keep a container of cooked beans on hand at all time to add to recipes like Chicken and Rice Burritos, Black Bean Cakes, Nachos or just to eat on their own or with some brown rice. Whether your family has a bunch of wee ones, big kids or all of the above, black beans are always a good idea.
Black Beans (Serves 4)
16 Oz (2 Cups) Dried Black Beans
2 Tsp Olive Oil
1 Small Onion, diced
1 Clove Garlic
1 Bay Leaf
4 Cups Water
1 Tsp Salt (optional)
1. The night before you want to cook the beans (about 8-12 hours prior to cooking), cover the beans with water and soak them overnight (this reduces the cooking time of the beans). * If you don’t soak the beans overnight, just double the cooking time in step #5 and keep tasting until the beans are tender.
2. Heat the oil over medium heat in a medium sized saucepan.
3. Add the onions and cook for 4-5 minutes or until translucent.
4. Add the garlic and cook another minute.
5. Add the bay leaf, black beans, water and salt (if desired). Bring to a boil, cover and simmer for 1 hour or until the beans are tender.
6. Serve.
Tags: baby food, baby foods, bay leaf, beans for kids, black bean cakes, black bean recipes, black beans, burrito recipes, chicken and rice burritos, dried black beans, first foods, garlic, how to cook beans, how to make baby food, how to soak beans, making baby food, onion, organic foods, salt, soaking beans, vegan recipes, vegan recipes for children, vegan recipes for kids, vegetarian recipes for kids, water
Posted in All Recipes, Beans, Big Kids Recipes, Dairy Free, Toddler Bites, Vegetarian, gluten free, side dishes, vegan | No Comments »
Wednesday, March 3rd, 2010

I don’t know many kids who don’t like macaroni and cheese. Come on, cheese and pasta, what’s not to like? I love making my own mac and cheese, but even for someone like me who wants to make everything homemade, it’s not always easy. Between cooking the pasta, making the sauce and then baking it, the process can take time that many mothers (including myself), just don’t have! But as time consuming as the homemade kind can be, I just can’t break down and buy the powdered cheese, boxed version, no matter how easy it may be to prepare.
If you have a rice cooker (and I hope you do because it is one of the great kitchen time savers), this recipe is going to change you and your kid’s world! All you have to do is put all of the ingredients into the rice cooker and let it do all the work for you. The best part is that you can tailor this recipe to your child’s favorite tastes and flavors. For example, if you want to give it some added nutrition, just add an array of veggies. This is also a great way to involve your kids in cooking since they can have fun placing all of the ingredients in the cooker.
Now, what are you going to do with all of that time you just saved being a kitchen hero to your kids?
Rice Cooker Mac & Cheese (Serves 4-6)
2 Cups Pasta (I used macaroni, but you could also use rotini, faralle or bite size pasta)
1 1/2 Cups Chicken Stock (I use low sodium stock)
1 Tsp Salt
1 Cup Whole Milk
1 1/2 Cups Cheese ( I use a 3 cheese blend of cheddar, mozzarella and monterey jack)
* Option: You can also add a cup of finely chopped broccoli, cauliflower, carrots, butternut squash or frozen peas. Do so in step #2.
1. Place the first 3 ingredients in the rice cooker and cook for 15 minutes.
2. Open the lid, add the milk and cheese, stir to combine, close the lid and cook for an additional 20 minutes (25 minutes if you want it to have a crust on the bottom).
*Rice cookers can cook at different heats, so make sure to check the mac & cheese after if cooks for 30 minutes once or twice.
3. Serve.
We used these to make this recipe:
Tags: , butternut squash, cheddar cheese, cheese, chopped veggies, easy recipes for kids, fast recipes, fast recipes for kids, food for children, food for kids, homemade baby food, homemade mac and cheese, kids mac and cheese, mac & cheese, mac and cheese, mac and cheese for kids, mac and cheese recipes, macaroni and cheese, macaroni and cheese recipes, milk, monterey jack, mozzarella, Pasta, pasta for kids, peas, rice cooker mac and cheese, rice cooker macaroni and cheese, rice cooker macaroni and cheese recipe, whole milk
Posted in All Recipes, Big Kids Recipes, Entrees, Pasta, Toddler Bites, Vegetarian | No Comments »
Tuesday, March 2nd, 2010

I love trying to figure out how to make recipes that would normally be considered “junk” food into nutritious snacks that you aren’t afraid to give your kids. I’m not big on totally depriving kids of junk food (I feel like that only leads to a slew of other problems in the long run) but if I can come up with a version of a cookie that doesn’t include all of the nasty fillers and preservatives found in store bought brands, I’m making it homemade for my kids.
These Peanut Butter Oatmeal Cookies will have your little ones’ eyes popping wide open when they see them coming out of the oven. These cookies have a healthy carbohydrate from the oatmeal and a protein punch from the peanut butter — great for kids who have been active running around all day. All they’re going to care about though is that they are delicious!
Peanut Butter Oatmeal Cookies (Makes about 60 cookies)
1/2 Cup Butter (1 Stick)
1/2 Cup Agave Nectar
1 Large Egg
1 Tsp Vanilla Extract
1 Cup Peanut Butter
1 Cup All Purpose Flour
1 Cup Oats
1 Tsp Baking Soda
1/2 Tsp Salt
1. Preheat oven to 350 degrees.
2. Place the butter and agave in a bowl or a standing mixer and beat for 1 minute.
3. Add the egg, vanilla and peanut butter and beat another minute on medium speed or until smooth.
4. In a separate bowl, combine all the dry ingredients and mix to combine.
5. Slowly add the dry ingredients to the wet and mix to incorporate.
6. Drop 1 tbsp of the cookie dough onto a Silpat or parchment-lined cookie sheet. Flatten down each ball of cookie dough with the back of your hand or with the back of a fork making a checkerboard pattern.
7. Bake for 10-12 minutes.
8. Cool and serve.
Tags: , agave, agave nectar, agave recipes, baby food recipes, butter, children's recipes, cookie recipes, cookies for children, cookies for kids, egg, flour, healthy cookies, junk food, junk food recipes, nutritious cookie recipes, oats, peanut butter, vanilla, weelicious, what is agave
Posted in All Recipes, Big Kids Recipes, Desserts, Snack Treats, Toddler Bites, Vegetarian | No Comments »